

Rottweiler Performance
Rottweiler Performance - Shock Linkage Guard - KTM 690 Enduro/SMC-R & Husqvarna 701 Endruo/SM
SKU:


$48.95 - $55.95
Shipping Weight:
2.00 LBS
Shipping:
Calculated at checkout
- Width:
- 6.00 (in)
- Height:
- 6.00 (in)
- Depth:
- 6.00 (in)
Product Details
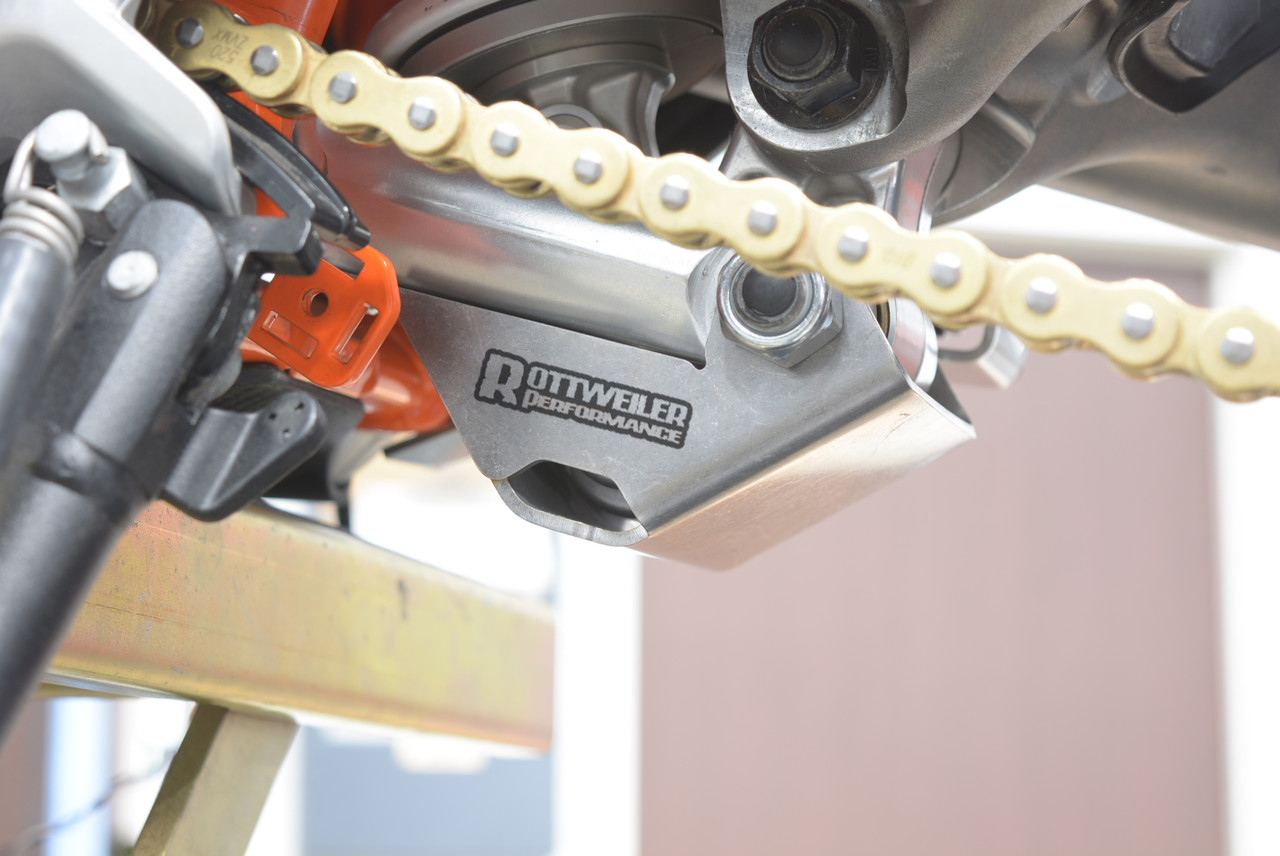
Protect your KTM 690 or Husky 701 (Enduro and SM) vulnerable shock linkage with Rottweiler Performance's Linkage Guard. Manufactured to the highest tolerances from 304 Stainless Steel then pulse TIG welded to perfection this linkage guard will take on anything the trail has to throw at it. The days of cringing when working your way through large rocks are over.
The unique design replicates the characteristics of a skid plate providing a angled front and rear slop allowing your shock linkage to slide over obstacles instead of catching the soft aluminum and causing damage.
Features:
- 304 stainless steel
- Billet front bracket
- Clevis style mounting that utilizes the 14mm linkage bolt minimizing loose bracketry.
- Billet front clamp.
- Easy install without having to completely disassemble the linkage. Just remove one bolt.
- Generous rock evacuation holes.
- Lifetime guarantee against breakage.

