BEAST PROJECT: THE ULTIMATE 2017 1290 R ADVENTURE BUILD
Jan 02, 2018
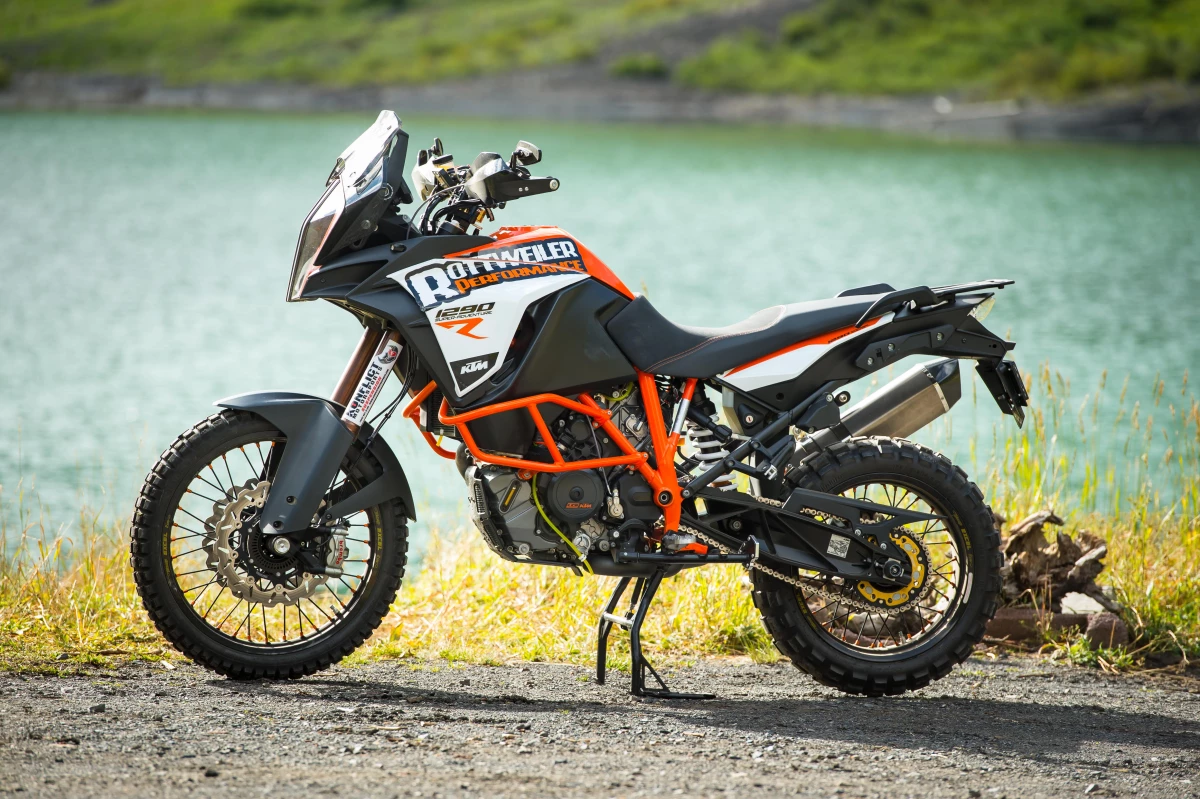
Article Content Blocks
I can't tell you how many times I thought about robbing the engine out of our 2015 Super Duke 1290 and stuffing it into my 2014 KTM 1190 Adventure R. I would wake up at night going over the details of what could stay and what would have to get swapped. What on the outside was a very similar platform, was internally a magically different piece of machinery that housed about 30 more endorphin producing ponies. "How complicated could this be?" I would ask myself. "Would I be left over with a half torn apart machine that was now worthless, all in the attempt to justify what I can only explain as an obsessive compulsive desire to create a monster?". Would it be worth the cost in trade for the attention we would get from such an endeavor?
Then came word of a new Super Adventure 1290. I didn't really get that excited because while the current Super Adventure 1290 was a great bike, it seemed more like the 'Gold Wing' of KTM's to me and held no attraction for my particular riding style. A large and lumbery beast that just didn't excite me beyond a plan for my retirement years. But then I caught wind of an 'R' designation. Kind of like an 'F' (Fighter) on a fighter jet instead of a 'B' (Bomber). Could it be? A promise of excitement and rawness that only an 'R' model can deliver? Has KTM been wire tapping my phone?
I shot down to Three Bros KTM / Husqvarna in Costa Mesa and plopped down a measly $200 in return for 5 months of the satisfaction that I would be number one on the list and when the bike finally arrived, it was time to put months of dreaming into action.
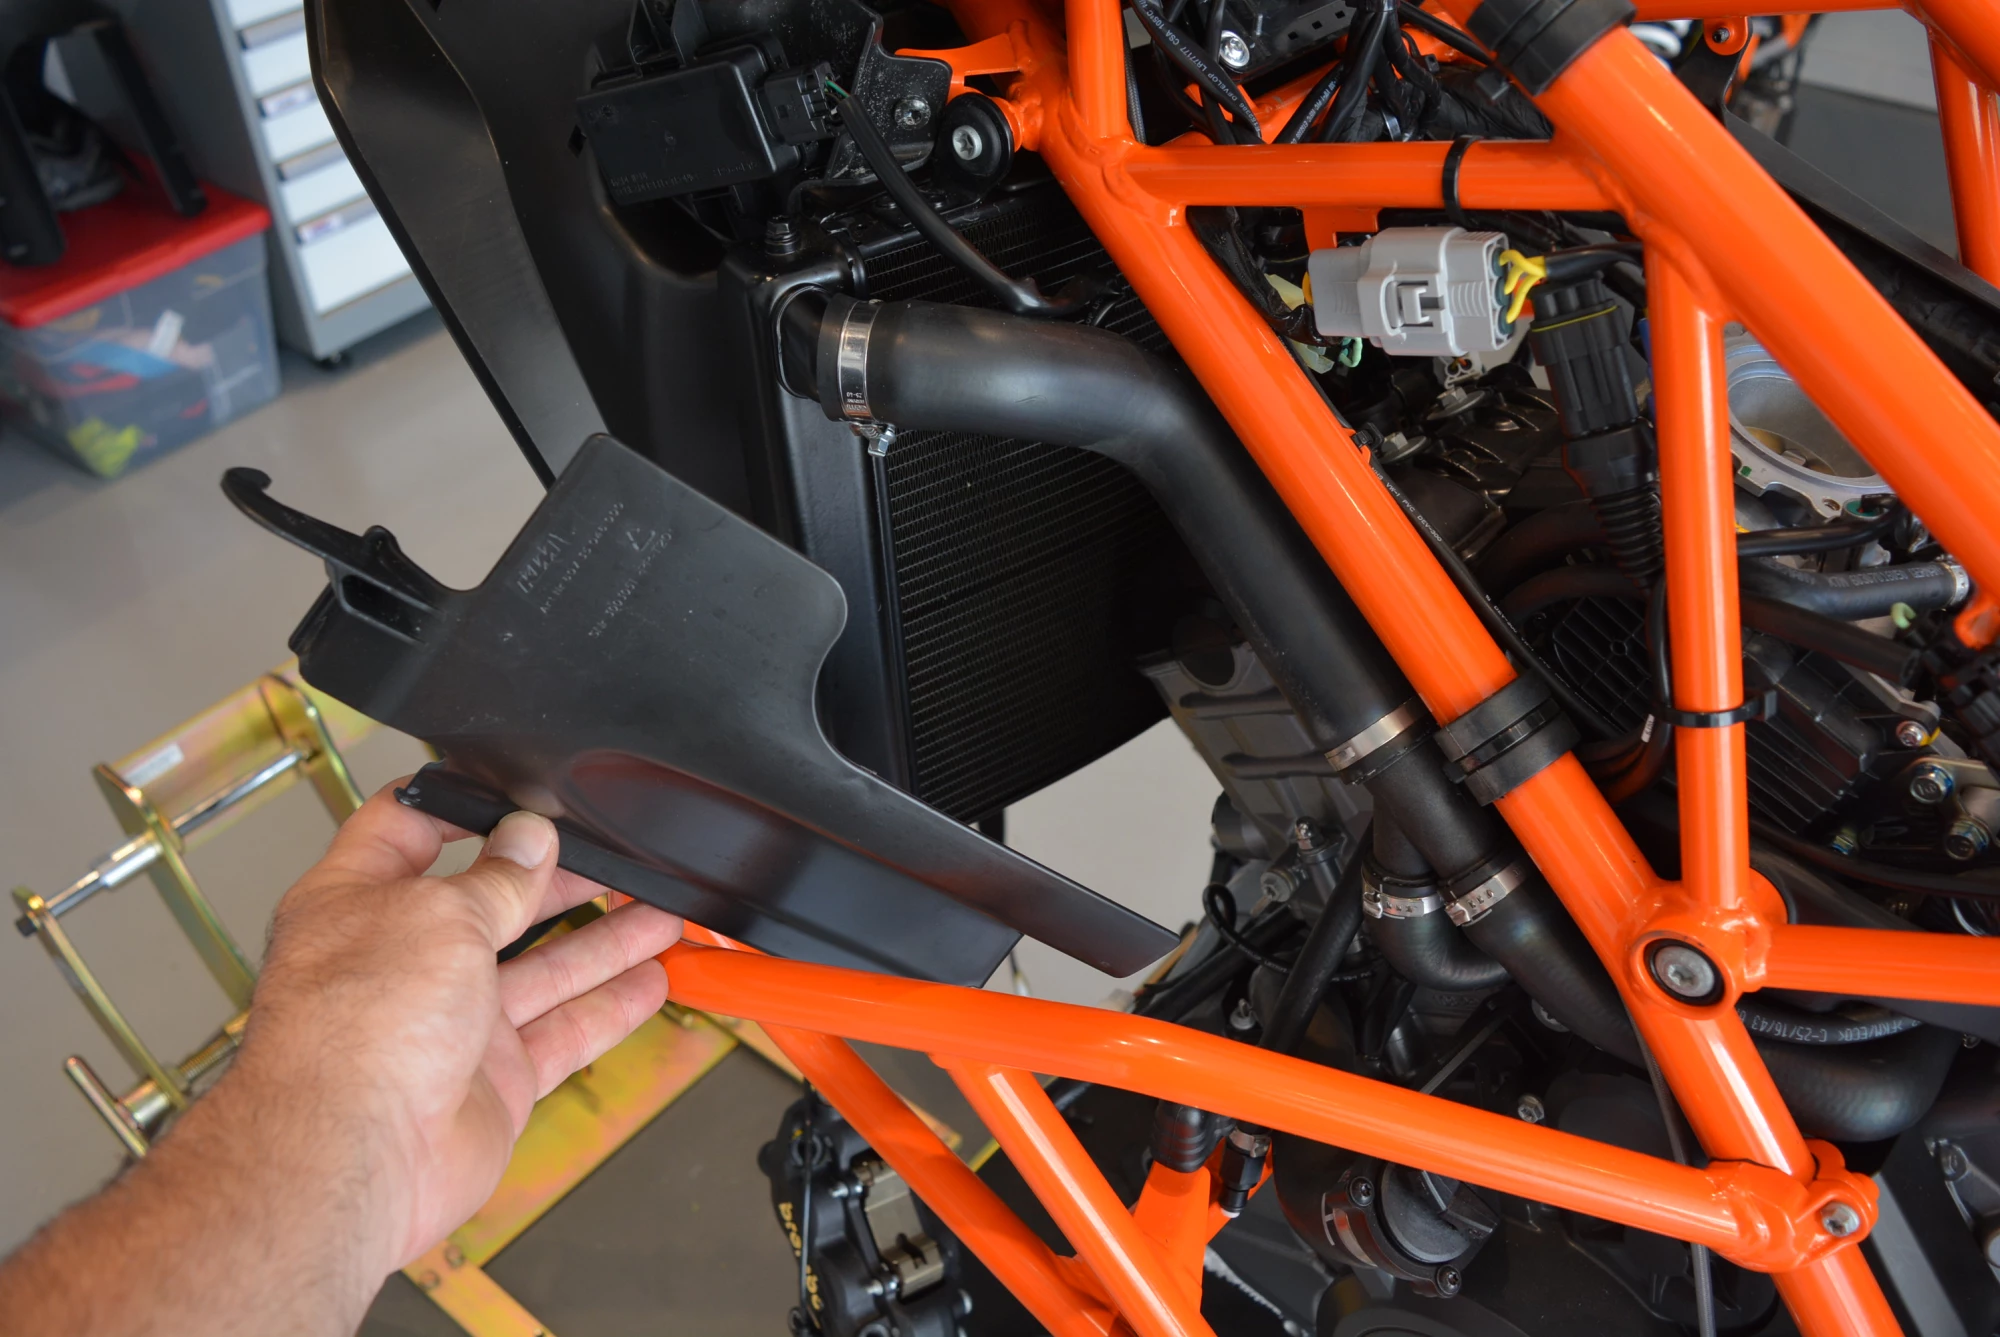
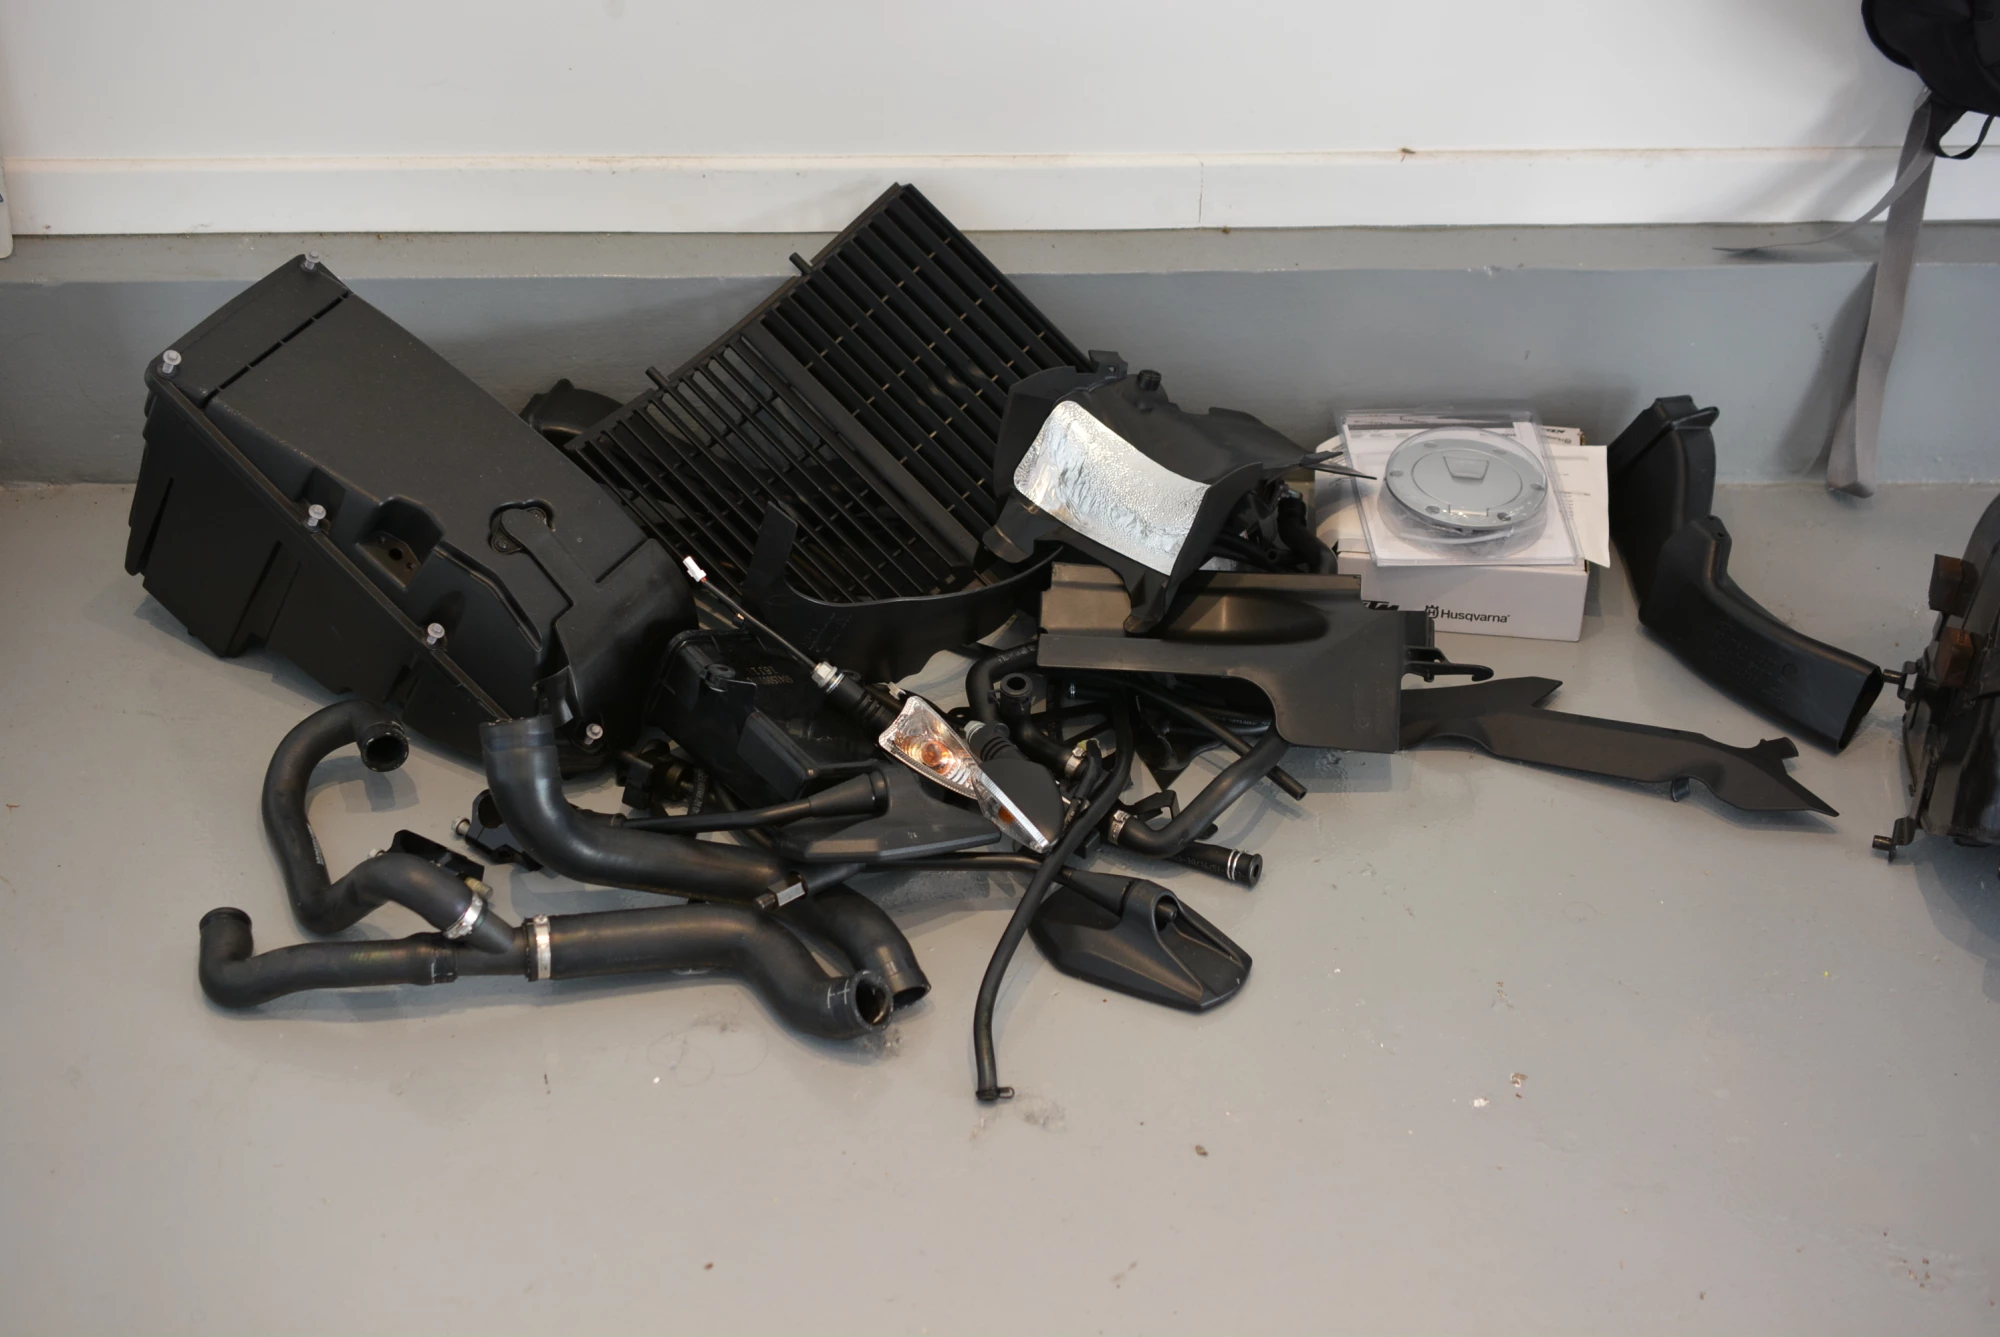
KTM has done thier best to address the heat issues eminating from the bike by adding a gaggle of plastic deflectors in and around the machine. Since our flagship product Rottweiler Intake System in combination with our pre ceramic coated Arrow headers reduces much of that, we decided against retaining all of the pieces in search of a little bit of weight loss and a lot of simplicity. (We like simplicity)
Our first order of business was to get the bike stripped down so that we could begin the surgery. The suspension was also removed and sent up to Alex Martens at Konflict Motorsports in Washington state where Alex would strip them apart for the various coatings and revalve that were to be performed. More on this later in the build.

We felt that the bike would cool much better without something blocking the air from flowing through the backside. All of these plastic pieces are designed to help mitigate the heat the rider feels eminating from the motorcycle, but all of this is designed to work in conjunction with how the bike needs to be delivered to the U.S. in stock trim. With some fueling changes, a ceramic coated Arrow header and a Rottweiler Intake System, we can accomplish the same if not more heat reduction so the pieces went in the bin.
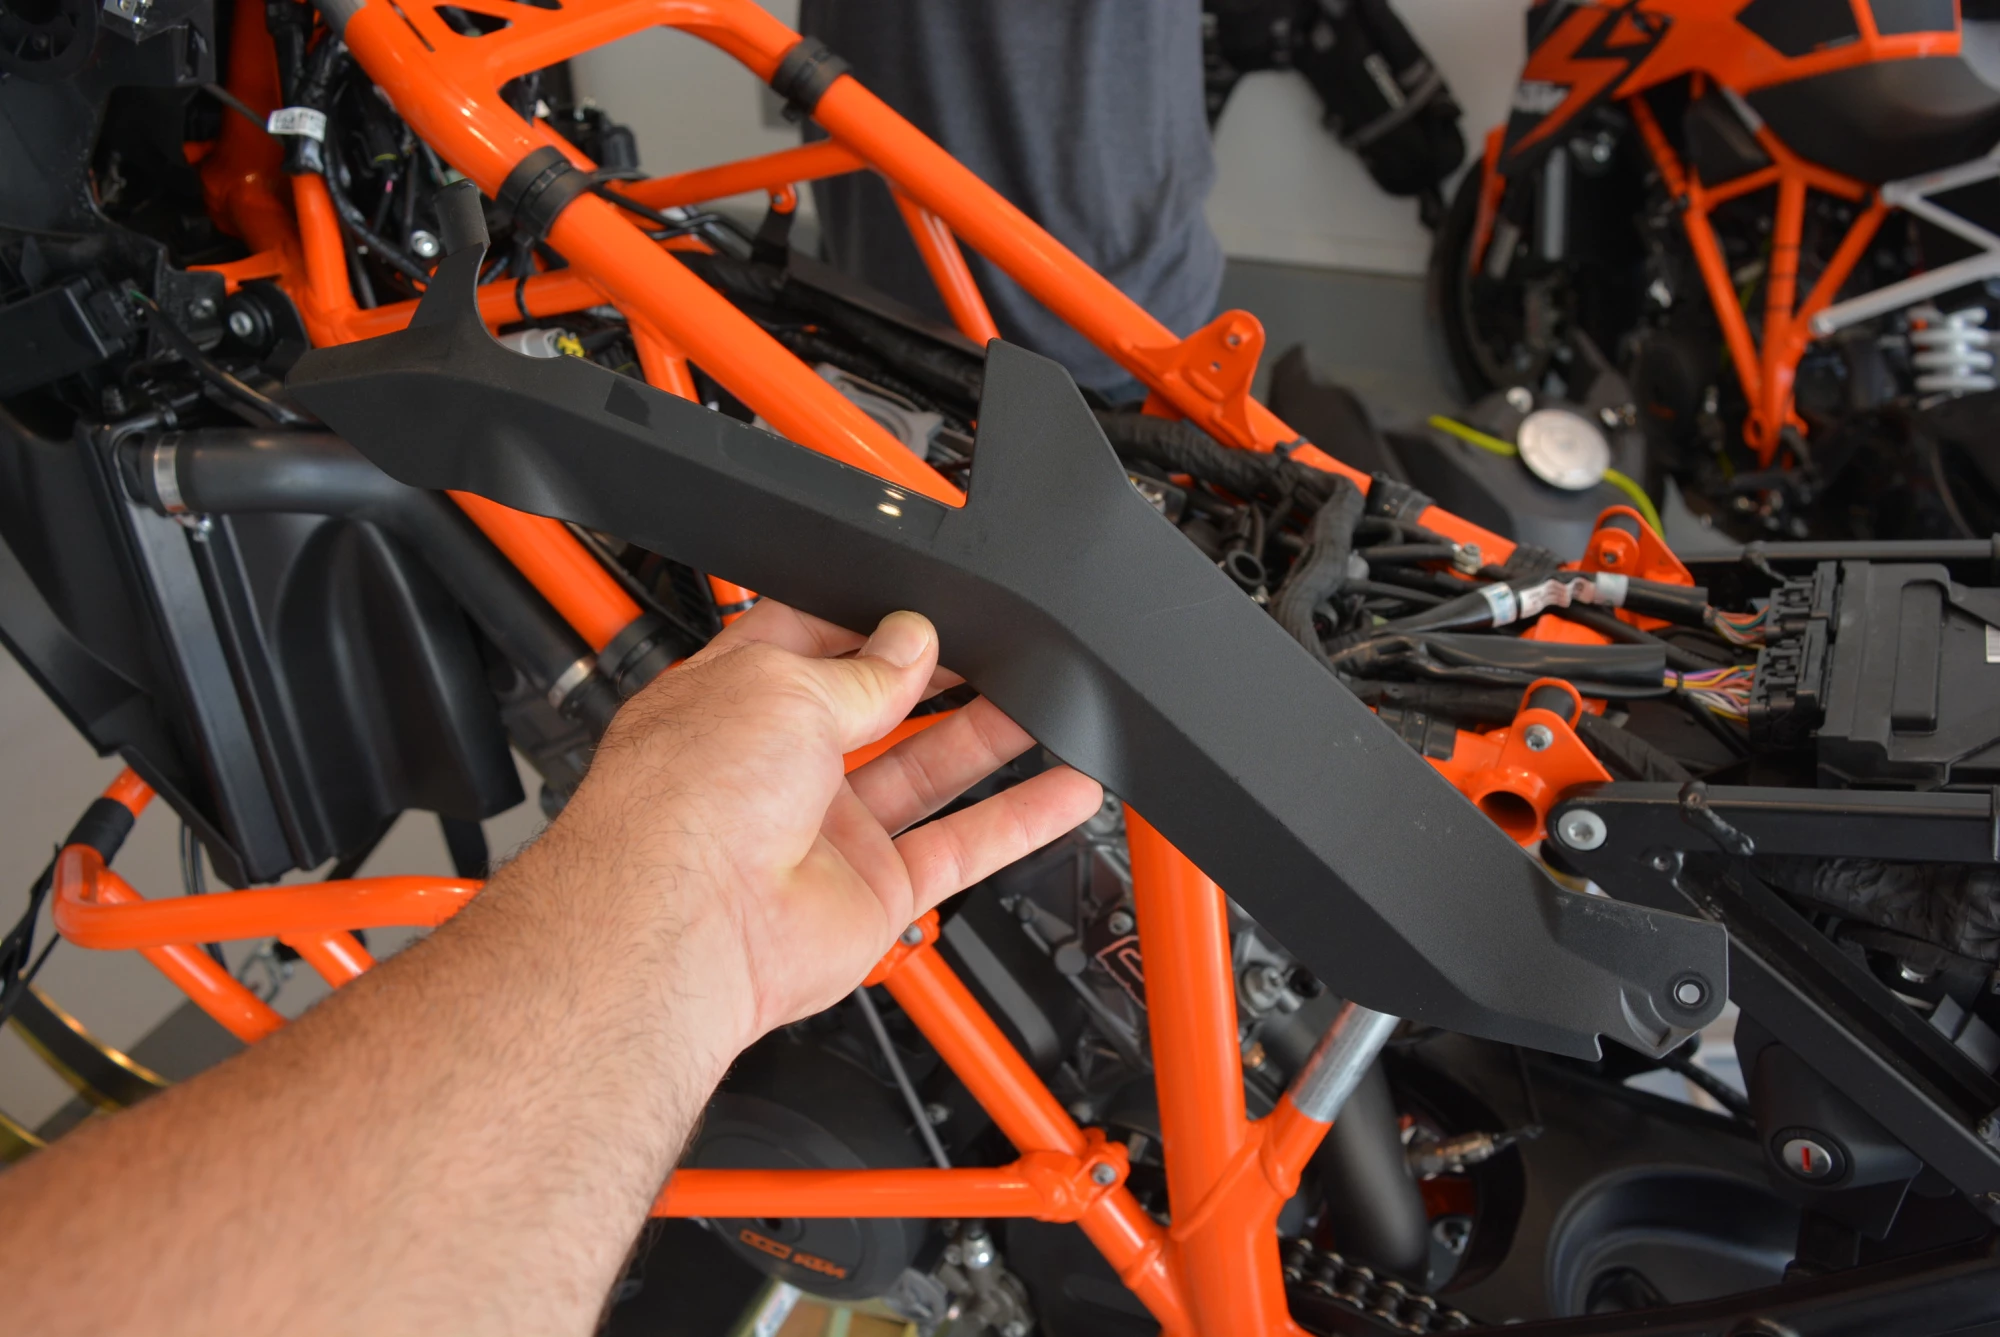
While these deflectors below have been created by the aftermarket as well, we just can't tell the difference with or without them and keeping them on only serves to add complexity and traps dirt against the frame eventually scuffing up the nice orange paint job that we like so much.
We ended up with a nice pile of stuff to clog up our shelves for a few years until the guy we eventually sell the bike to doesn't want it and we throw it all away anyway. Sound familiar? More of these pieces are explaned later in this build below.
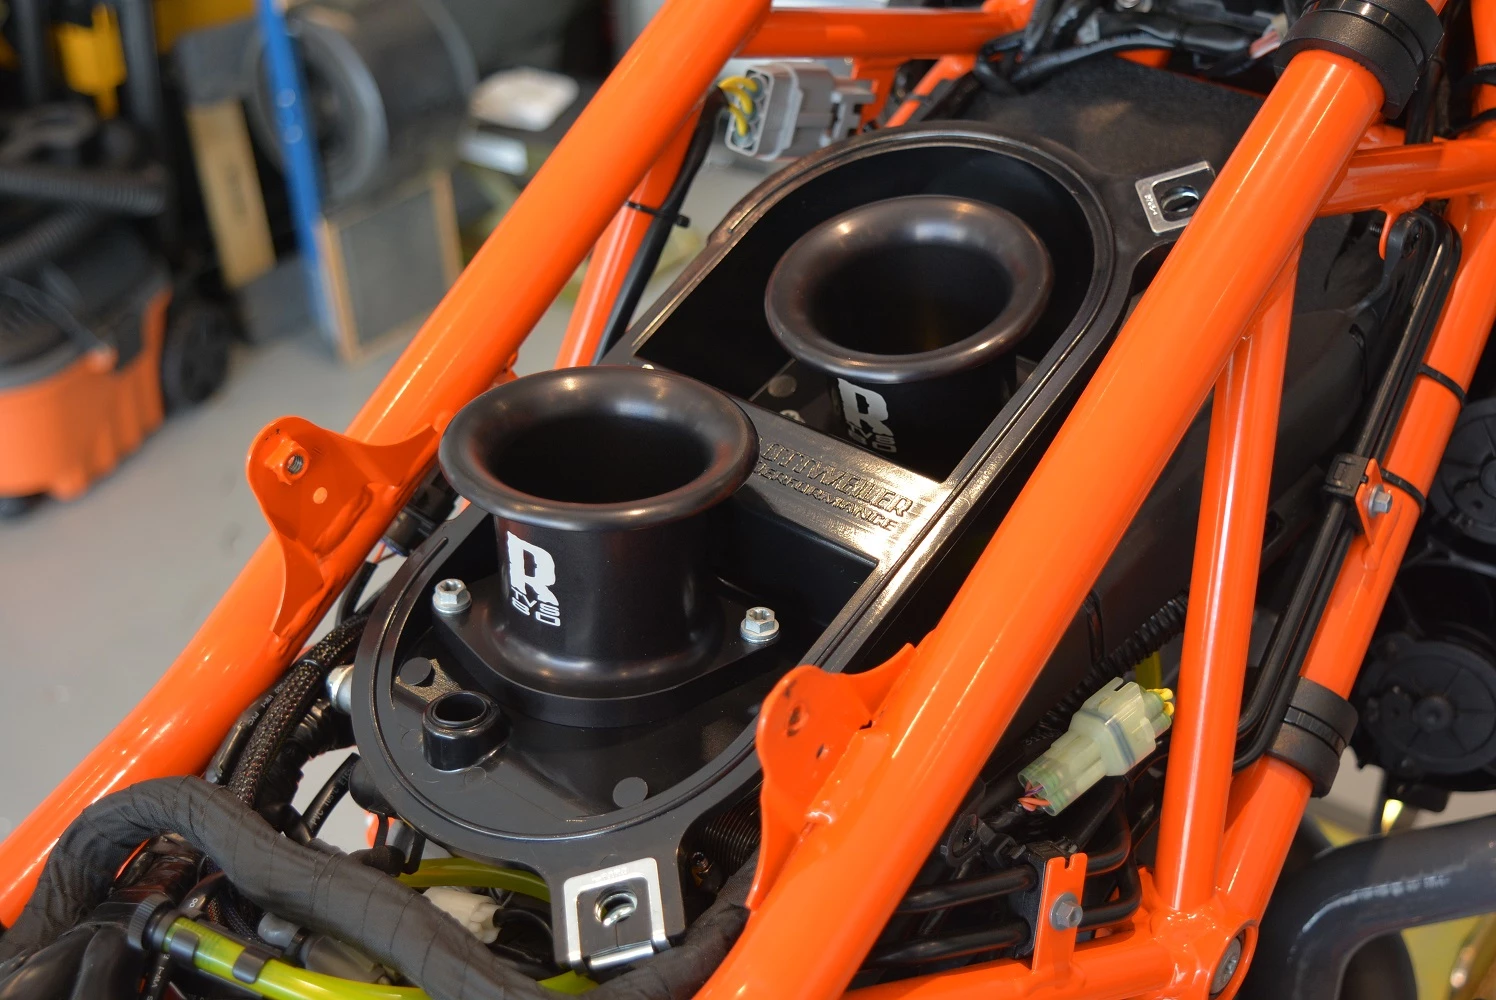
This always starts with (you guessed it) an SAS/Canister removal kit (Stage 2 for modern adventure bikes is most common) and then the installation of a Rottweiler Intake System Stage 6 with twin 80mm Tuned Velocity Stacks, a Powercommander V, Ignition Advance Module, Auto Tune dual wide band tuner and a POD 300 display so we have live data on what is happening with the fueling of the bike.
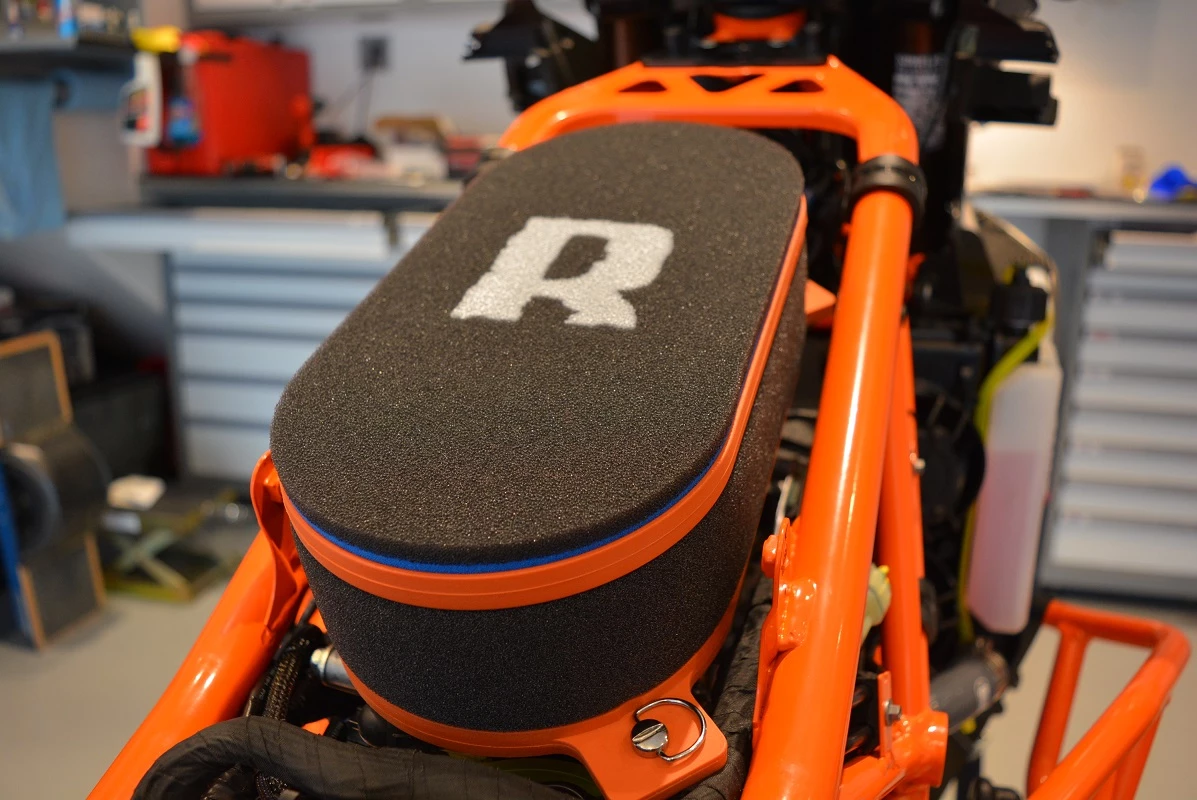
The triple layer foam open box design not only extends service intervals, but keeps the dust out of your engine and increases horsepower more dramatically than any other external modification to the engine. While the addition of a fueling tuner like the Powercommander V is not mandatory to run this filter system safely, it is truly the key to unlocking the most potential of the engine if that is also of value. If a programmer is not desired, a 'Stage 3' intake will do a fantastic job at keeping the engine clean as well as boost the power, smooth the bottom end, reduce heat and extend service intervals. If you want to maximize the full potential of the engine, then consider a 'Stage 4' and up intake kit which comes complete with a pre-programmed Powercommander V unit ready to plug and play.
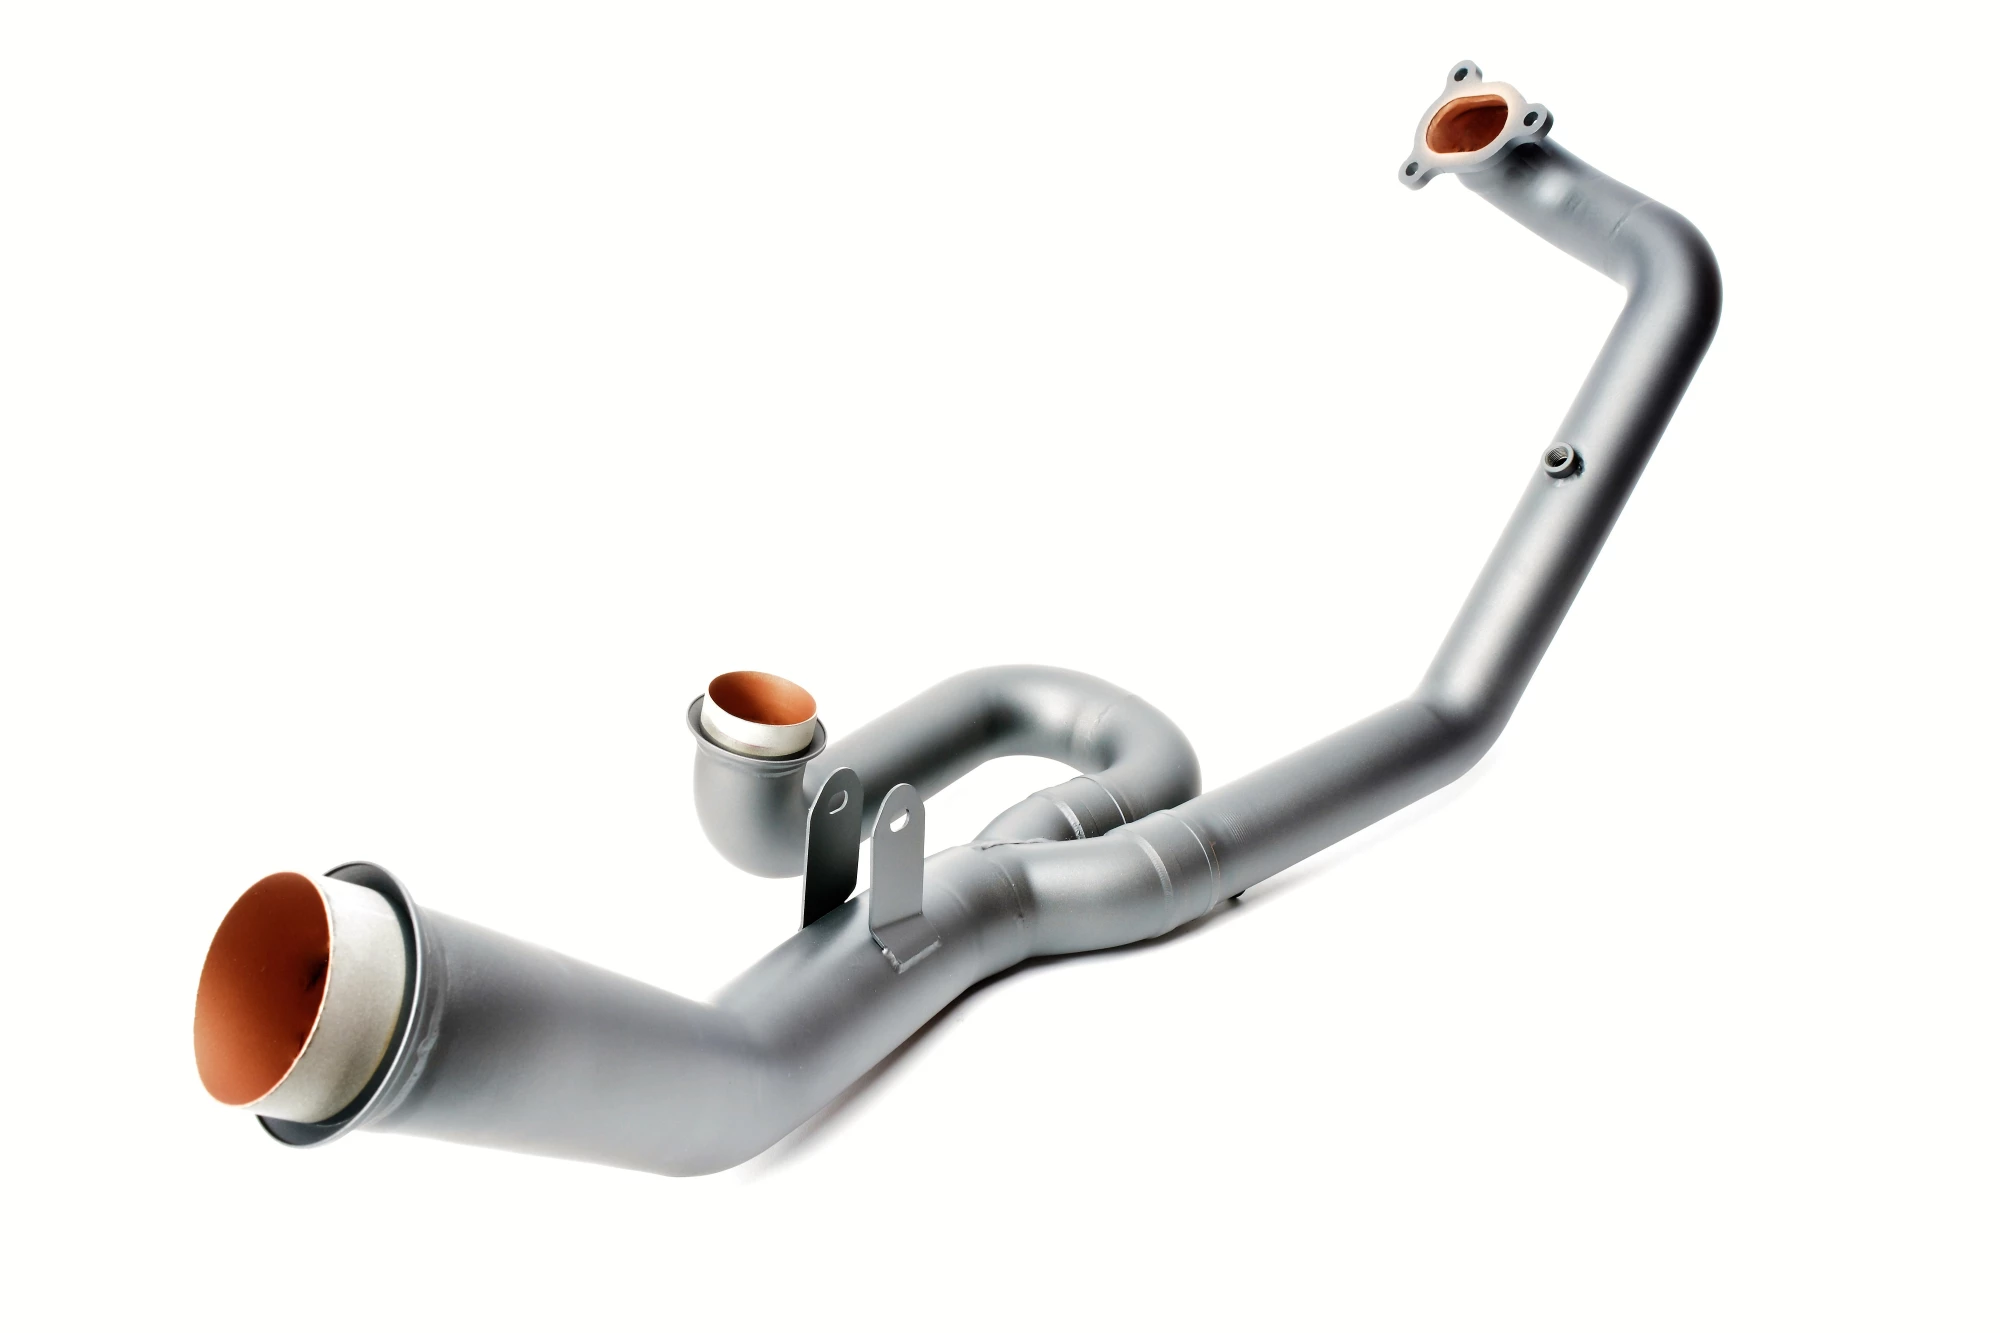
Working our way to the other end a Rottweiler Performance ceramic coated Arrow Header as added to the system for heat reduction and flow.
There were two things we discovered early on with this aftermarket exhaust system:
First, about 75% of our customers would buy them, and then wait another 2 weeks to get them ceramic coated. This is typically done to further reduce the radiating heat from the exhaust system, a significant complaint from KTM Adventure riders. For this reason we decided to have them pre-coated for the customer so as to avoid further wait times. We offer the color in a 'Tungsten Gray' that perfectly matches the color of the engine cases.
Second, for most current exhaust systems the standard size for the narrow band O2 sensor is 12mm, but when a customer opts for an Auto Tune system later (see article below), the welding of 18mm O2 bungs wiould be necessary. This is especially troubling if the system has already been coated, so at Rottweiler Performance, we have made special arrangements for our Arrow racing header systems to come complete with two 18mm O2 bungs with reducers to 12mm. What this allows us to do is offer a system right out of the box that can work with your stock narrow band 12mm O2 sensors or be upgraded to an Auto Tune system at a later date with no modifications to the exhaust system. A valuable option to make things much simpler for the end user.
Below you can see an example of the reducer. This opens up may options for the user.
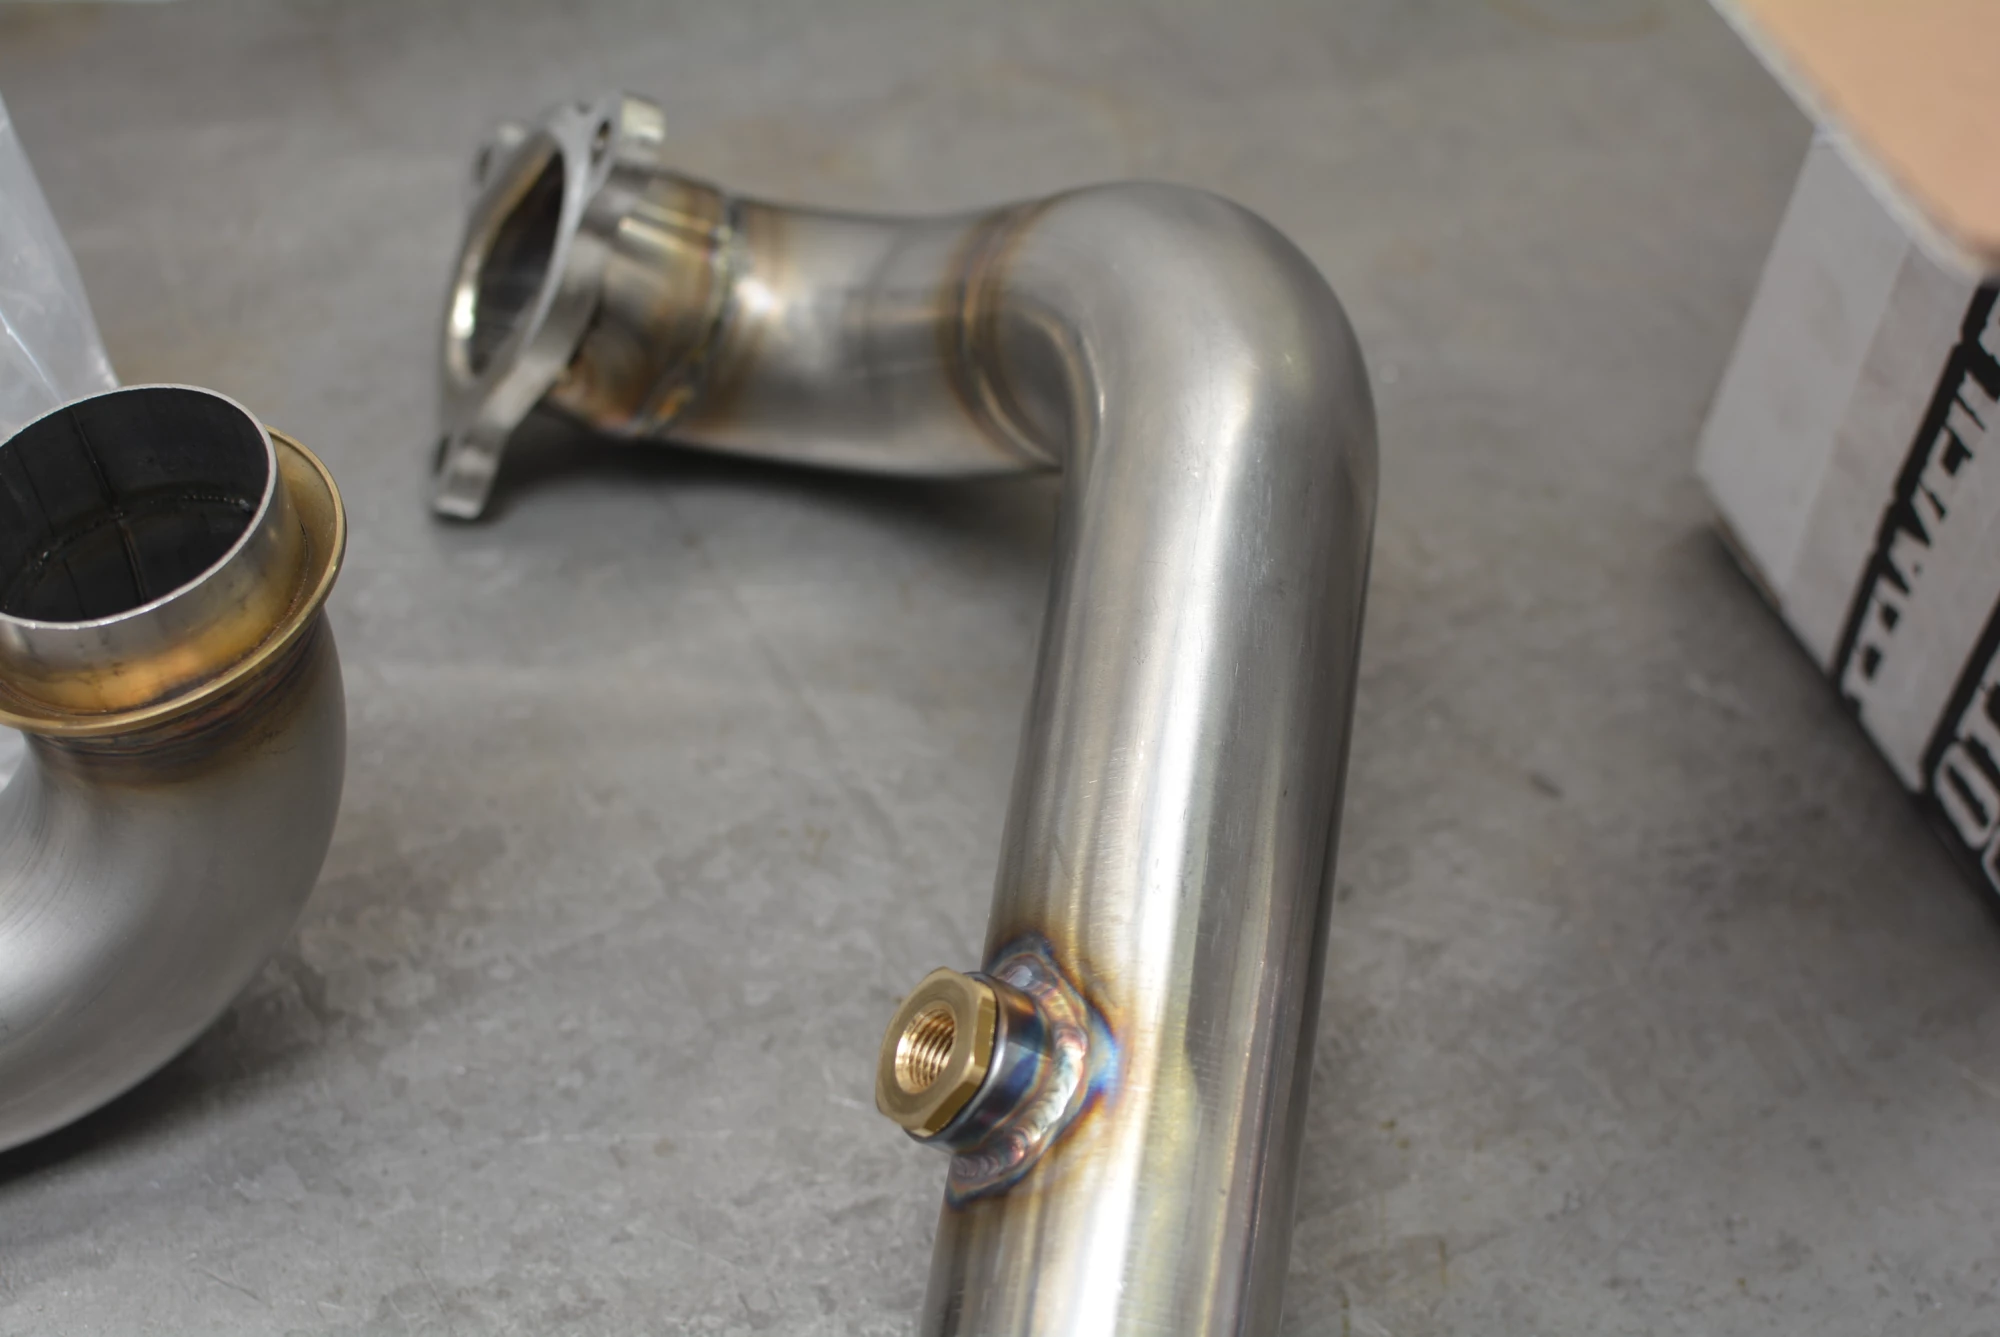
The color of the ceramic coating compliments the accents of the color of the engine cases very well.
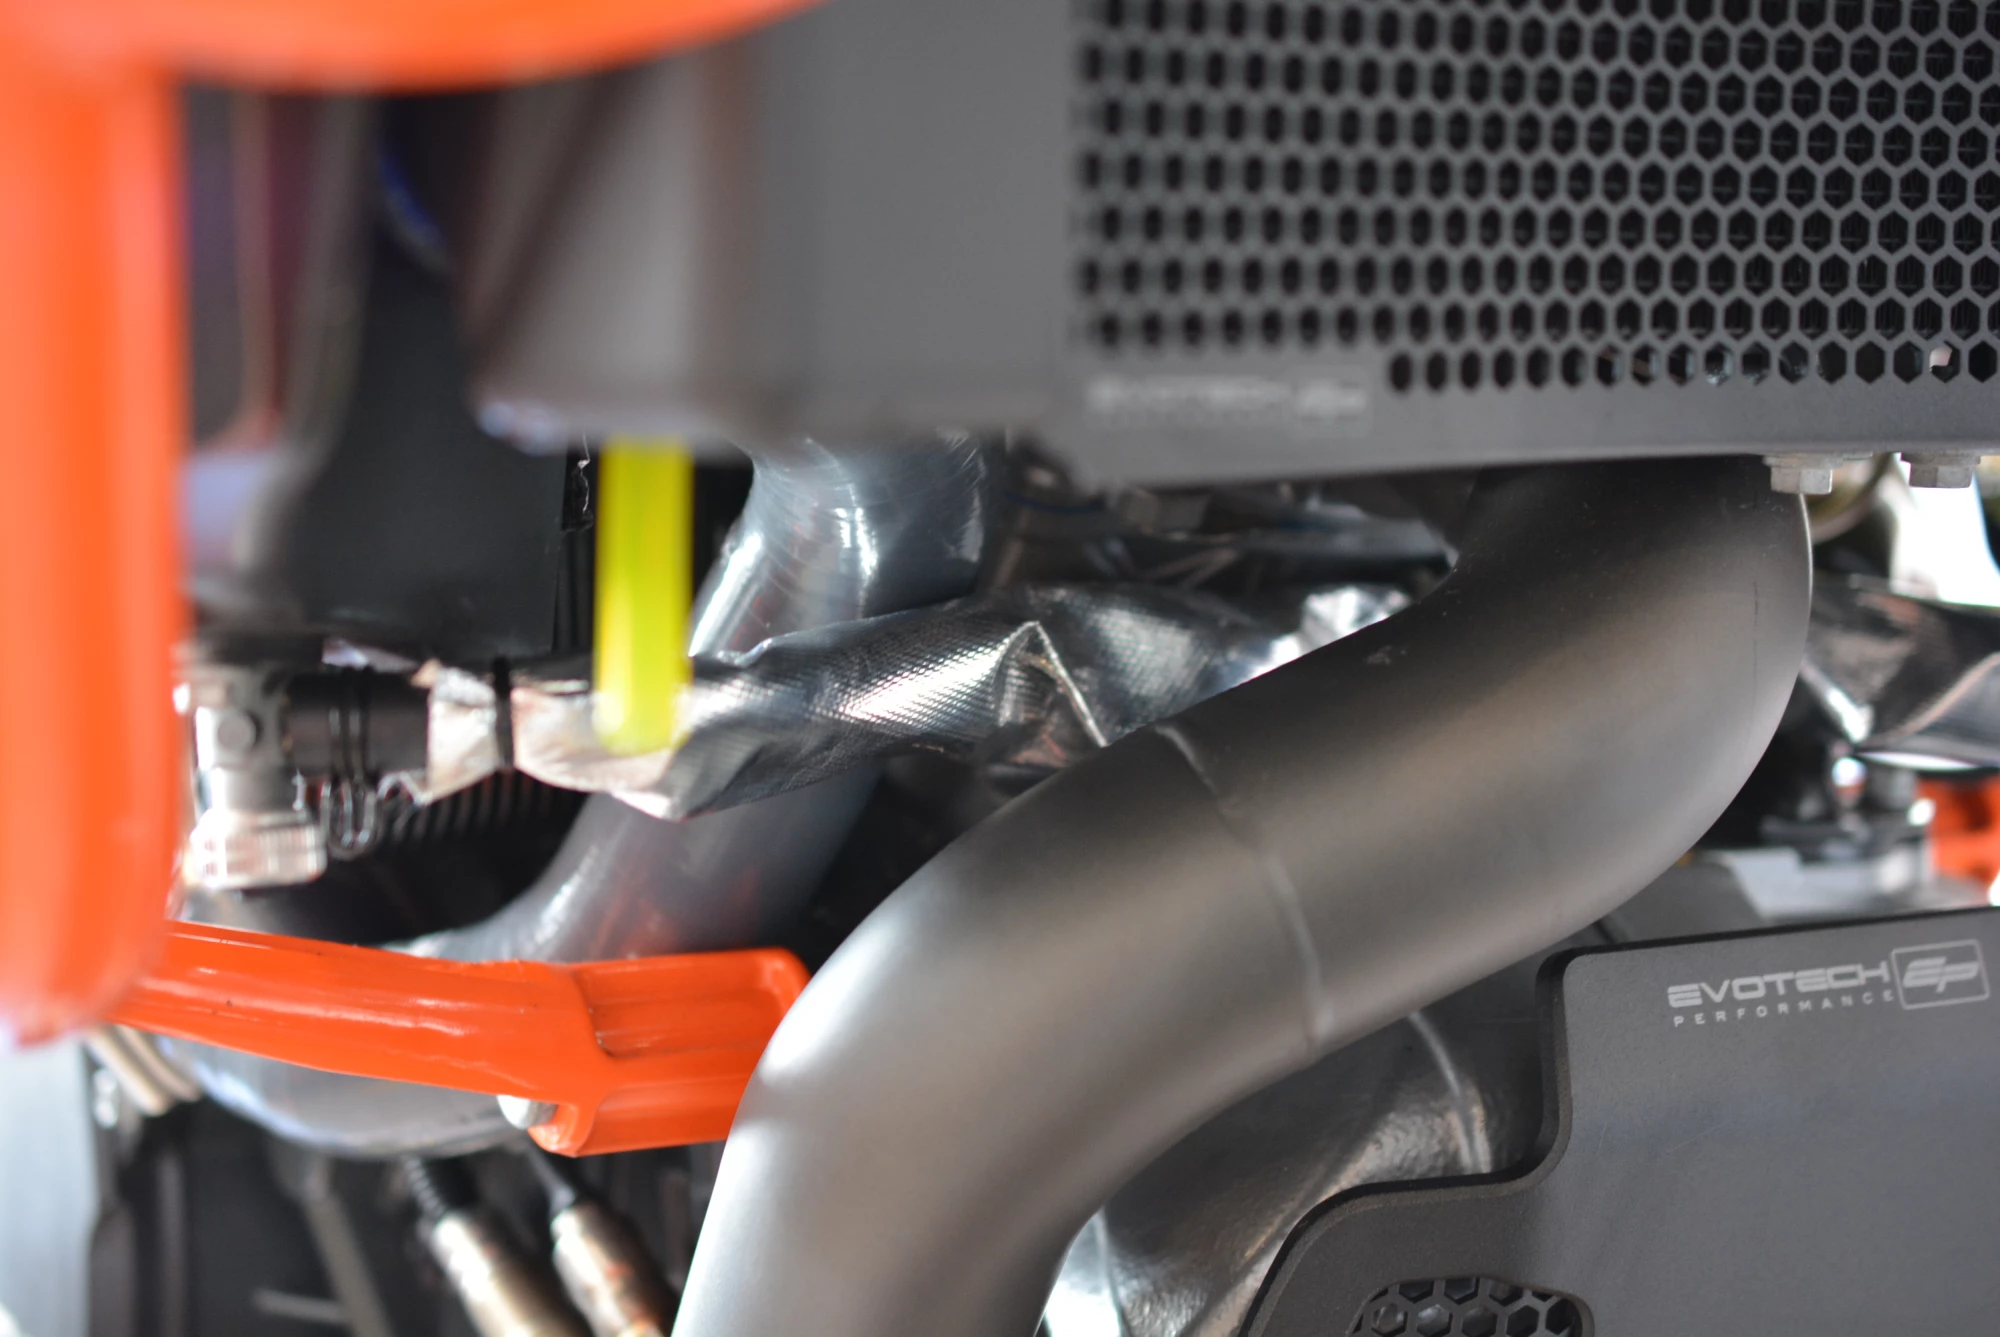
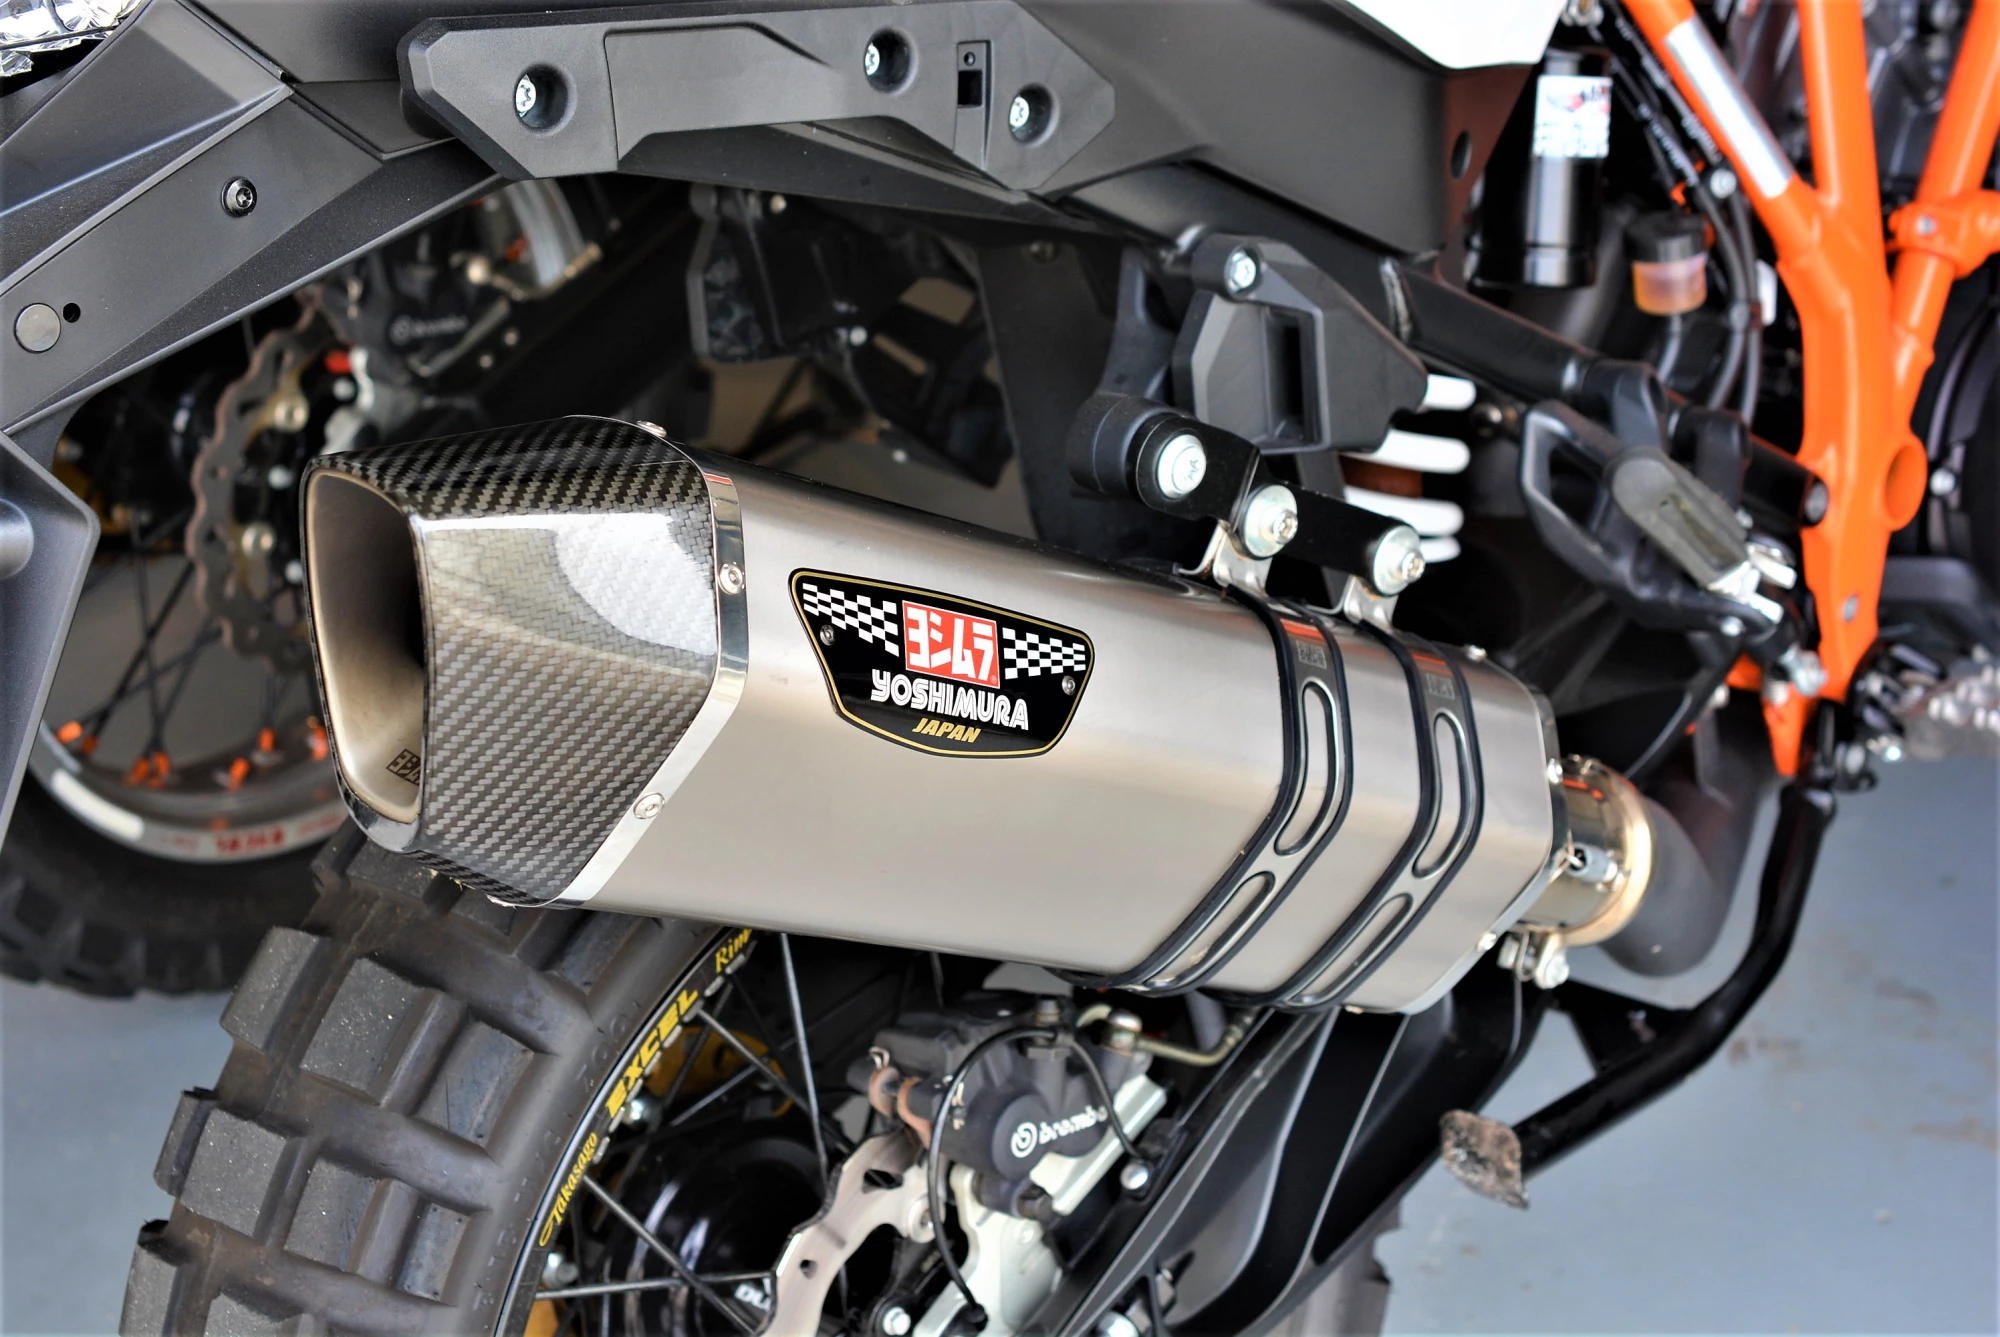
We coupled the Arrow exhaust system with a titanium/carbon Yoshimura 'Hepta Force' muffler to round out the tone. Both Yoshimura and Arrow make fantastic mufflers, and the choices usually just come down to visual preference, budget and sizing. We could have easily gone either way as they all pretty much do the same thing.
If you are the type of rider who wants to maximize the smoothness and performance of your motorcycle, then total control over the fuel delivery is key. A piggyback ECU like the Powercommander V by Dynojet inc. is by far the most popular method of gaining that control back.
READ THE BRIEF SECTION BELOW TO GET A BETTER UNDERSTANDING OF HOW DYNOJET MAPPING PRODUCTS WORK WITH KTM MOTORCYCLES AND HOW ROTTWEILER PERFORMANCE CAN HELP EVEN THE MOST NOVICE OF USER GET THEIR BIKE WORKING AS IT SHOULD.
Before we begin, a common question regarding the installation of a Powercommander is, "Will I lose my ride modes?" and the answer is that you DO NOT lose your modes. Those are based on a cocktail of traction control and ABS and do not alter any fueling or ignition. They just limit how the physical throttle plates react to what your wrist is doing. ‘Off Road’ and ‘Rain’ modes just limit the throttle plates to a maximum of 60% open. Sport mode is almost 1:1 with some caveats regarding RPM. Your fueling is solely based on throttle position (at the throttle bodies) and RPM so the 'Ride Modes' are something totally separate from the actual fueling and are not affected.
So, the Powercommander V works like this: In stock trim, the ECU sends a pre-set signal at any given RPM and throttle position to the fuel injectors in the form of a pulse width. The wider the pulse, the richer the mixture (more fuel sprayed). The narrower the pulse, the leaner the mixture (less fuel sprayed). The primary function of the Powercommander V (among many other bonuses that you can discover on your own) is the business of ‘hijacking’ those signals and modifying them by a percentage +/-. Hypothetically, within the PCV mapping tables, (looks like an Excel spreadsheet with throttle position horizontally and RPM vertically) if there is a number (value of) say ‘11’ at 40% throttle and 5000 RPM, it is delivering 11% more fuel in that cell range. So on and so forth (See attachment).
Now, there is one more thing. The stock ECU is programmed to adapt from 0-20% throttle and from 0-about 5000 RPM. It primarily relies on the stock narrow band O2’s to do this. This is called ‘closed loop’ and it is not your friend. The O2 sensors are mounted in the exhaust header tubes to monitor how much unburned oxygen is in the exhaust as the exhaust exits the engine. Monitoring oxygen levels in the exhaust is a way of gauging the fuel mixture. It tells the computer if the fuel mixture is burning rich (less oxygen) or lean (more oxygen). It then takes this information and uses it to adapt the closed loop section to meet the requirements the EPA mandates for emissions. The caveat is that the closes loop section typically runs extremely lean to meet these requirements, leading to an engine that runs hot, jerky throttle and typically very poorly and of much less power. Not what the manufacturers would ever do given the ability, but are forced to do if they want to sell bikes in certain countries.
Where the stock narrow band O2 come into (or out of) play: A Powercommander V comes with a set of ‘O2 Optimizers’ that essentially stops the stock ECU from constantly trying to keep the AFR’s (air fuel ratios) at 14.7 (lean). This is for the purposes of accurately re-mapping the fuel curve without the base map constantly changing underneath it. Remember that the PCV map values are based OVER the base map values, and if the base map is always trying to adjust to be lean, you cannot accurately build or run a new map over that. The O2 Optimizers do this by sending the same signal back to the ECU so it thinks the conditions are the same all the time and stops trying to adjust. Rest easy, you still have barometric pressure and manifold air pressure (MAP) sensors in play so the bike will still adapt to changing altitudes, temperatures and so on just fine, but the stock ECU can no longer rely on the stock narrow band O2’s for information in closed loop. (this is a good thing)
What you end up with is the ability to completely re-map the fuel curve with ease as the PCV software is very friendly and even allows for real-time adjustment while the bike is running via dyno or the addition of an Auto Tune module. They are loosely called ‘Piggyback ECU’s’ for that reason. All of your ‘modes’ work as designed and are not affected at all. You simply end up with a bike that runs much cooler, more powerful and smoother at the same time as it is getting the fuel it deserves.
PCV’s typically come with a pre-programmed map installed already. What we call ‘digital jetting’ so some of the old school guys can wrap their heads around fuel injection and how it works. They come stock with a map that is optimized for stock setups, but Rottweiler Performance also has a large stock of other maps as well that we can install and setup before shipment for free. All we need to know is the final setup and we will program it with one of our own maps that was acquired either through our dyno facilities or provided by trusted customers.
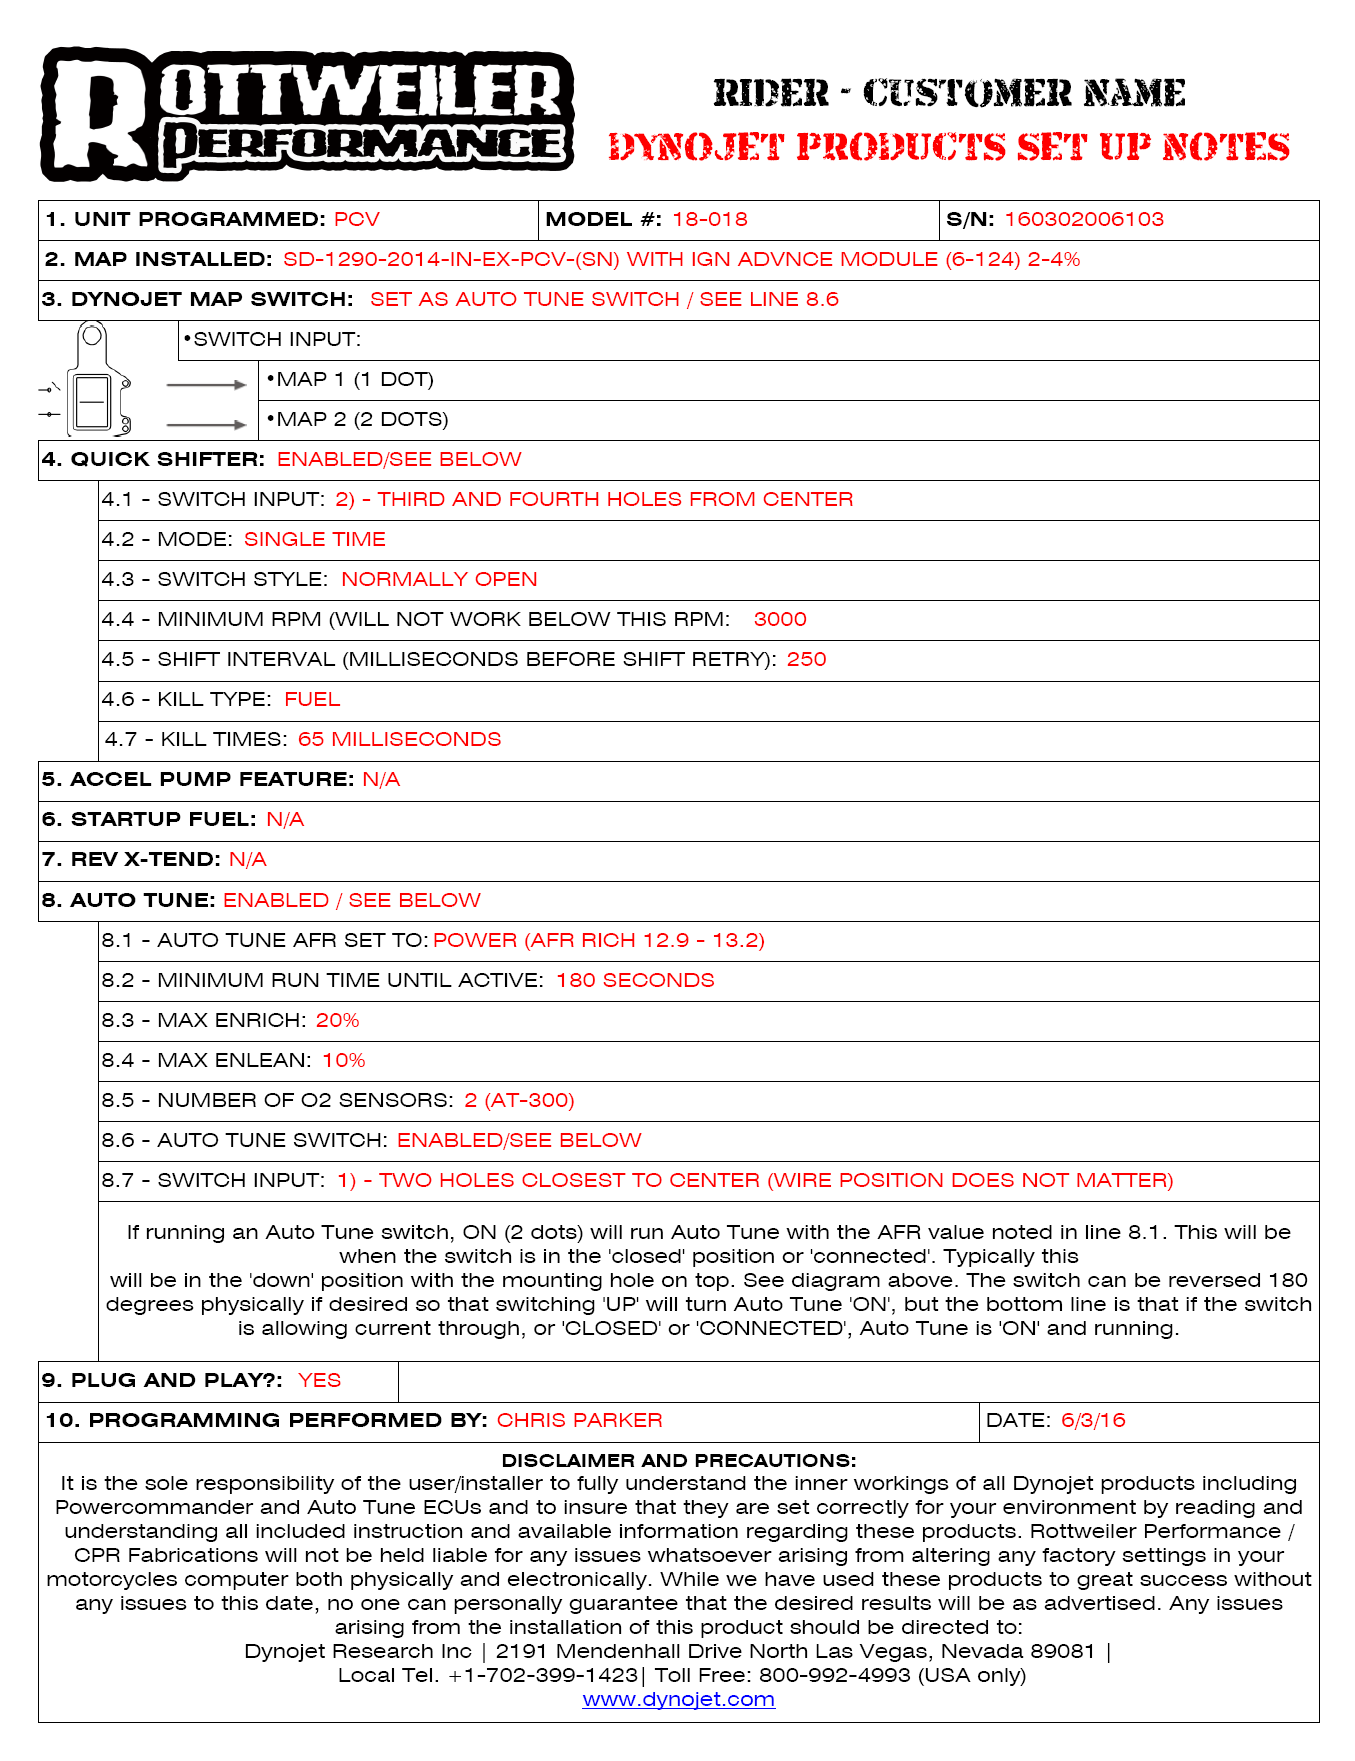
Furthermore, if the customer opts for an Auto Tune, Ignition Box, Quick Shifter, dual map switches or any other peripheral that can be added to a PCV module, we can take the worry out of those too and set them all up custom for that particular customer’s needs so that the entire kit is mostly plug and play, making the process much more attractive to someone who knows what they want, but may not be intimate with how Dynojet Powercommander products work.
AN EXAMPLE OF THE SETUP SHEET THAT COMES WITH OUR CUSTOM SETUP PROGRAM.
To better understand how these operate, I will give you a brief rundown of what you are looking at in the picture below.
Powercommander V: The brain of it all. This is the base or starting point of everything Dynojet and is what controls your fuel mapping changes via the Powercommder V software. This is the overall best option for smoother throttle response and overall power delivery. All of the other optional add on units will plug in to this box via wire clamps or can cables that are supplied with every device. There is not wiring a PCV. It will get it's power typically from the 12 volts going to the fuel injector plugs and it plug and play. No splicing or wiring knowledge needed at all. Just follow the easy instructions.
Ignition Module: The ignition module is an add on to the PCV and allows for ignition advances that are usually good for about 4+ more horsepower if you are looking for total performance. They come stock with NO ignition advances in them. Basically a zero map, but if you click the link here, we offer a free cut and paste ignition trim map to make things easy for you.
Note: An ignition module is purely optional. Some PCV models like the 18-003 PCV for the LC8 990 will alter both fuel and ignition in the same module. The reason the LC8 1050-1290s need an additional module is because the PCVs can only handle four channels. I.E., two injectors and two coil sticks. Modern LC8s have two injectors and four coil sticks, hence the necessity for a separate module.
Auto Tune: The icing on the cake. The PCV does a great job at remapping the bike and creating a better and more balanced overall power delivery, but the Auto Tune module will put that on steroids by making your mapping what we like to call 'Dynamic'. In short, the Auto Tune adds function to the Powercommander V by creating additional 'trims' to your base maps that are always adjusting to continual changes in the atmosphere, within the fuel, and modifications to the motorcycle among other things. It does this by the introduction of wide band O2 sensors that can sense the oxygen in the exhaust in real time, and then take those measurements and turn them into changes in how much fuel is being delivered at the injectors.
Once Auto Tune has been enabled in the PCV software, a new page appears that allows the input of AFR values. If a value is input in a given cell range, the Auto Tune will strive to make that area of the map exactly what you told it you wanted it to be. It does this by comparing what the wide band O2s are sensing in the exhaust pipe, to what you have told the software you would like it to be. It then makes the necessary corrections in the mapping via 'trims tables' to constantly adjust your fuel mixture. If you don't know what to input, click this link here for a free copy/paste spreadsheet. (You will need to download the file to properly copy it)
LAYING OUT THE DYNOJET PRODUCTS IS KEY TO A CLEAN INSTALLATION.
The units themselves are actually quite simple to install, but for the OCD types (like me) that really care about how it all lays out, some planning and preparation are in order before and during the install. We have learned that plenty of quality zip ties of differing sizes can be key as you will undoubtedly change your mind a few times getting it all just right.
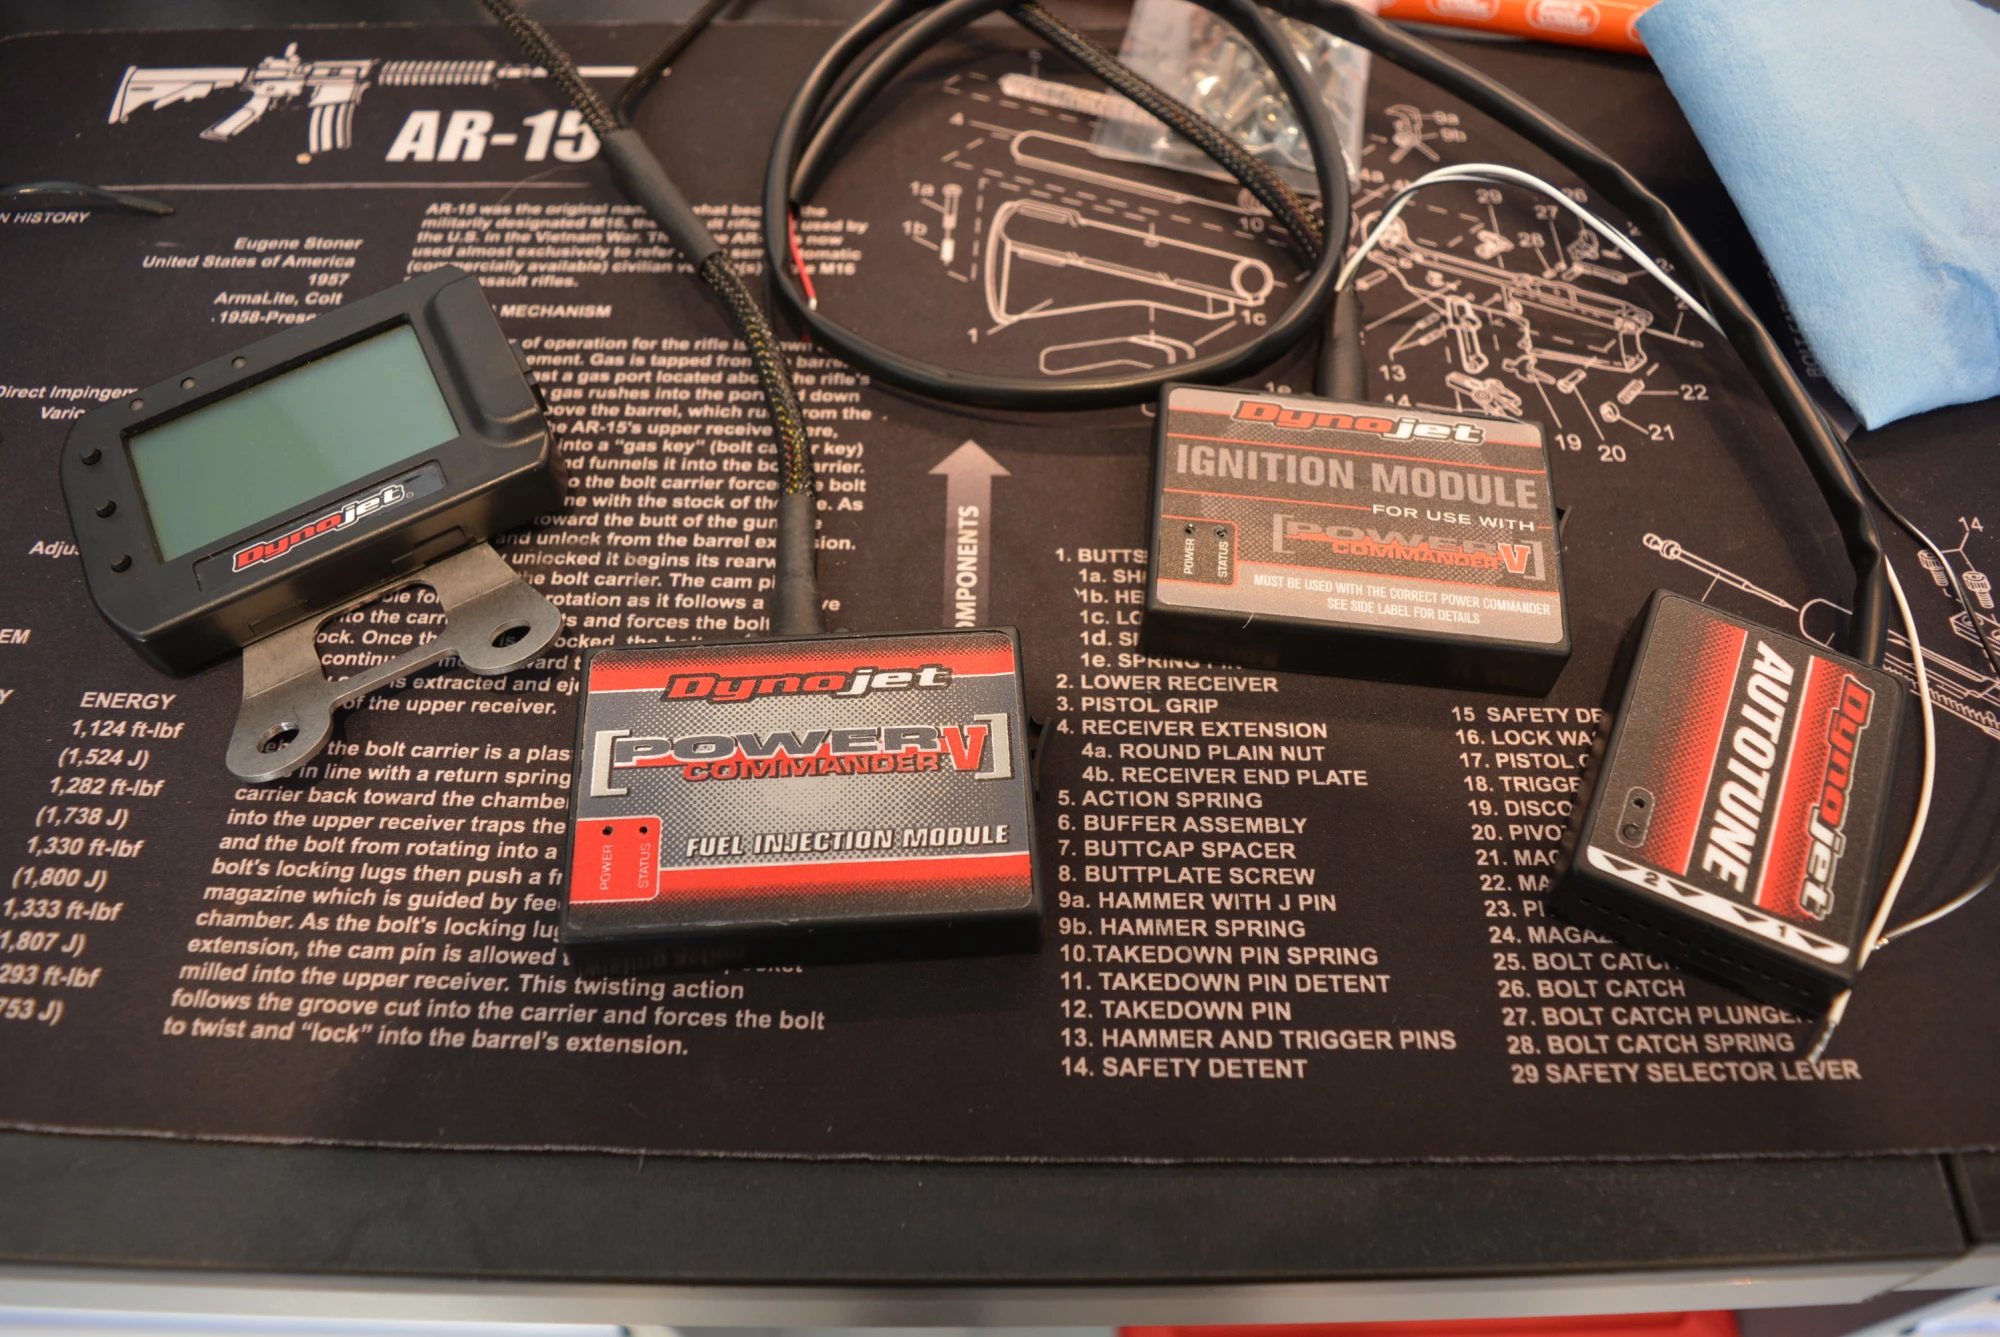
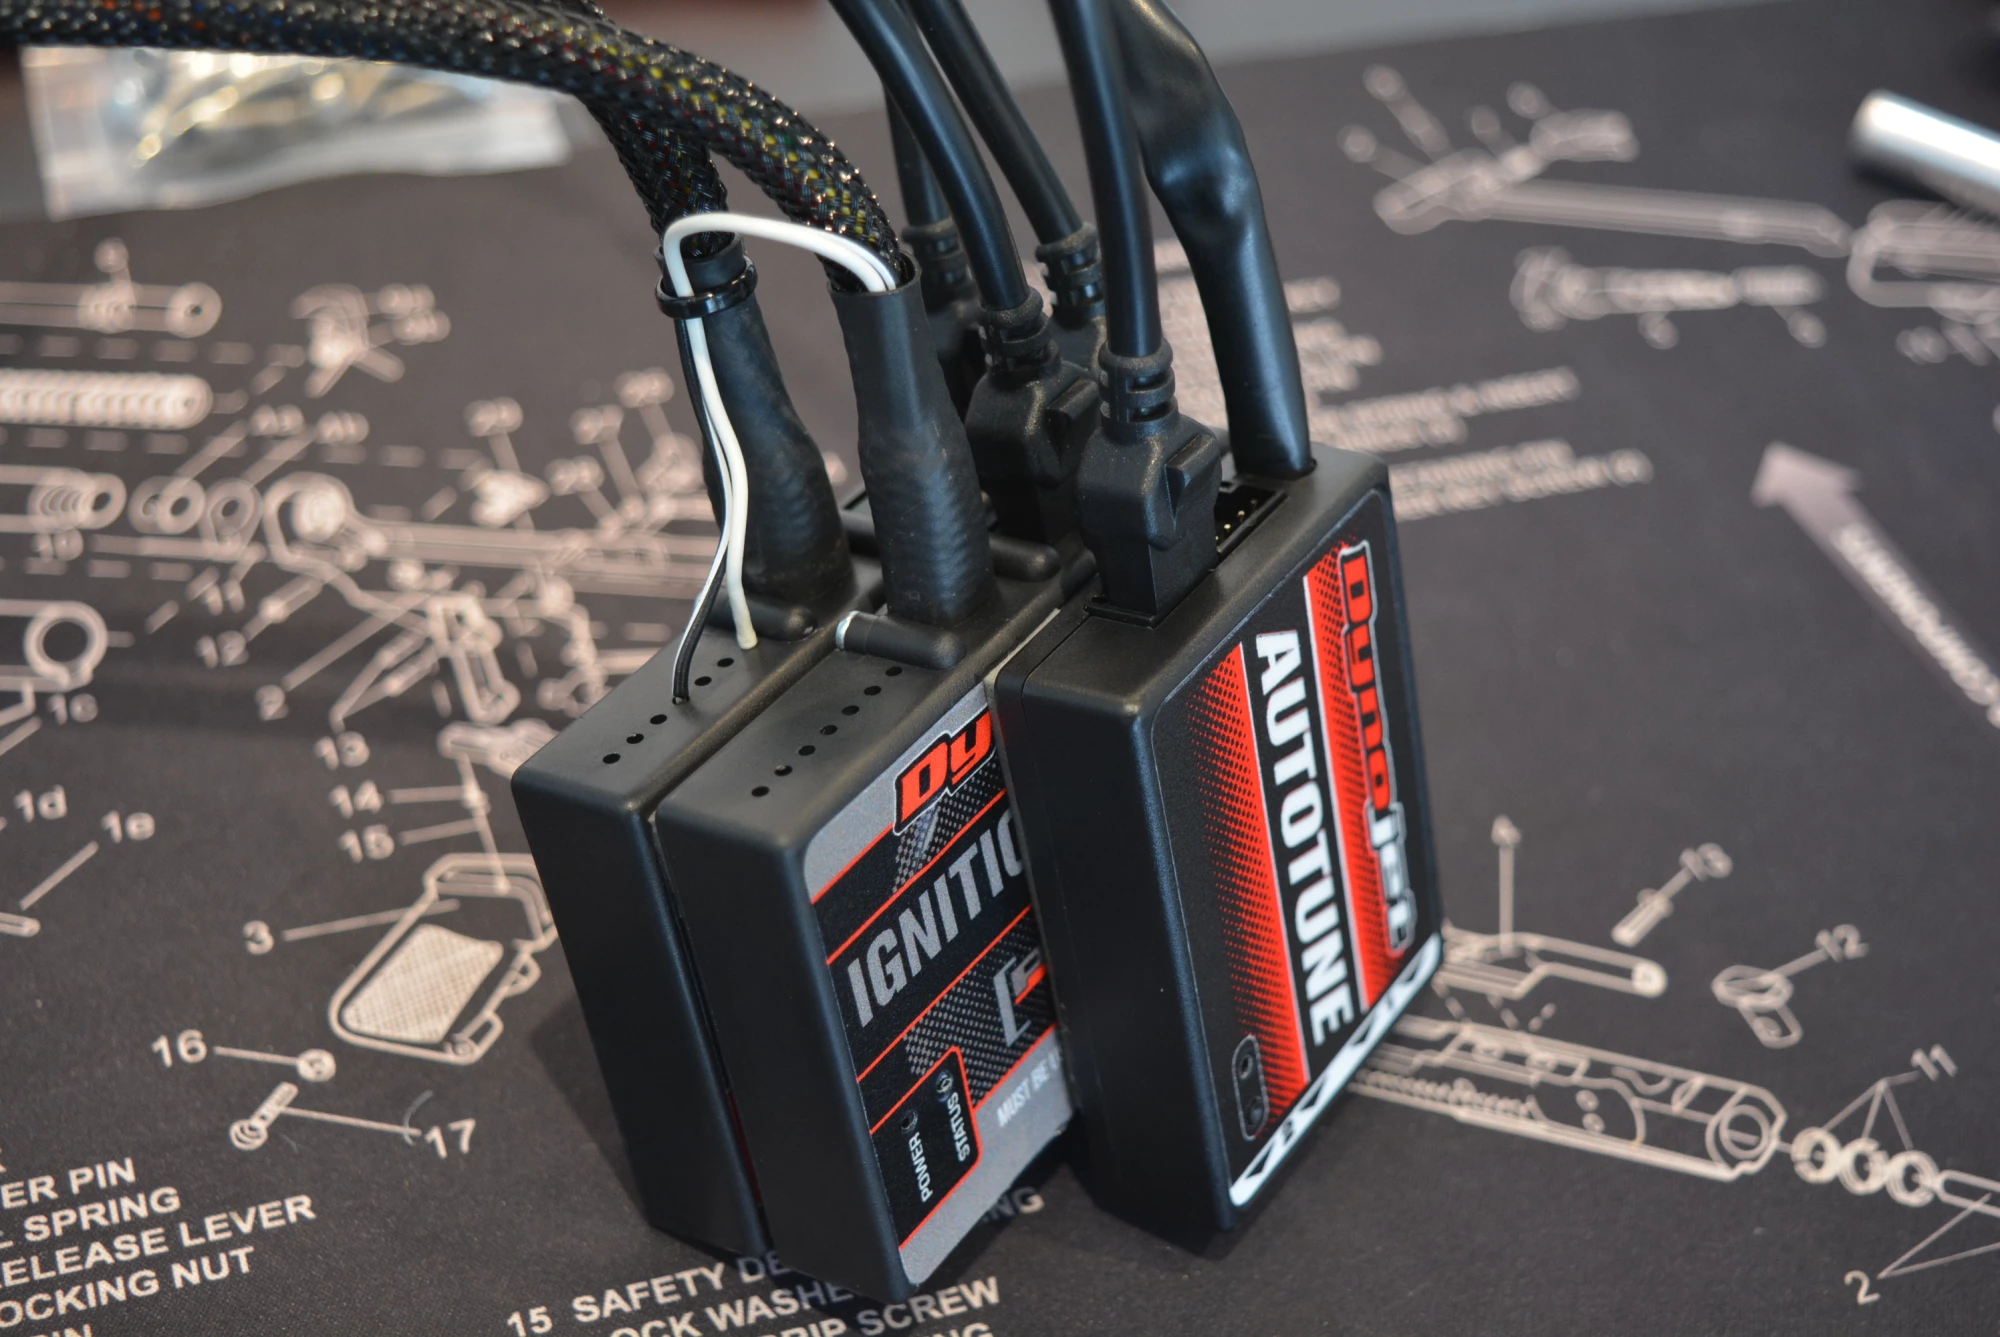
We started the process by carefully assessing a few factors when finding a good location and bundling the Dynojet units together. First, we used a thicker 3M VHB (stands for 'Very High Bond') tape to hold them together. This is the same stuff found on GoPro mounts and grey in color.
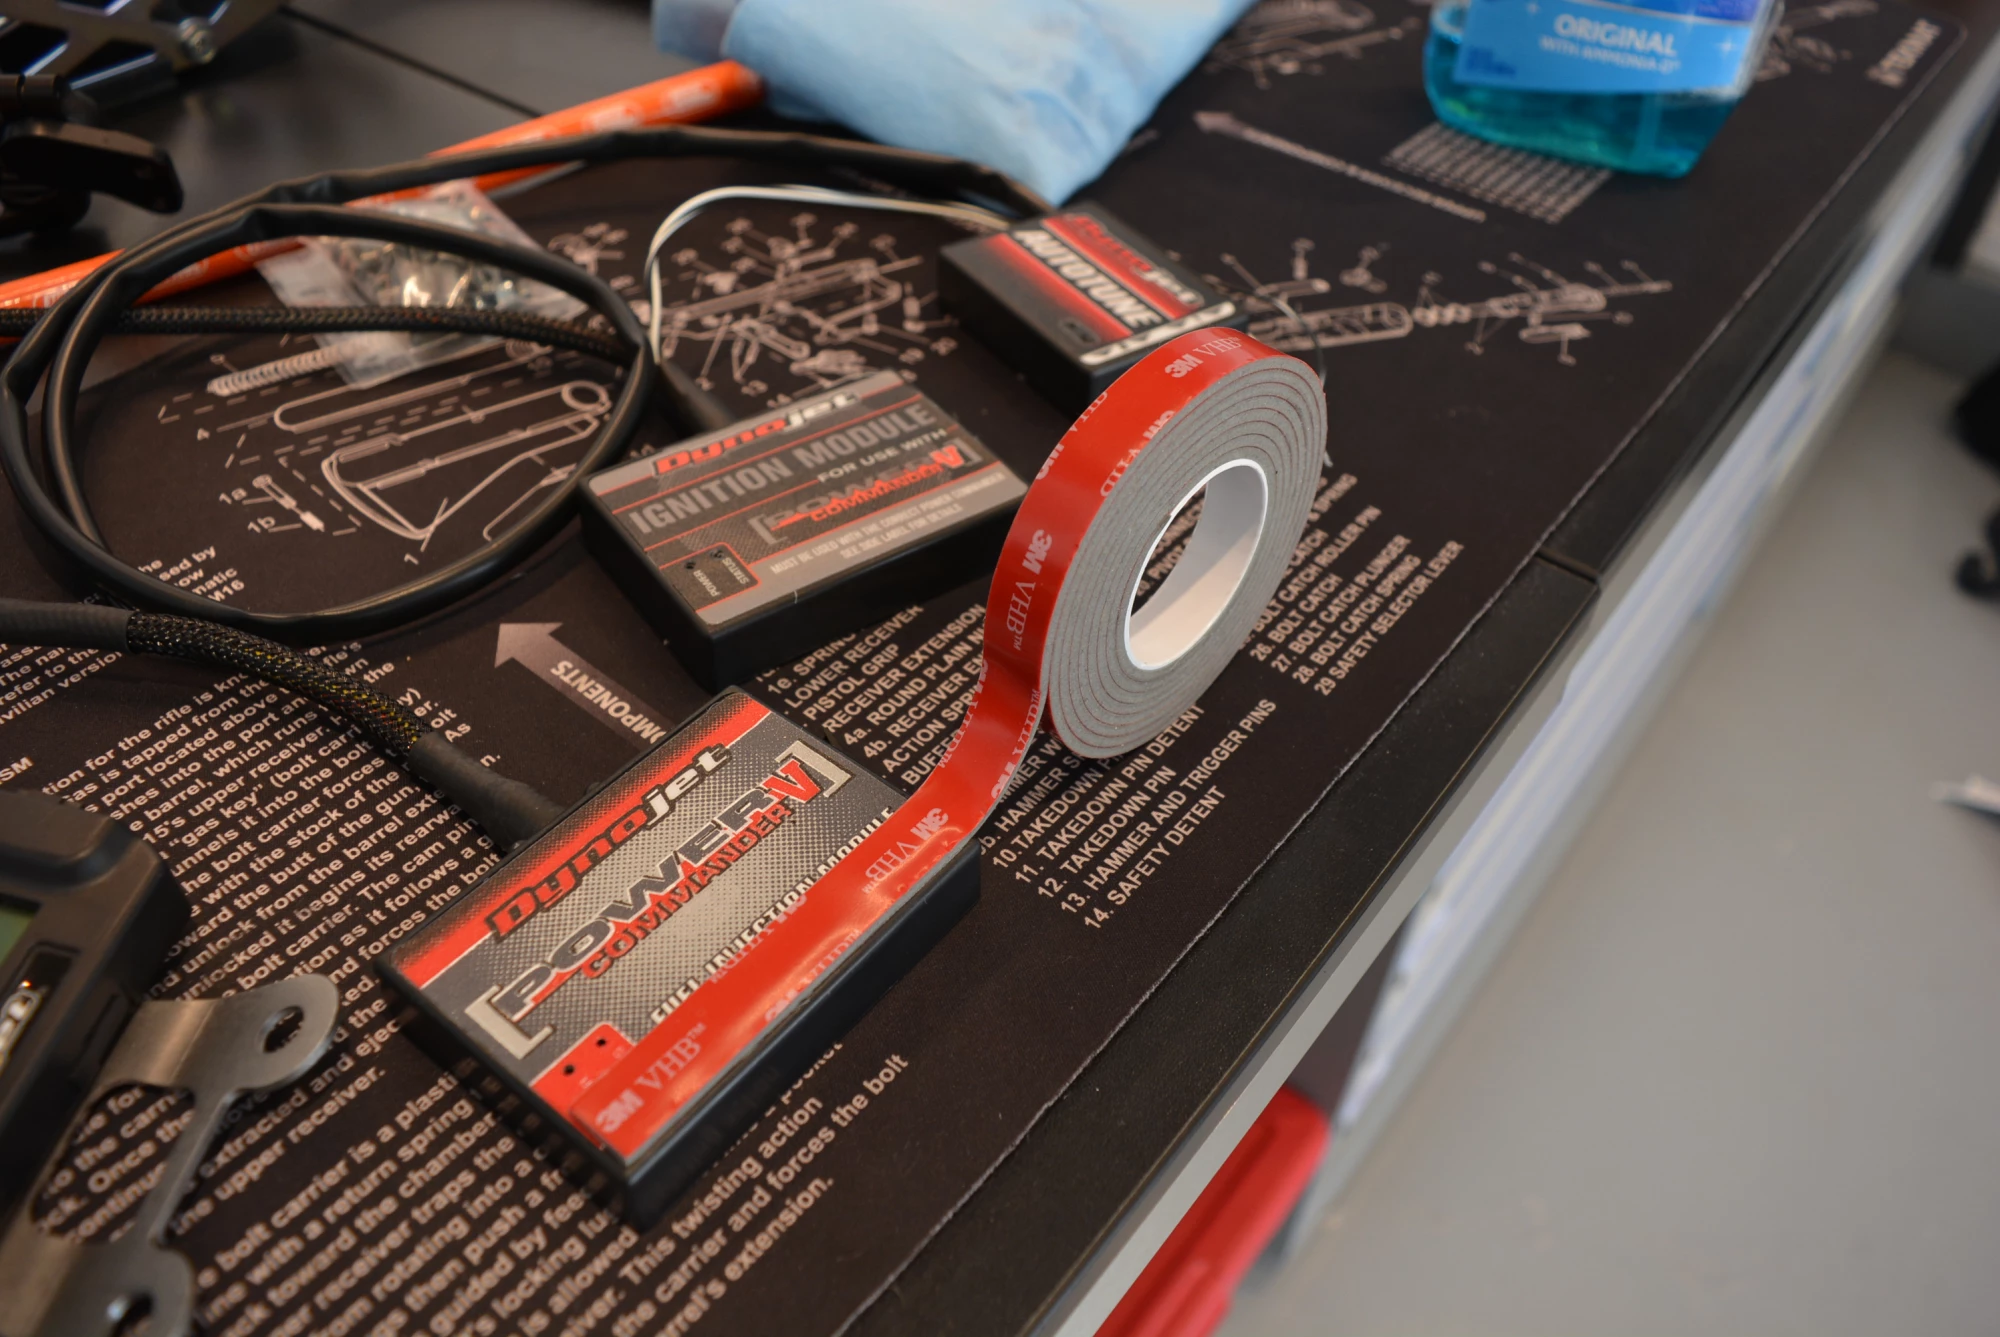
The thicker tape was solely for the purposes of retaining the ability to see the LED status lights between the boxes.
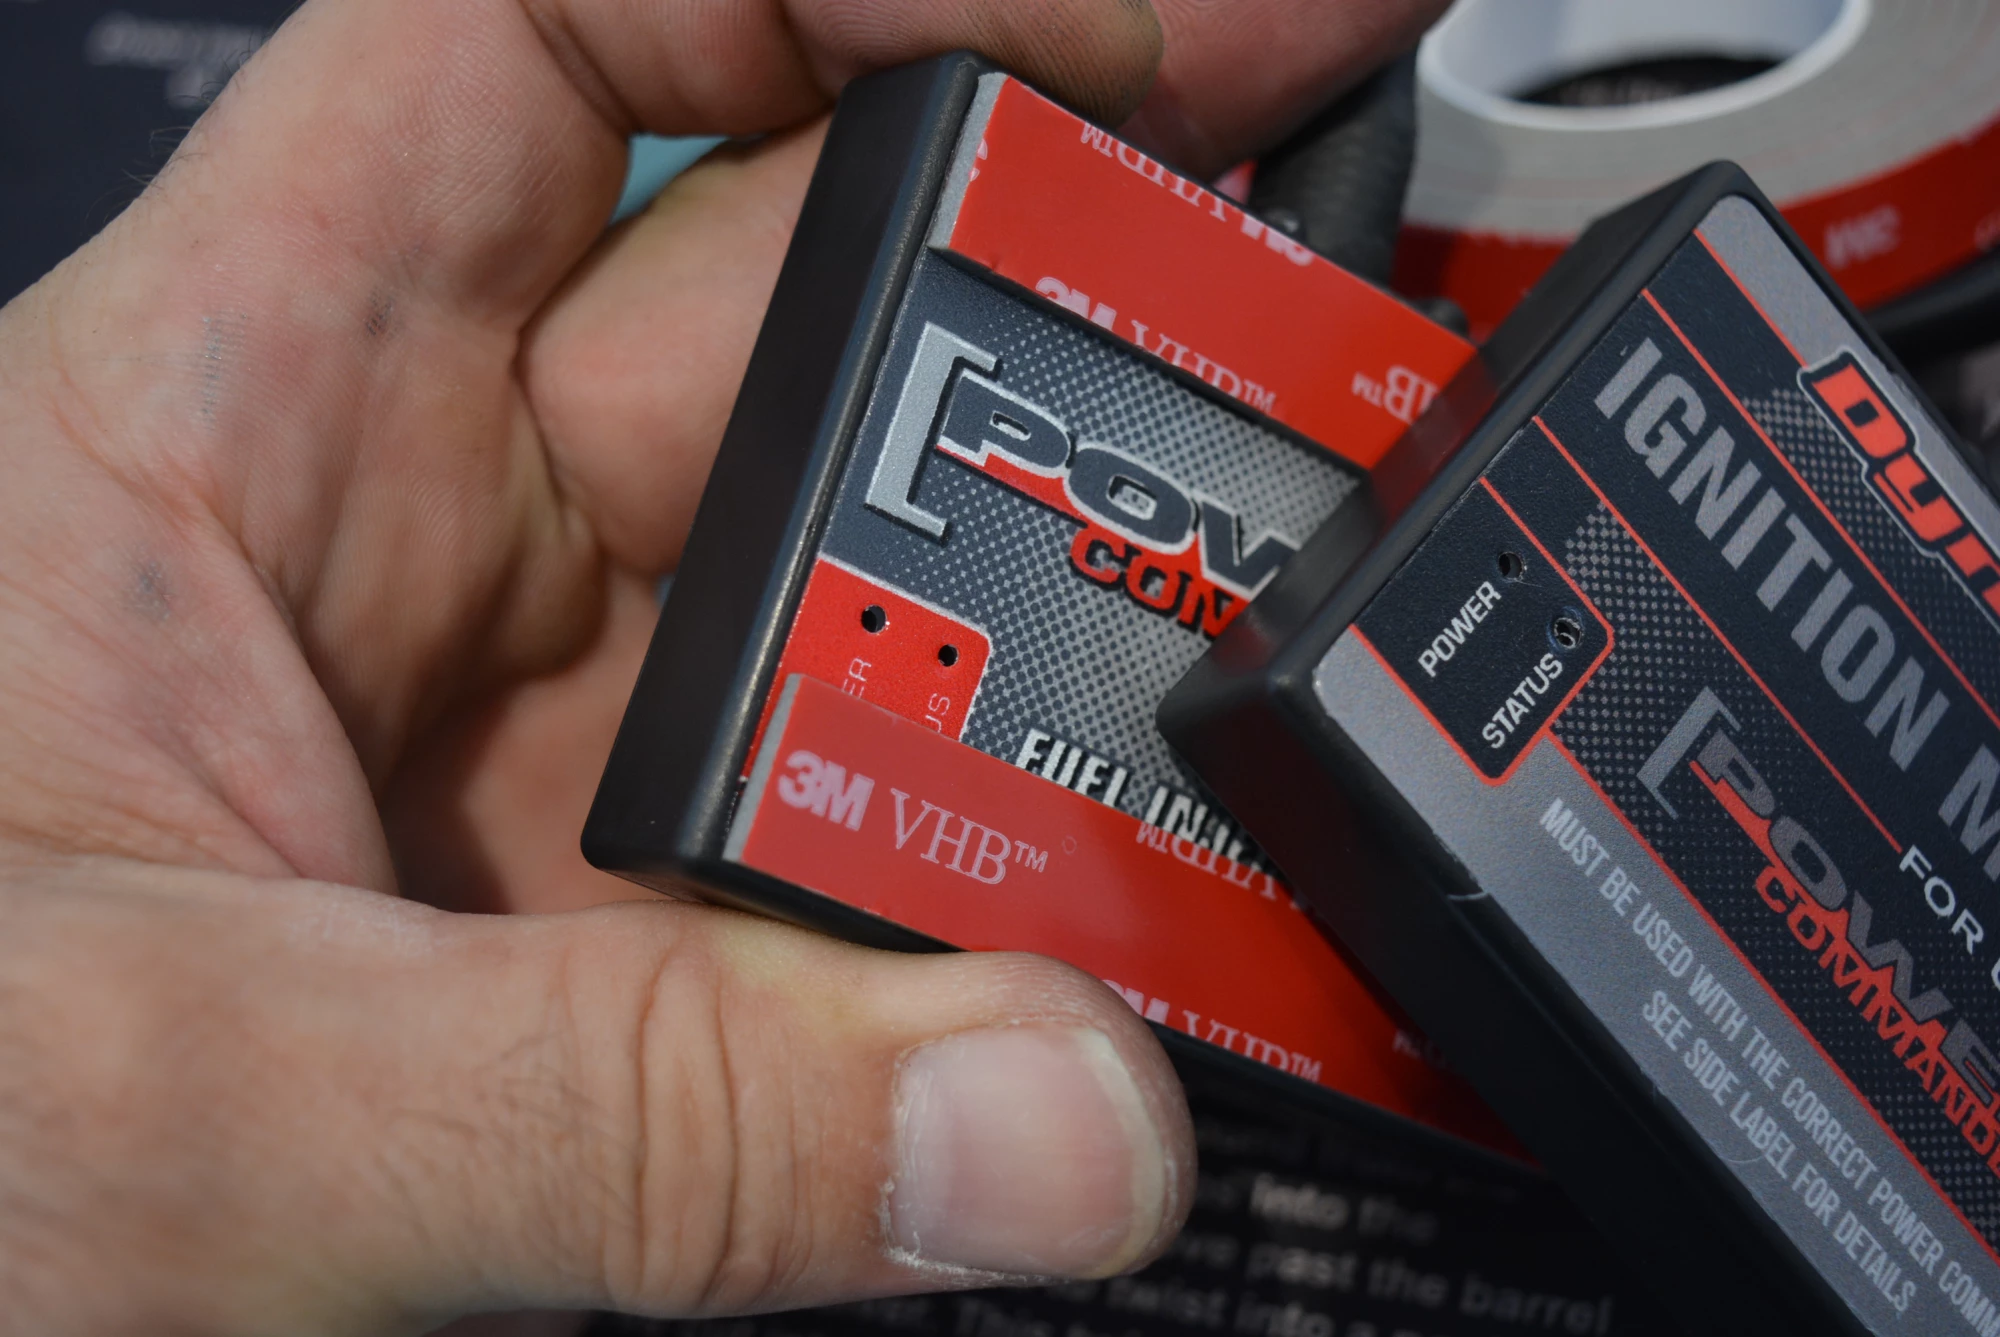
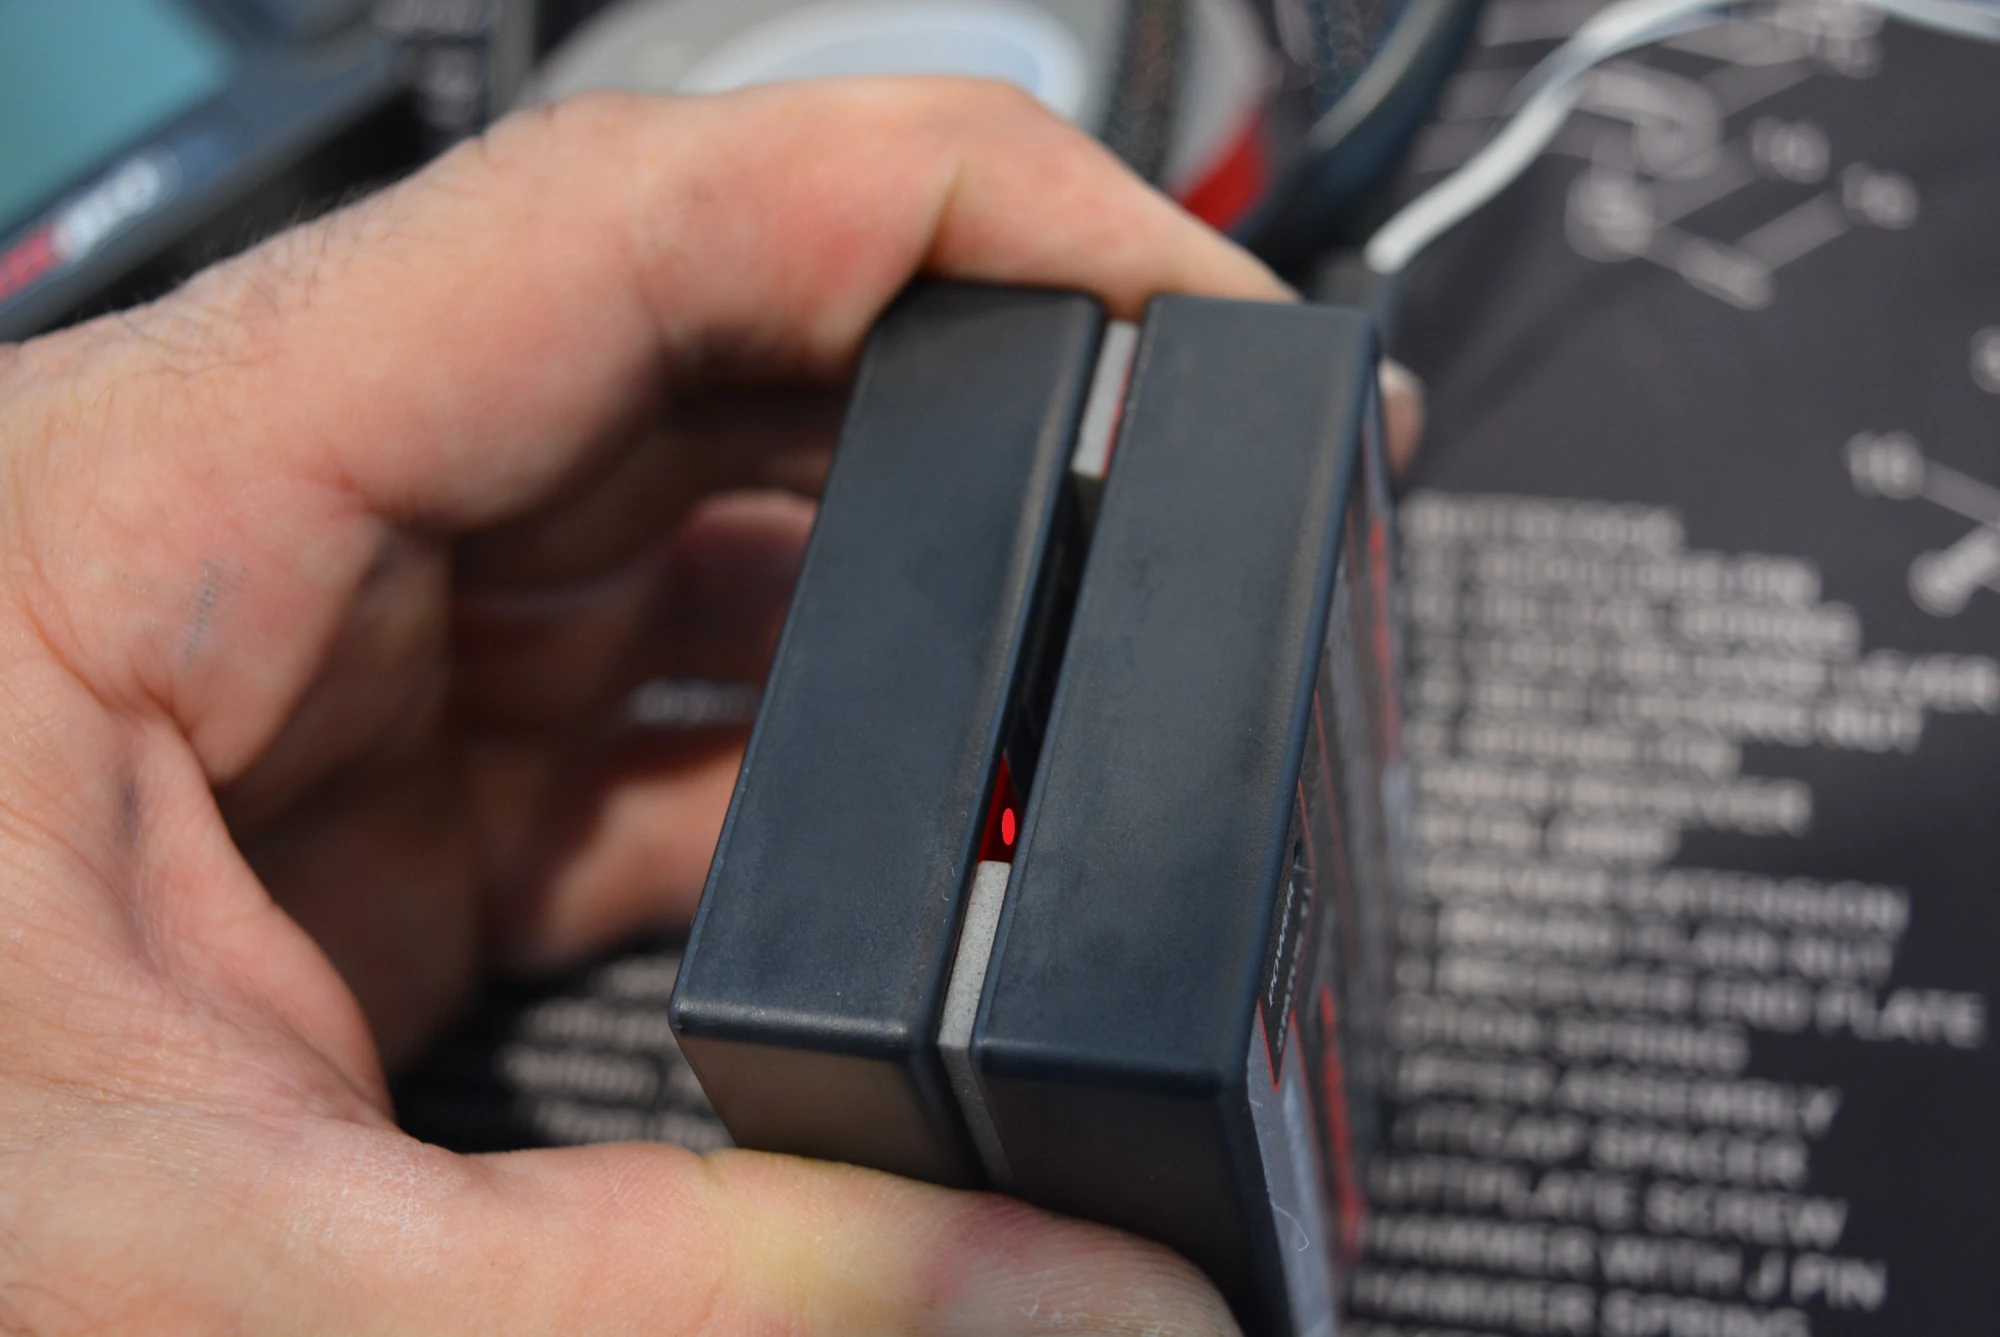
As it turns out the way we most preferred to align all of the units, happened to cover the status lights, so using the thicker tape allowed a large enough gap to see them if need be. If everything is working fine, you will never need to look at these though so we considered this detail the least important as we could see them just fine.
Most of the other factors revolve around the inputs and wiring bundles. Running a Powrcommander V, Ignition Module and an Auto tune can stack up quick but careful planning like the image below will result in an extremely clean installation. All of the Can Bus connections and wire looms are all easily accessible and package very nicely when the job is done. In addition, pay attention to the access of plugs, screws and the sort. Make sure that you don't paint yourself into a corner and hinder access.
Below you will see that we don't have access to the securing screws for the input wires in the ignition box, but we were not using them for anything so we were not concerned with that. If we were, we might consider staggering the boxes to have full access to them.
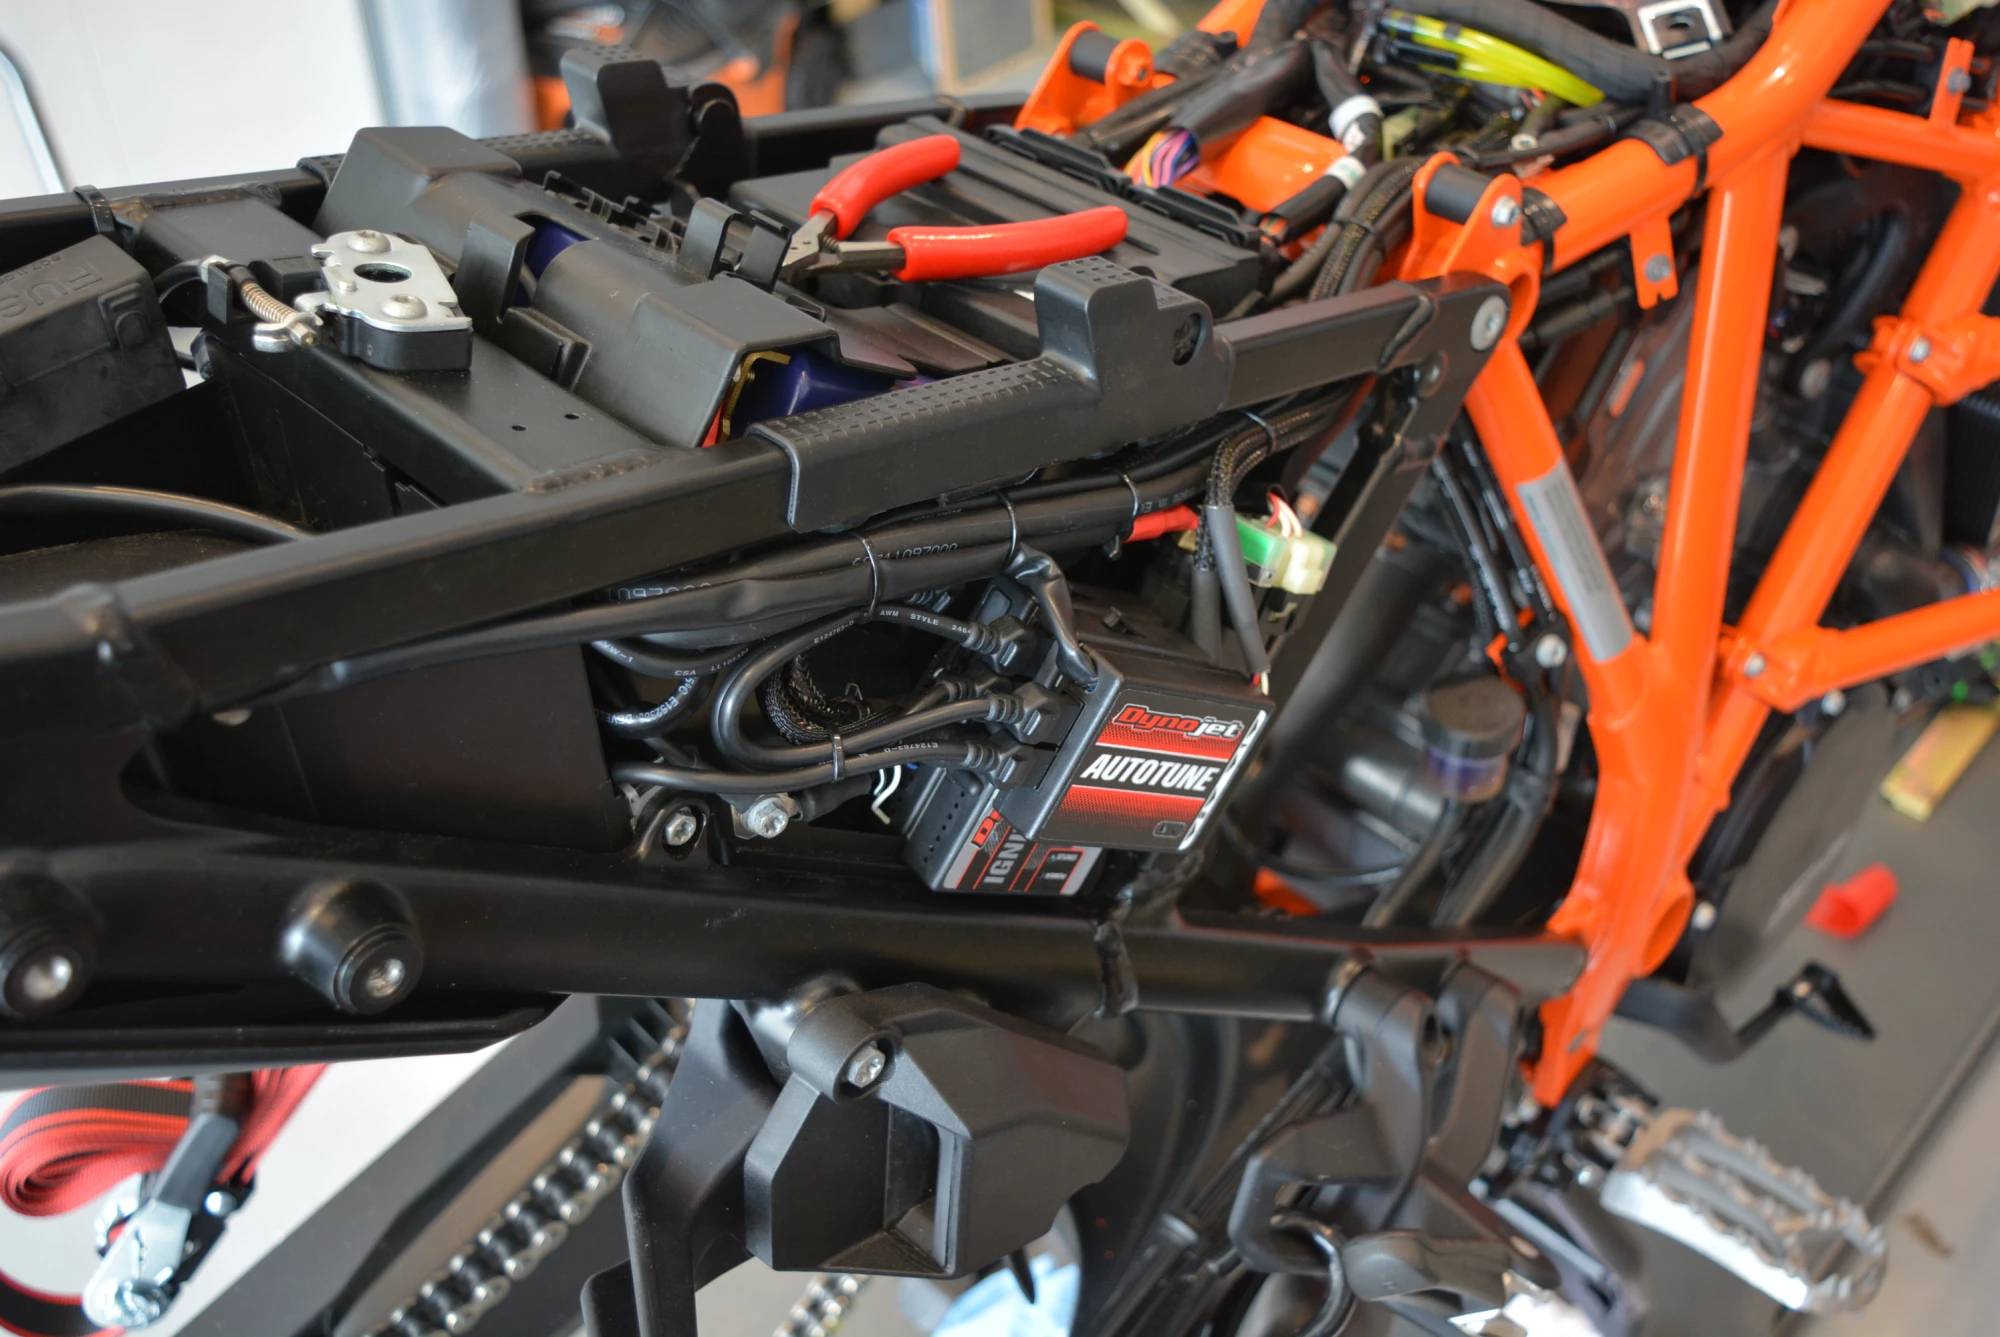
The KTM Adventure 'R' line does not have electronic suspension, and as such, the right side pod underneath the seat is a perfect spot for all or just some of the units on that model. For standard models, there is still plenty of space that can be found in and around the same area.
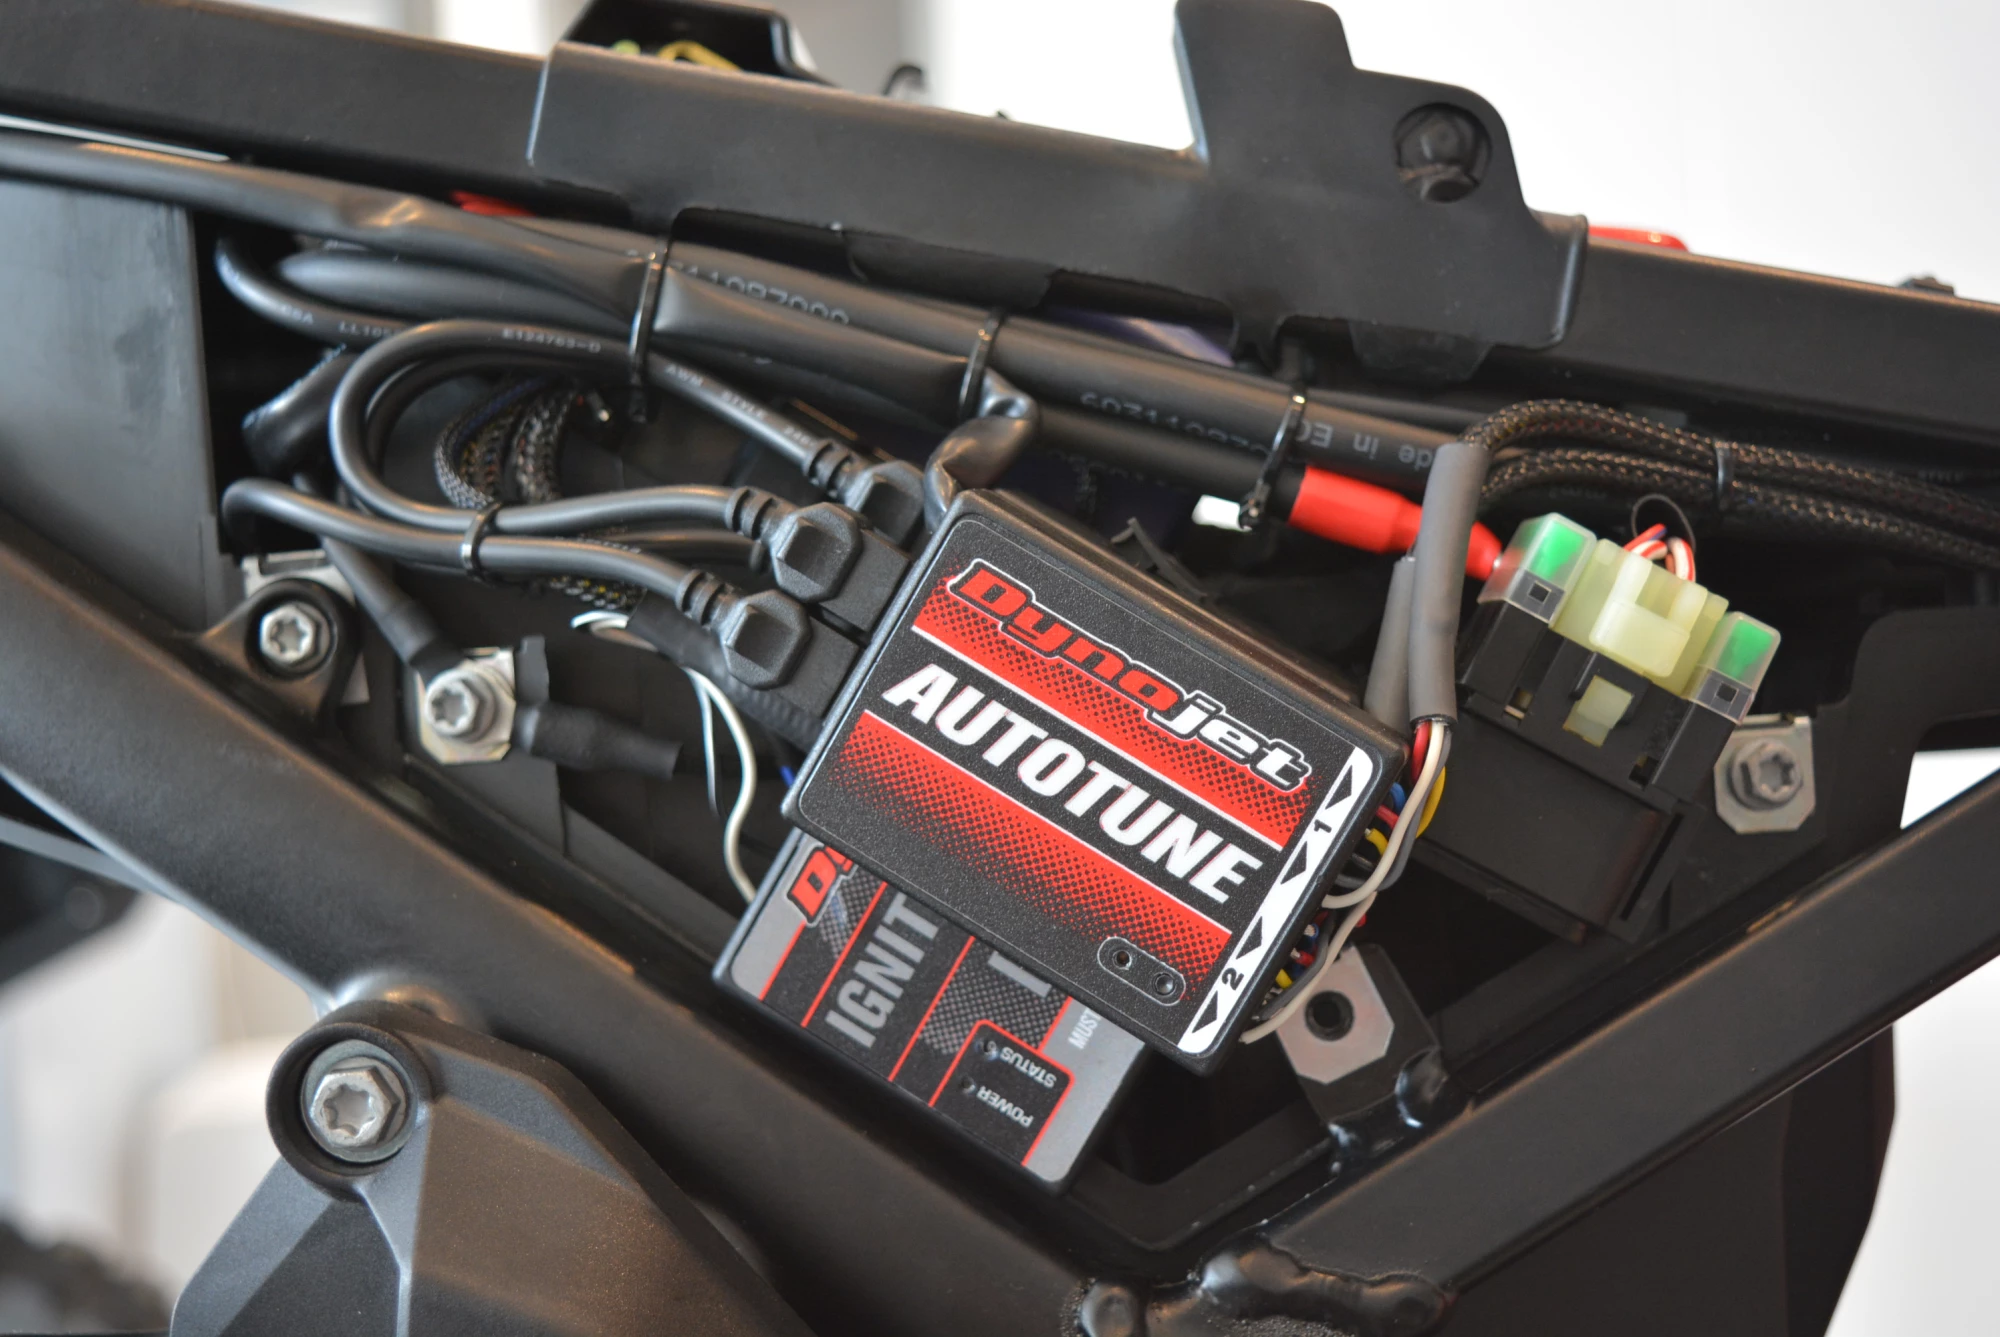
With this much equipment there is some careful planning that needs to happen so as to retain the ability to reinstall the side pod, but will a little fiddling, the end result is extremely clean. Come armed with a lot of small quality zip ties. We really like the kind with the metal inserts in them as you can get the tension just right. They are expensive, but worth every penny. Some higher end electronics stores sell them or McMaster Carr has a great selection. Just look for 'fine adjustment cable ties' and don't forget to choose 'black' if you want that color.
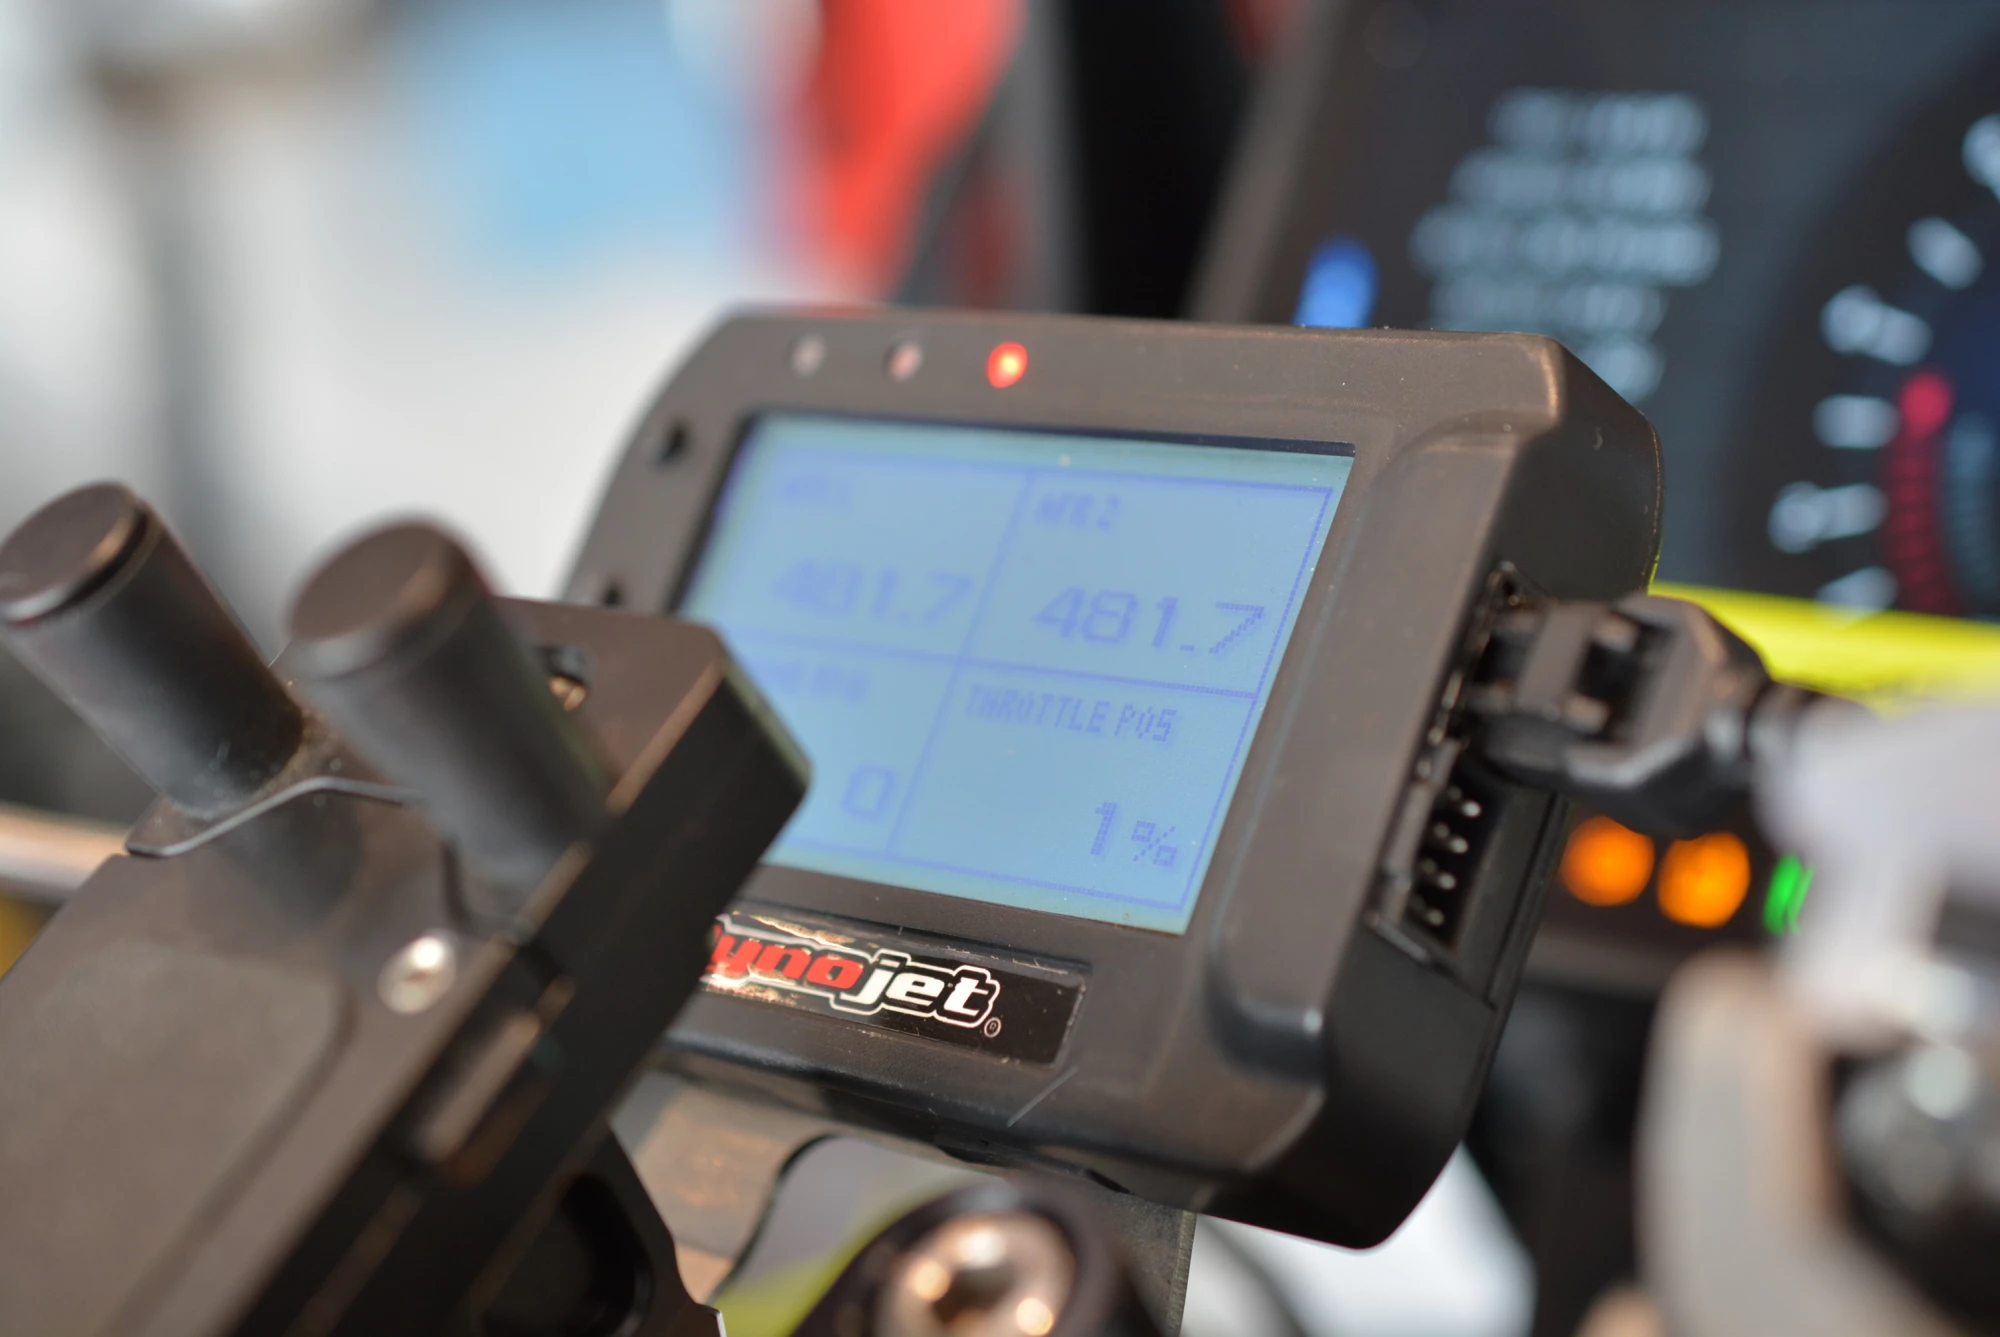
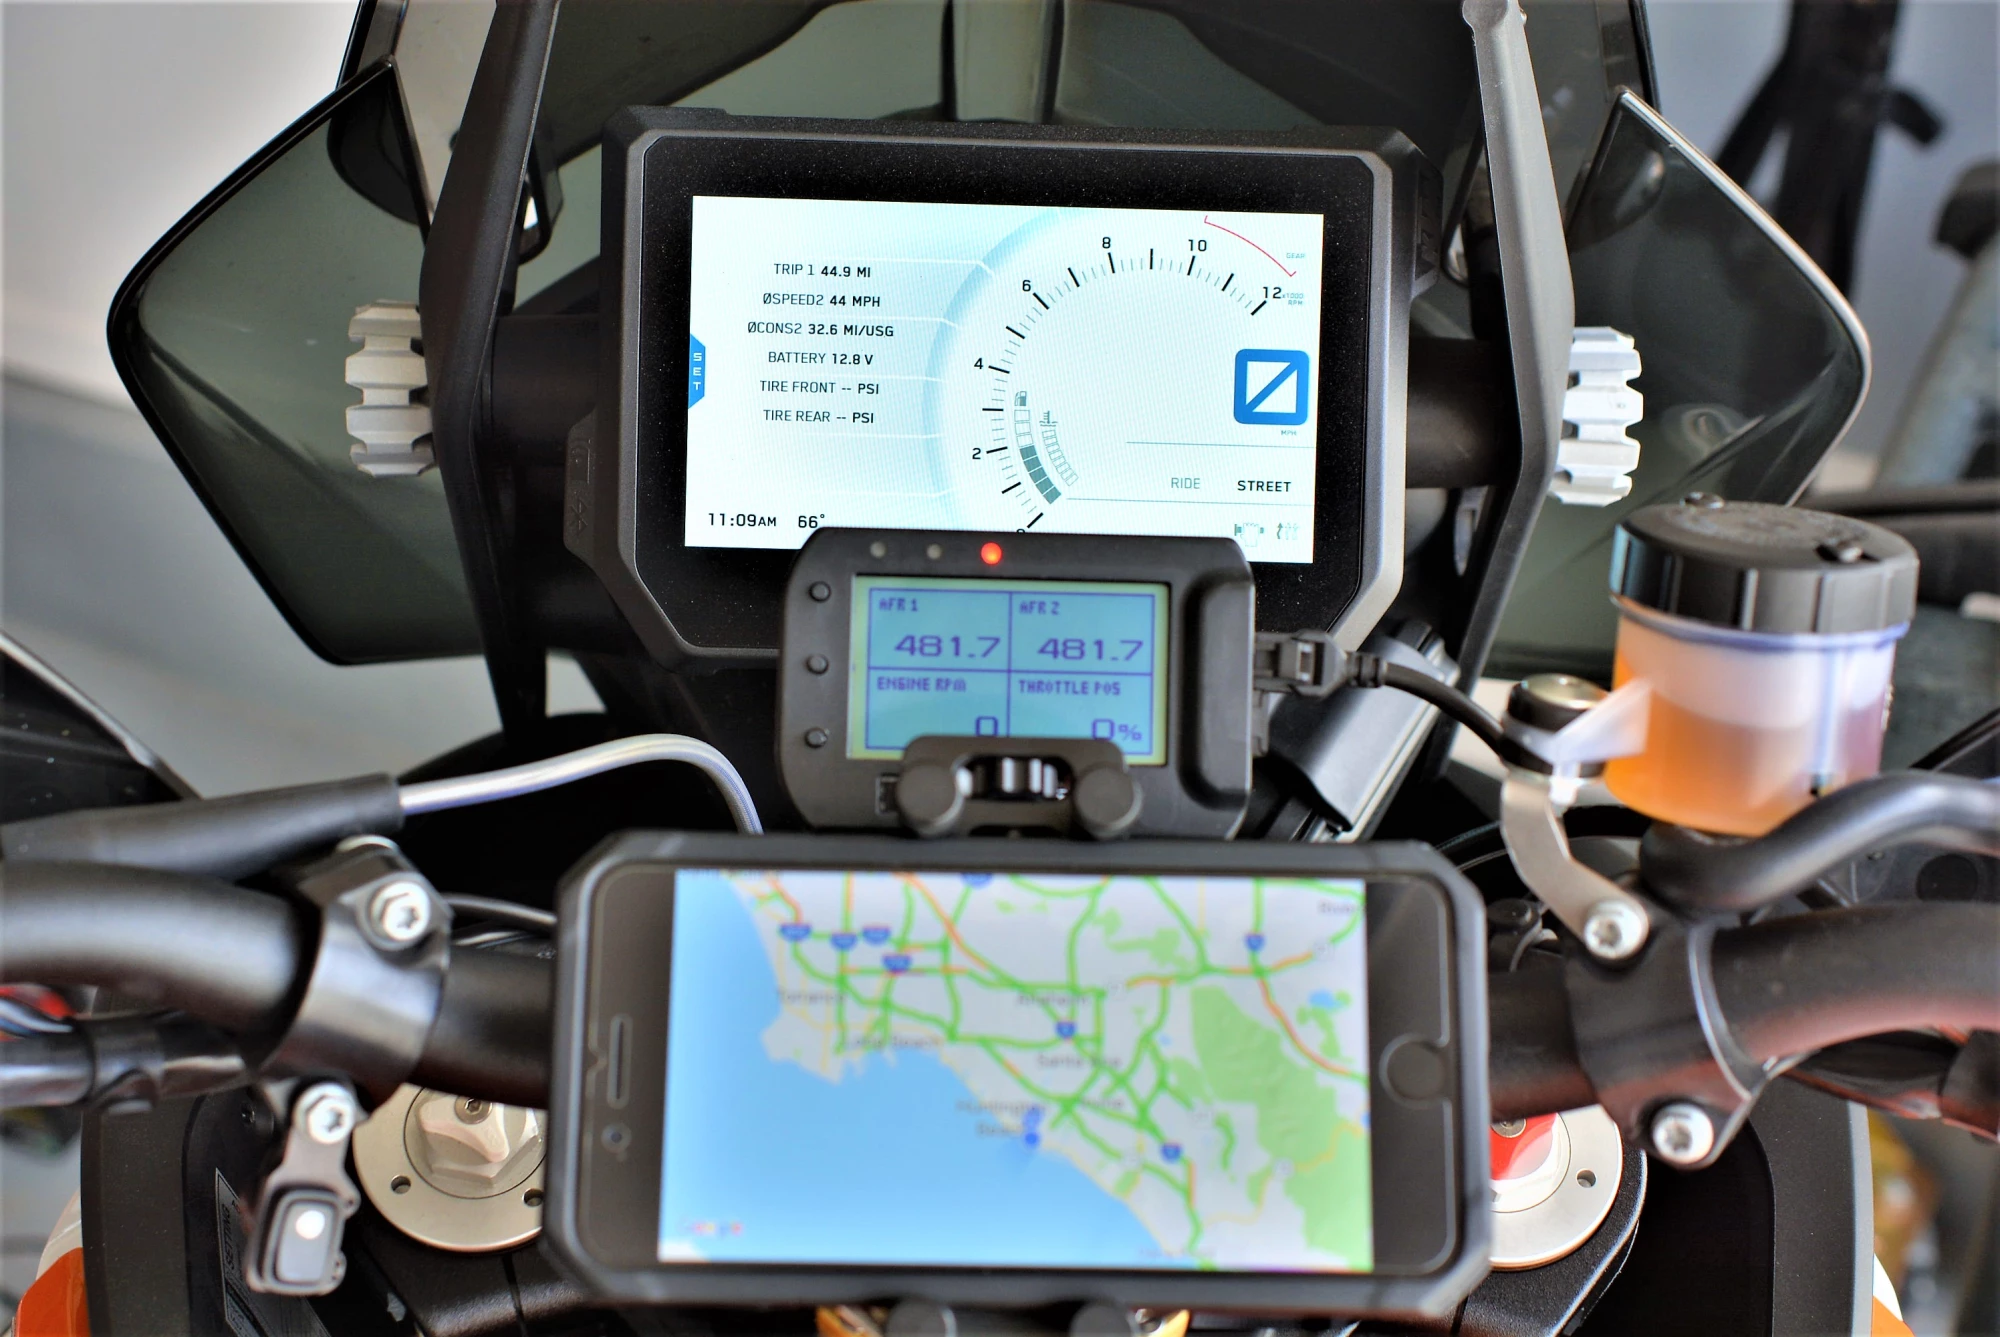
The icing on the cake for us after all of the Dynojet equipment is installed is the Dynojet POD-300. This durable little unit brings brings insight to everything that's happening with the motorcycle that the stock dash just won't tell you. Virtually anything that the combination of devices can monitor can be shown on this screen in a number of custom ways.
Everyone likes to know what the engine temperature is, their speed, how much fuel you have left and so on. Now imagine having the ability to know exactly what your air fuel ratios (AFR) are for each cylinder (Only available with an Auto Tune present). What your throttle position is in relation to your RPM. The ability to adjust your fuel mixtures on the fly. The capability of data logging to see how your maps are performing through an Excel spreadsheet and more. While this isn't for everyone, and is not mandatory with any Dynojet product, this can be an invaluable tool in diagnosing possible issues with the fueling in remote areas.
By knowing the duty cycle of your fuel injectors front and rear, while simultaneously seeing your real time air fuel ratios, issues like clogged injectors or water in the gasoline can quickly be deduced and the necessary procedures to cure the problems can be implemented much faster. Aside from that, just knowing that your mapping is in the ballpark on your current ride is a bonus. You can even program the LED warning lights (green, orange and red) to come on and off with virtually any combination of items. In our case, we set the lights to GREEN: AFRs are under 12.0 (too rich) ORANGE: AFRs are just where we want them (between 12.8 and 13.2) and RED: AFRs are too lean (over 14.0) This give us an easy visual when testing maps in different conditions to see how often we are hitting our target AFRs.
There are many ways to mount a POD-300, including double stick tape. But at Rottweiler we do things the sano way. If you are running a BRP vibration isolating sub mount on any of your KTM twins, our 'AMPS Pattern' mount will give you an extremely clean way of mounting just about any GPS, RAM Mount, POD-300 or any other device that has adopted the AMPS pattern for attachment purposes.
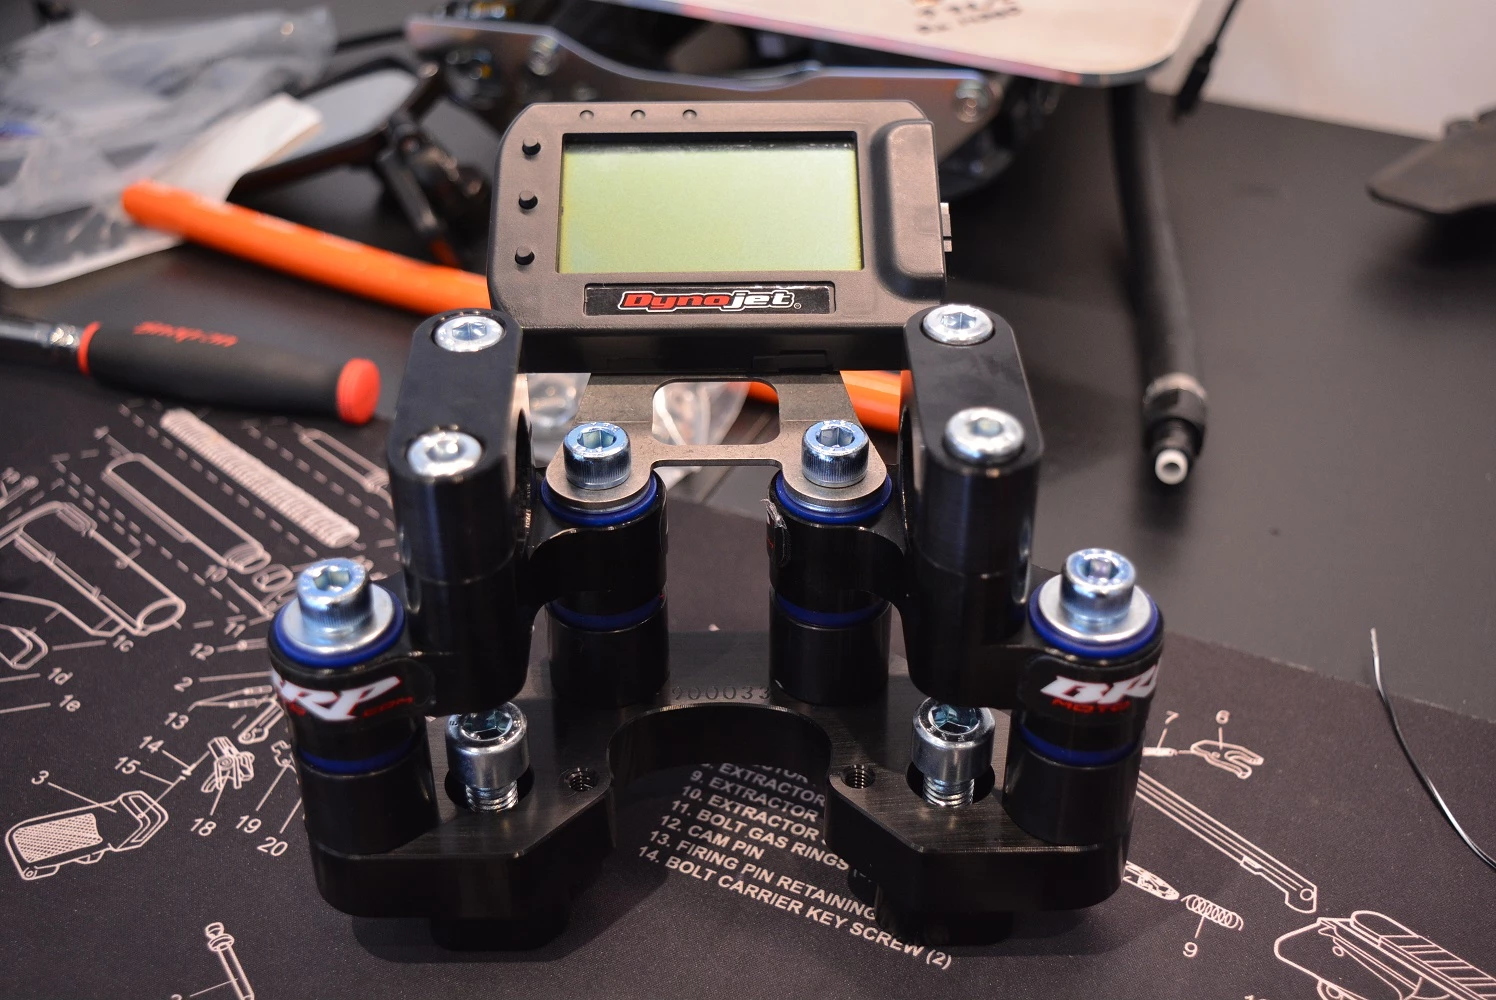
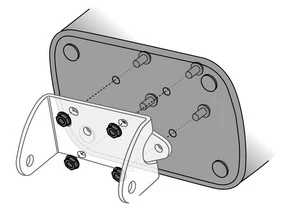
The AMPS hole pattern is an industry standard hole configuration. It consists of four (4) holes located in a rectangular pattern spaced at 1.188" by 1.5" (30mm by 38mm). In most cases the AMPS pattern consists of 8 holes. This allows the mount to be fitted in both a horizontal or vertical orientation. Most third party mounting devices and cradles have the AMPS hole pattern.
The end result is a very clean stack up of the visual displays. From the rider's perspective, the POD-300 was just below the bottom of the stock TFT dash and did not interrupt my view of any of the stock dashboard information.
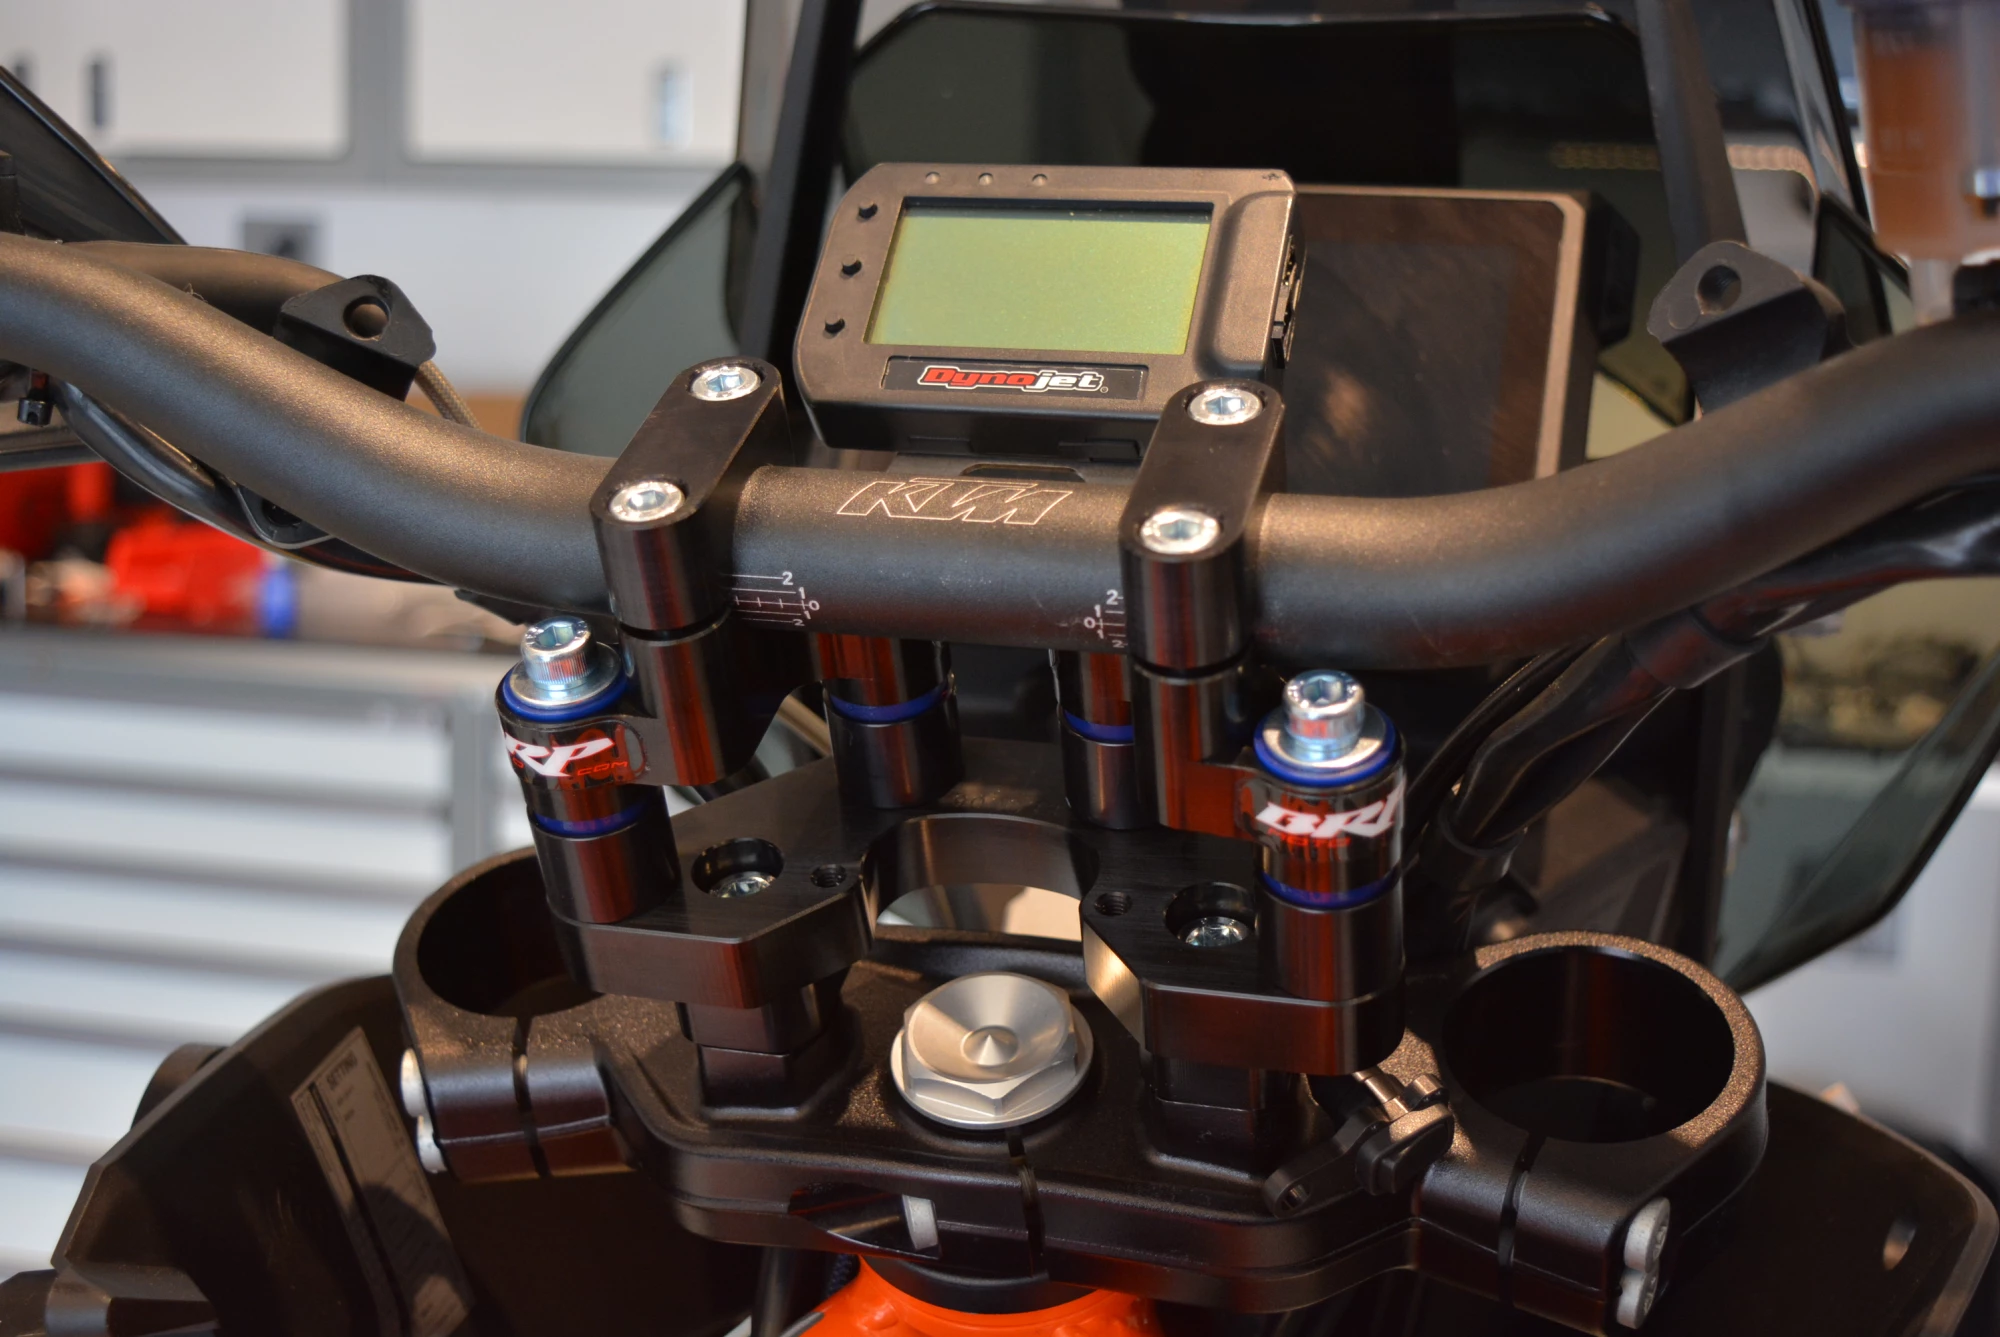
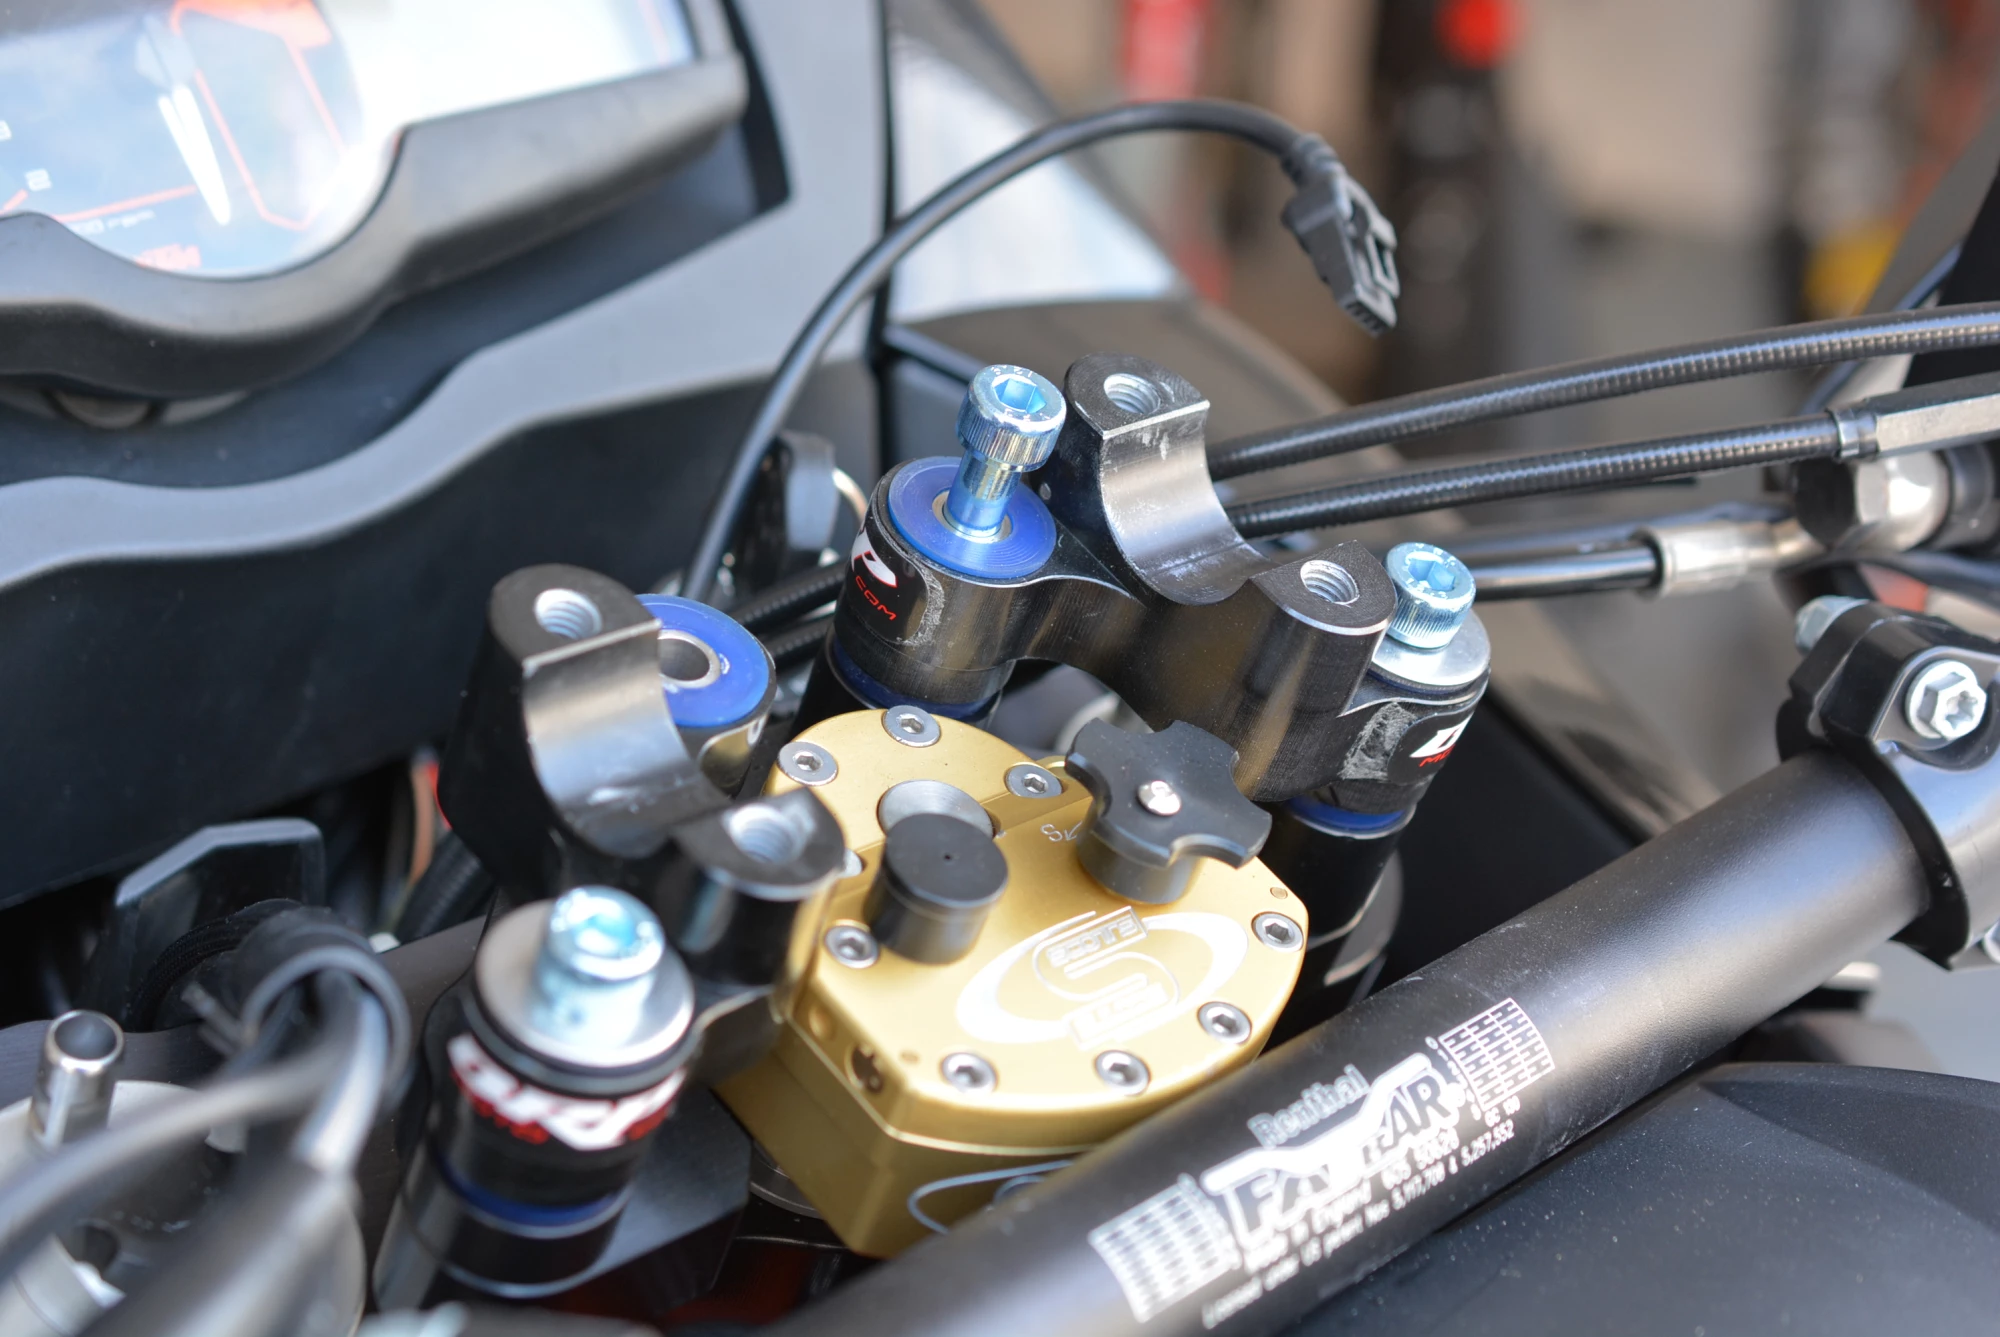
The BRP Sub Mount is also a welcome addition to any big twin. The reduction in vibration is noticeable and we opted for the softer bushings to dampen the road vibes. Missing in the picture above is the later installed Scotts off road damper (below) which does a fantastic job at reducing head-shake and generally helping keep the beast under control.
THE SUSPENSION.
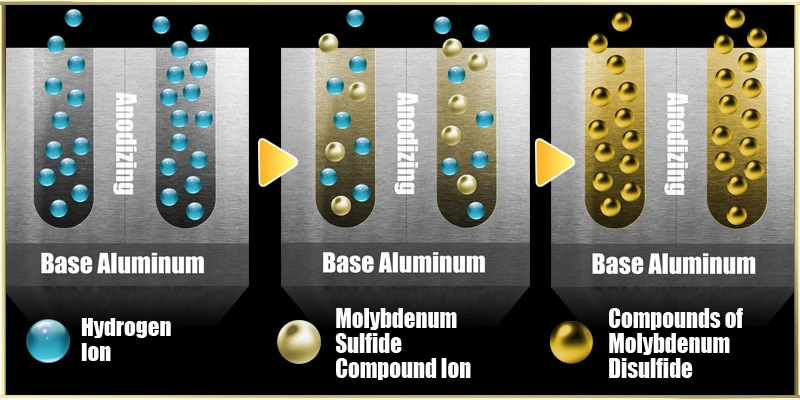
By this time in the build, our suspension had been shipped back Konflict Motorsports and it was like Christmas day. We had the outer bodies of the forks Kashima coated which is a proprietary hard anodizing processing that the Miyaki Company of Japan invented, lubricating molybdenum disulfide deposited via electrical induction into the billions of micro-pores on the surface of hard-anodized aluminum for better lubrication and less abrasion and wear. If you are not thoroughly confused yet, see the picture below to become even more baffled.
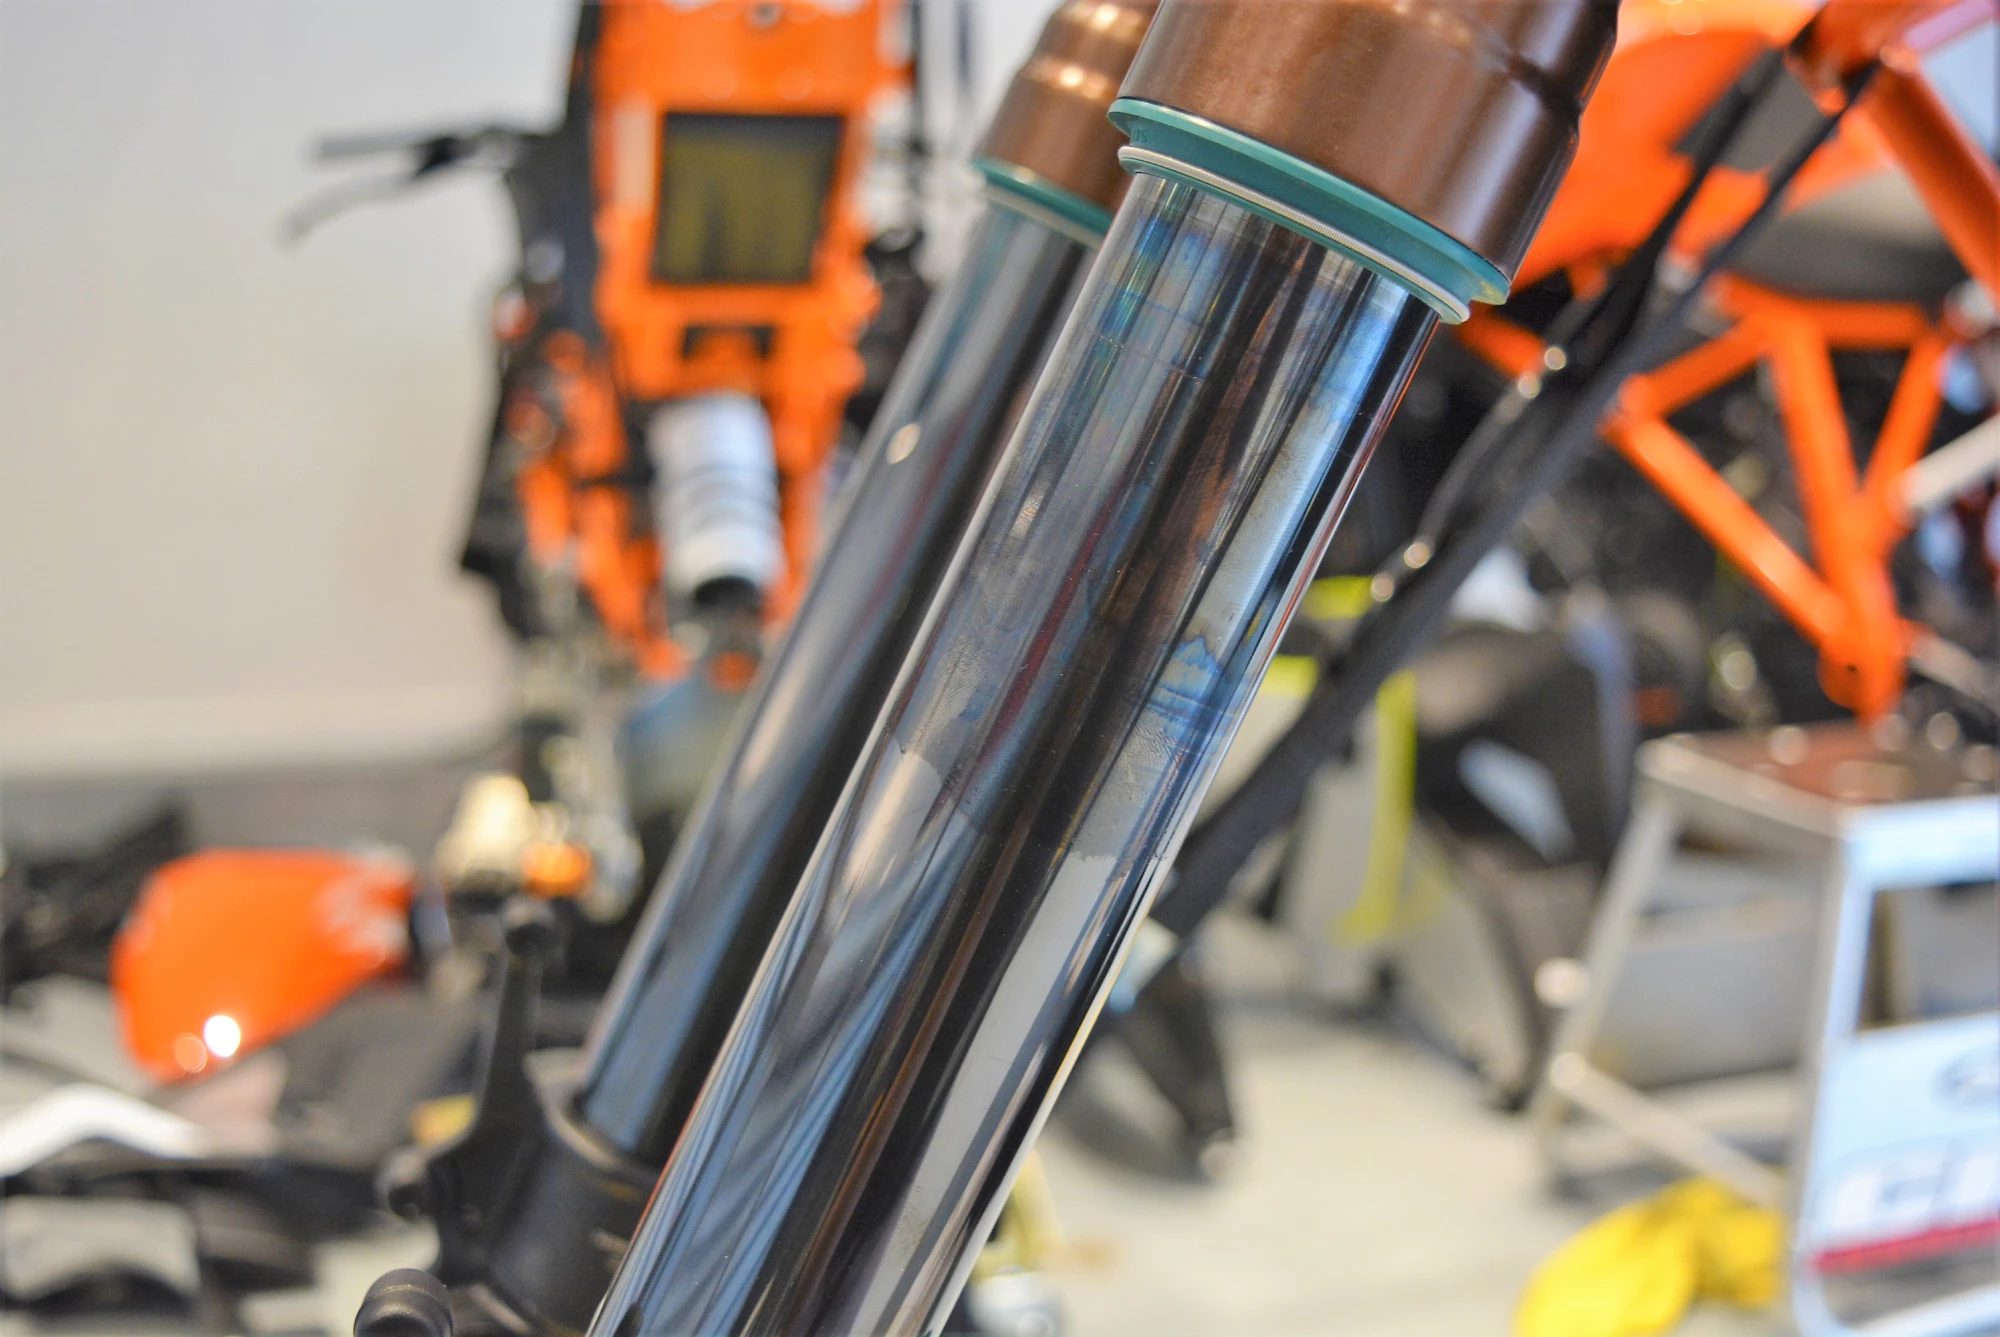
To even further enhance the plushness of the stroke, we also opted for the DLC for the lower fork tubes. DLC Coating stands for diamond-like carbon coating, and is a nano-composite coating that has unique properties of natural diamond low friction, high hardness, and high corrosion resistance.
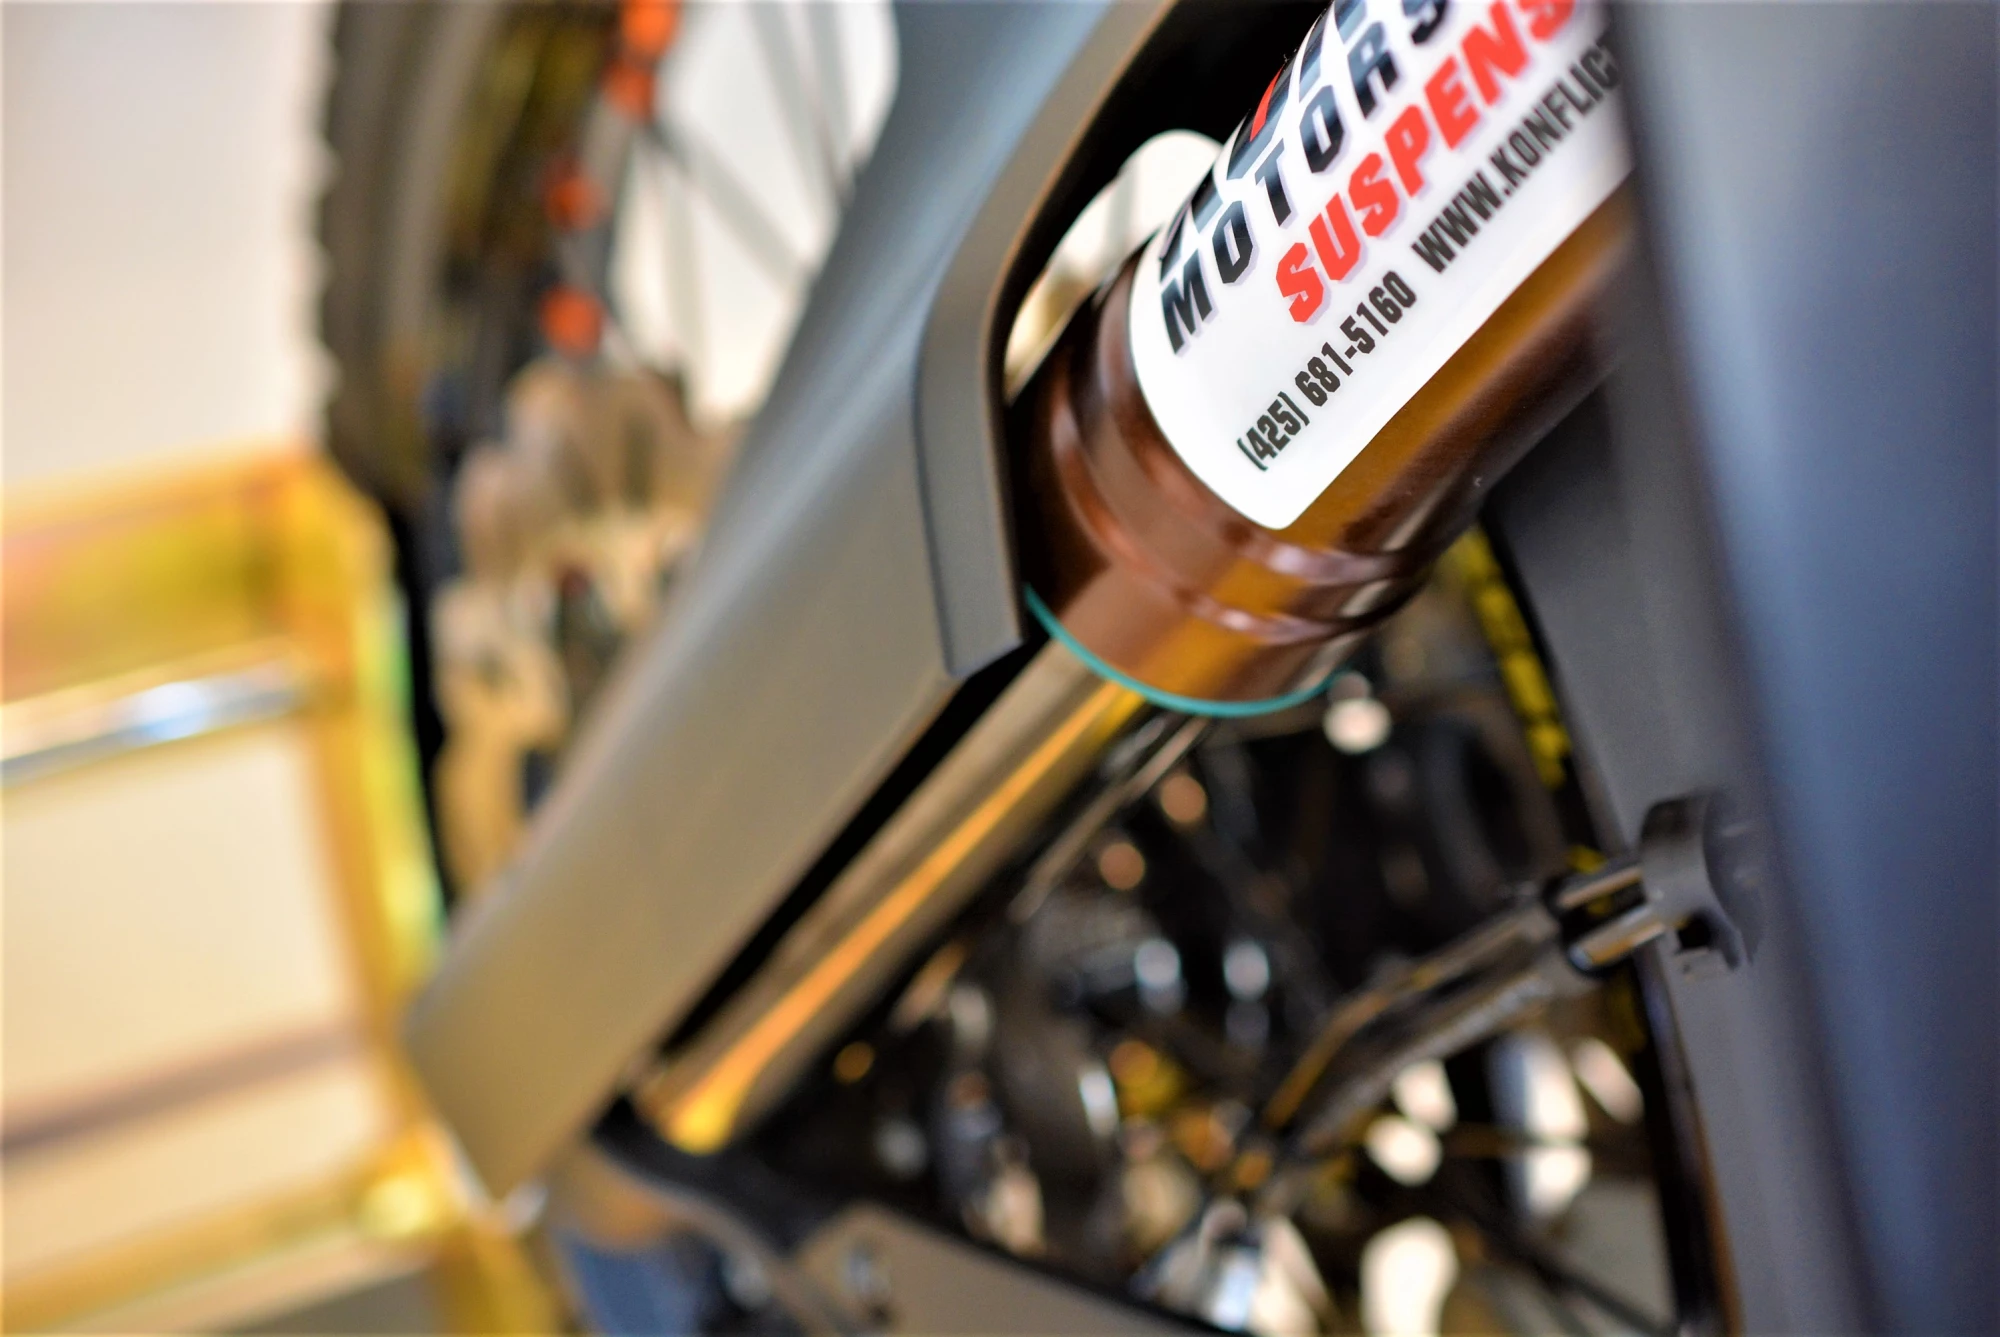
To put things in plain terms, the end result is just simply, a better ride. Coupled with Alex's custom tailored re-spring and re-valving, we had a bike that was re-vived with smooth operation and excellent bottoming resistance. Kind of an important factor in the Adventure world as most models tend to come way under sprung.
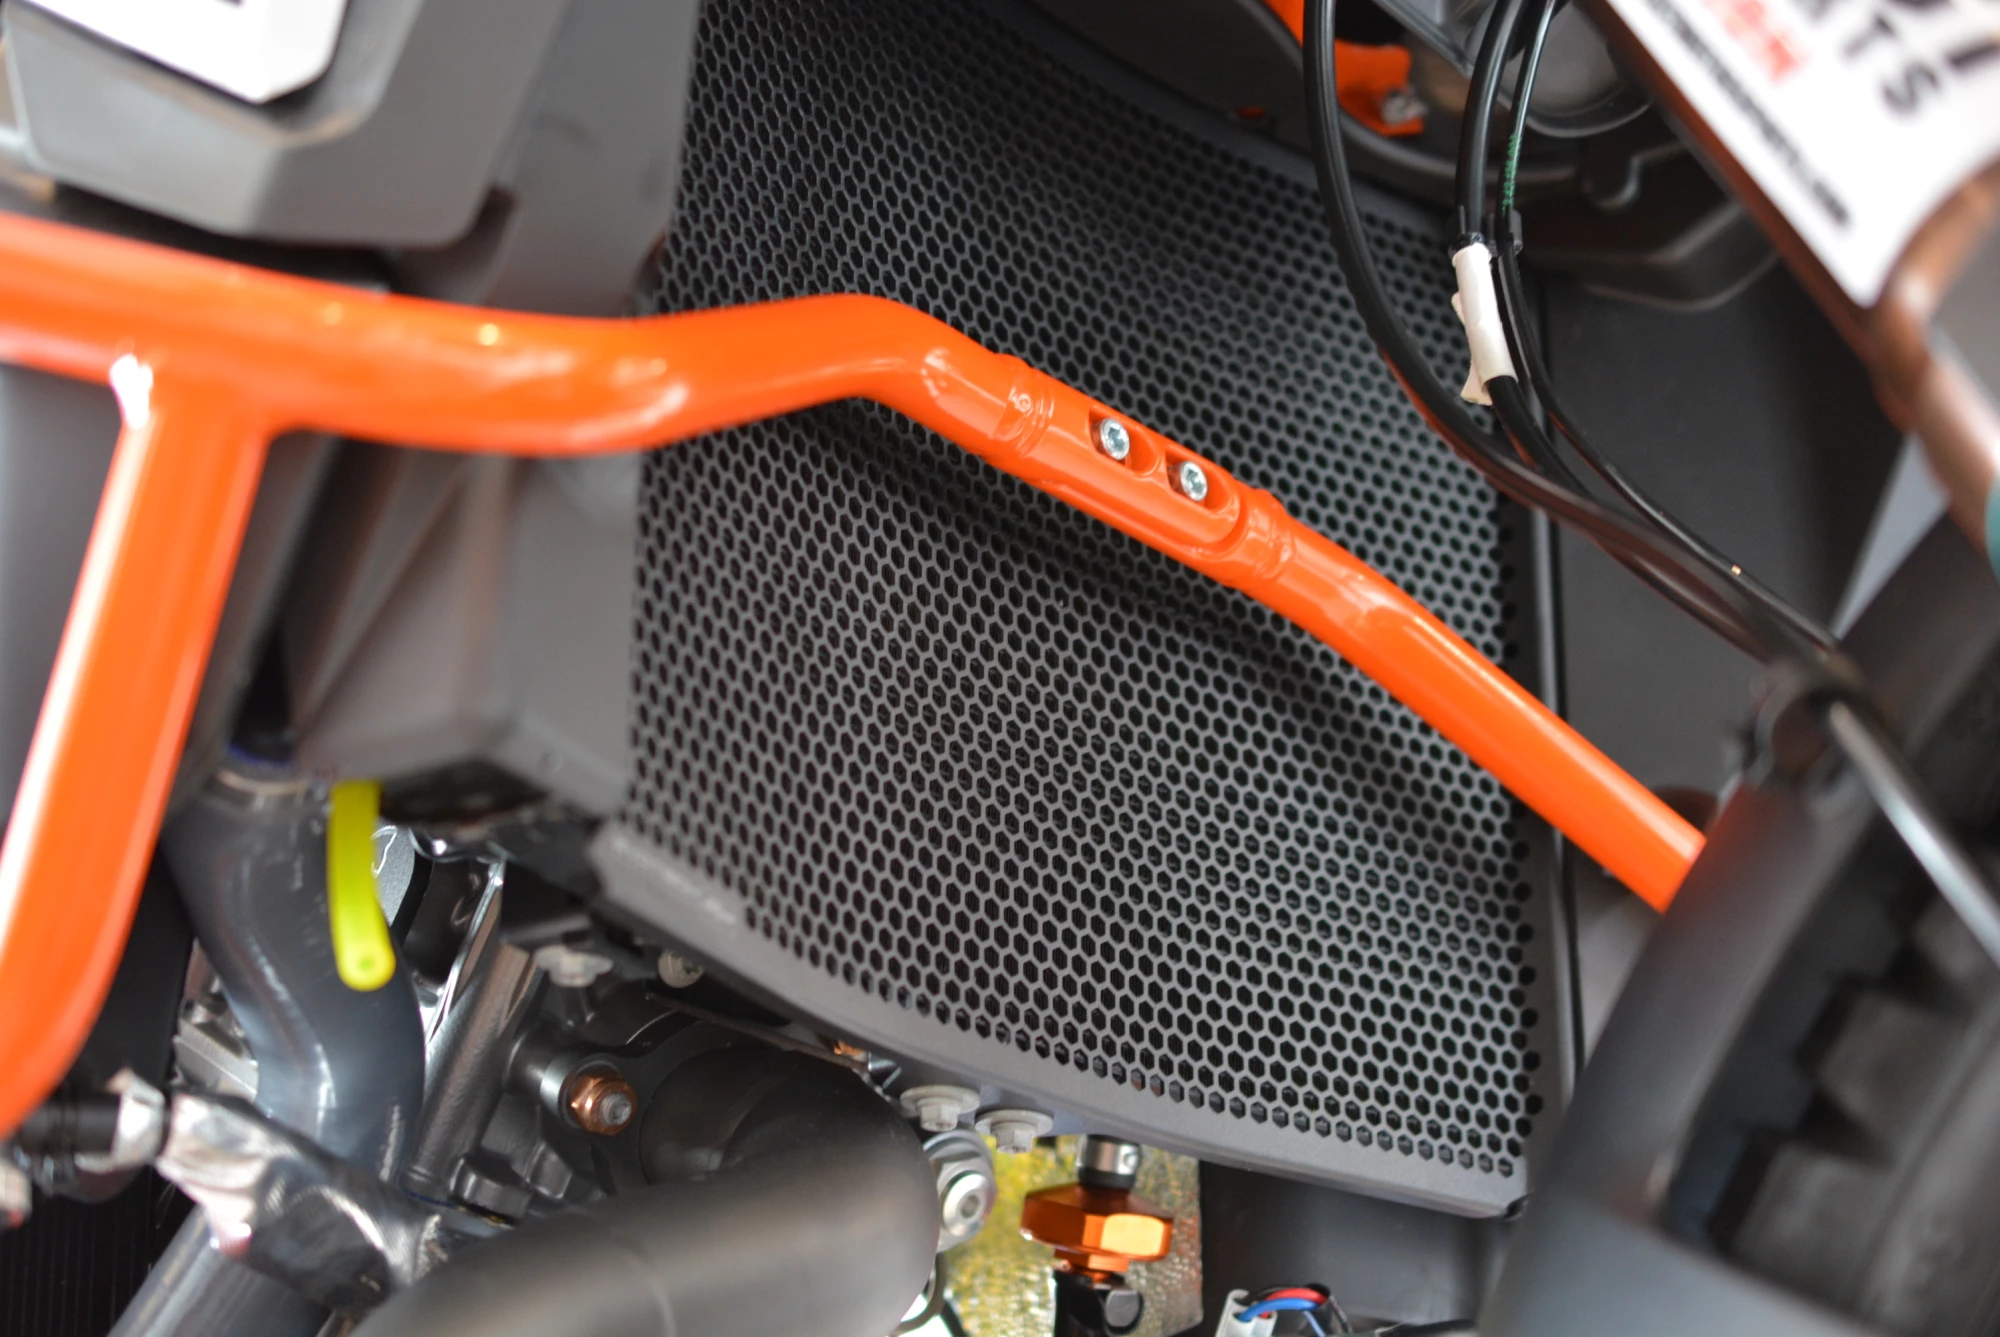
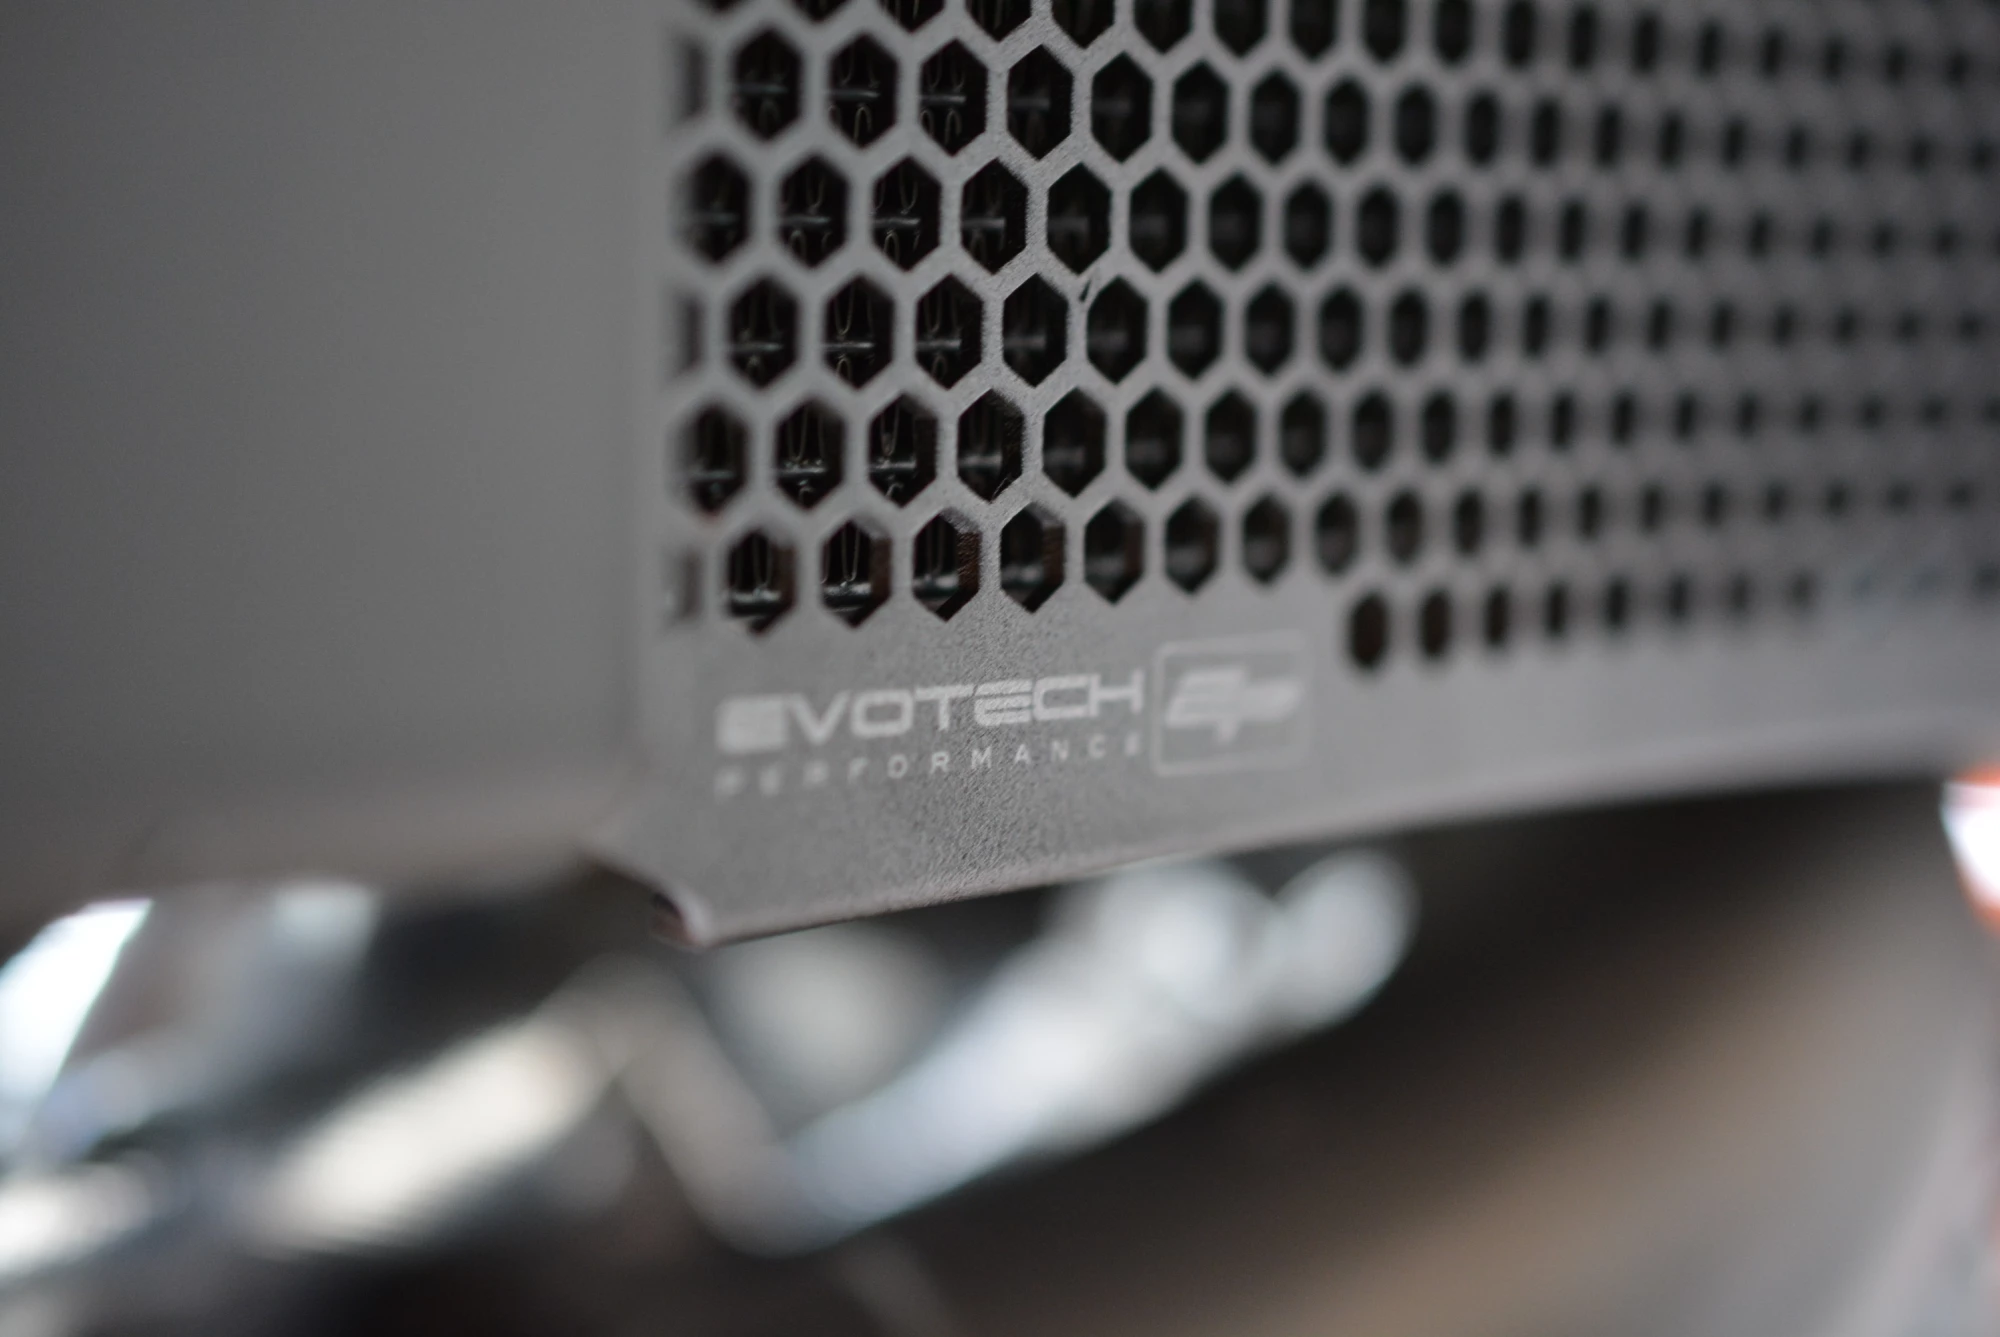
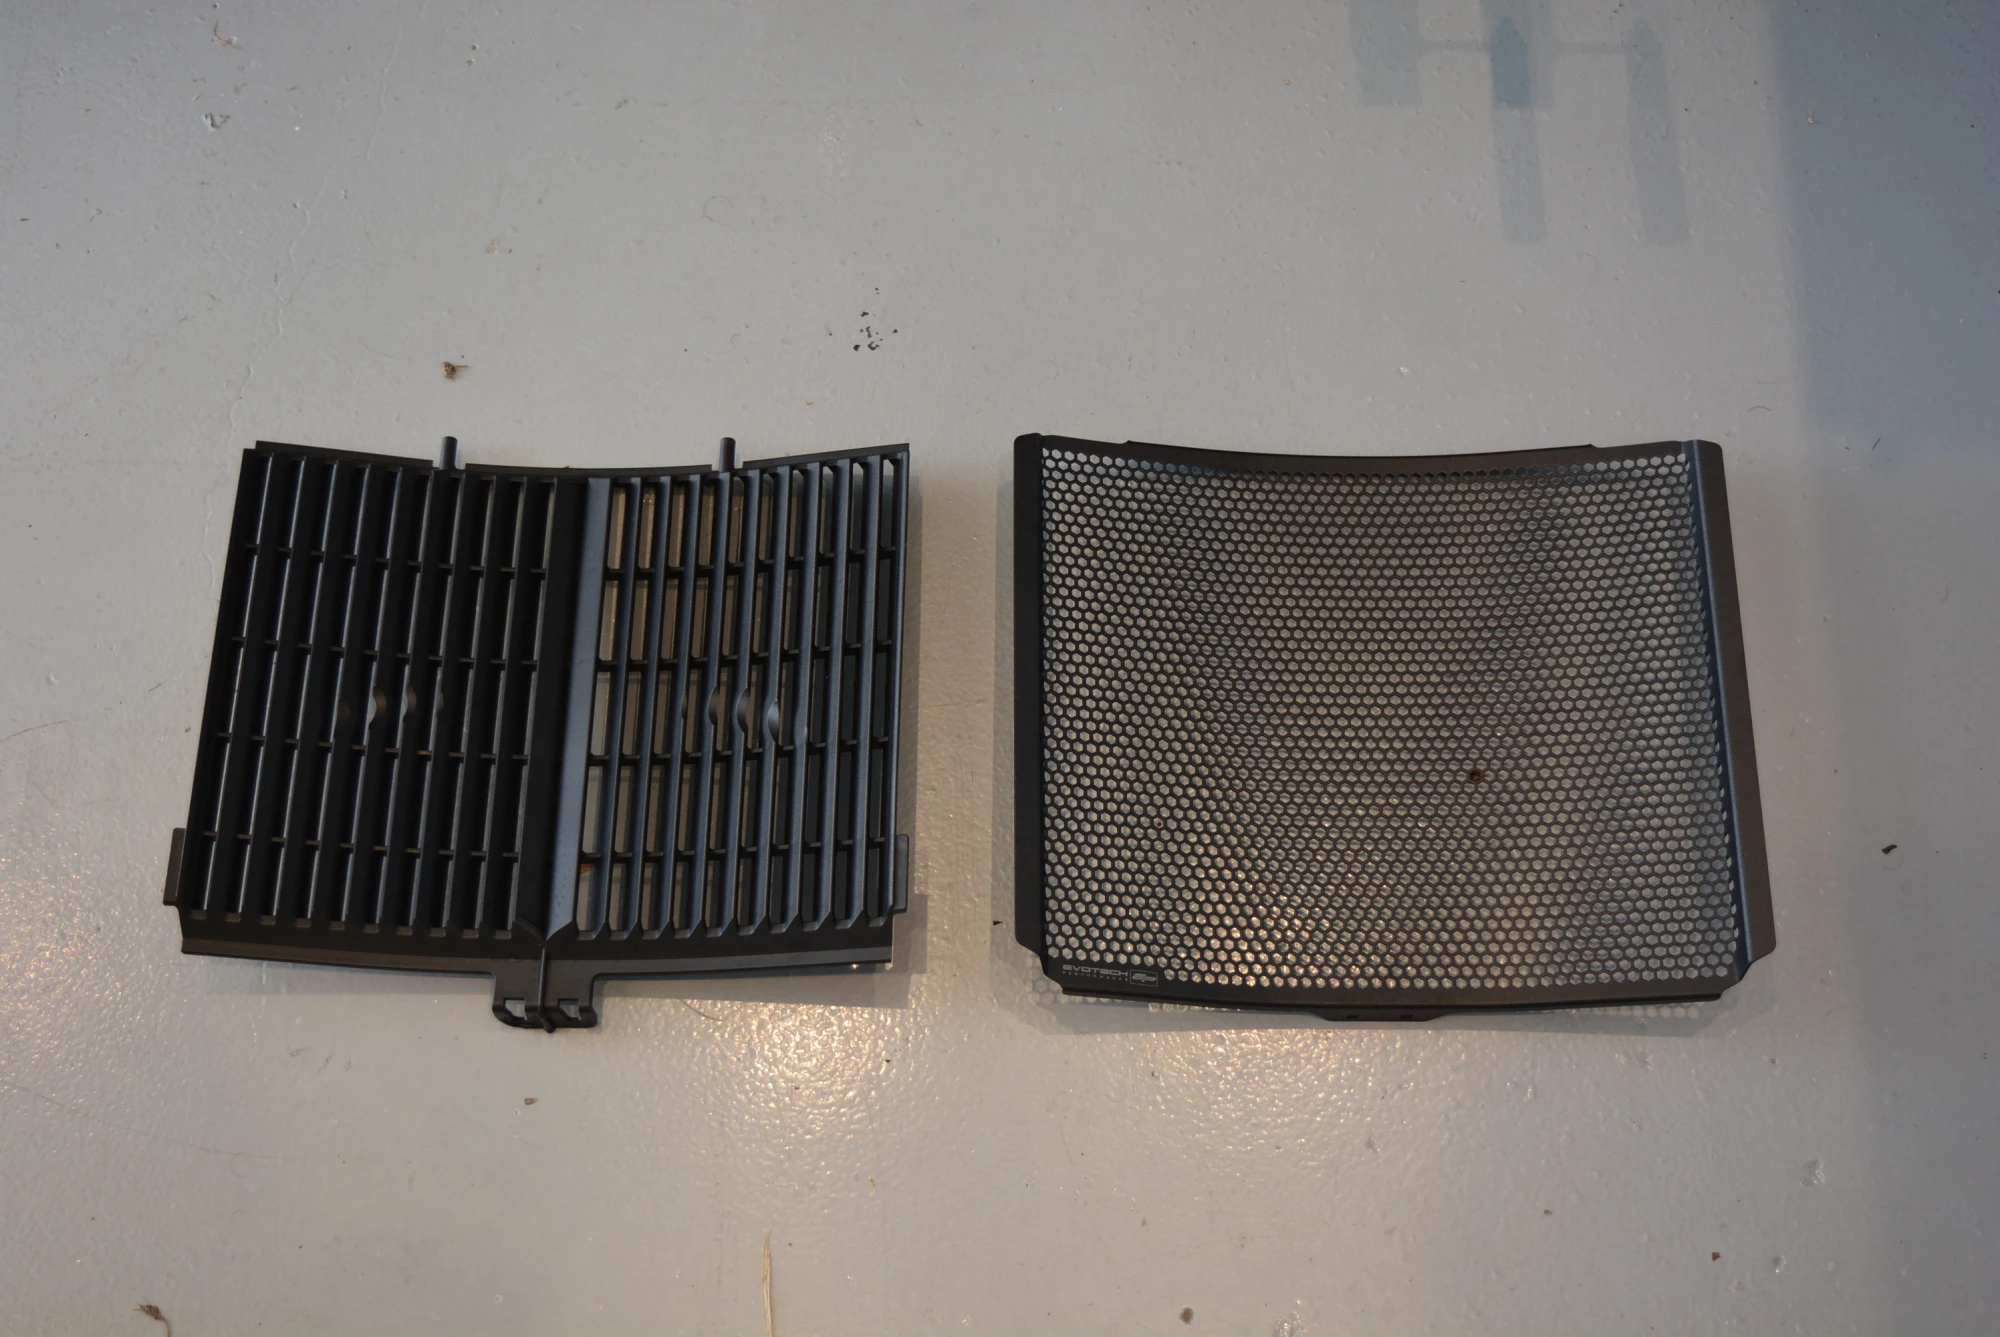
To protect the radiator a little better we swapped out the stock plastic unit for this beautiful Evotech radiator guard. They are powder-coated aluminum and absolutely gorgeous in craftsmanship and fit.
Even the logo is beautifully adorned. Kudos to Evotech for such a quality and affordable product that makes the bike look like a factory works piece.
You can clearly see that airflow seems to be improved as well.
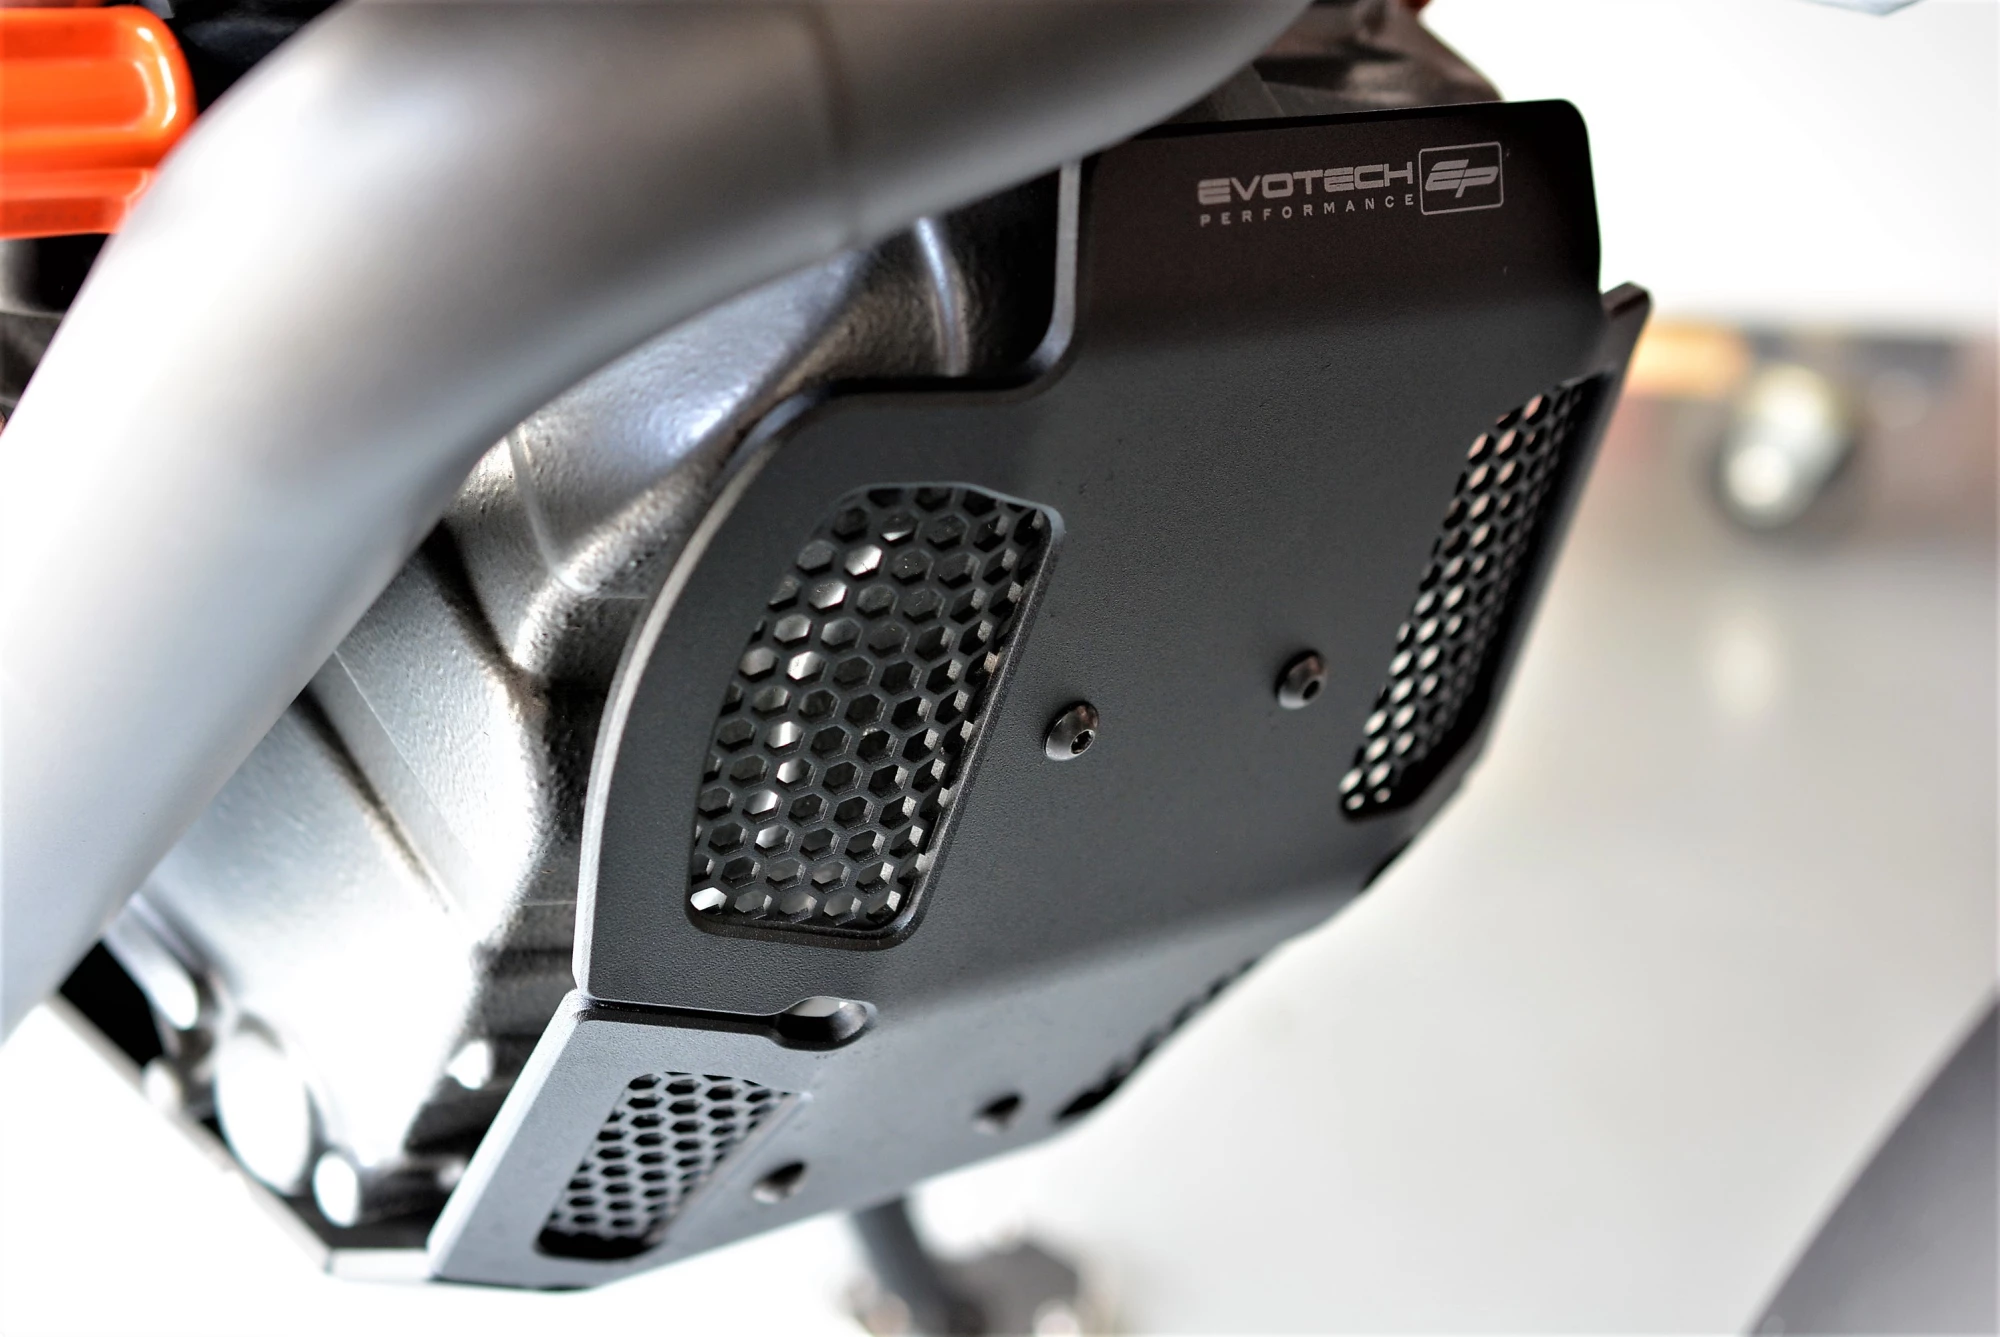
For even further protection we added an Evotech Engine Guard to protect the front of the engine from rocks and debris. This shouldn't be mistaken for a real skid pan though, as it is really intended to keep thrown objects from hitting the front dry sump part of the engine. If you are the kind of rider who just wants good impact protection without the hefty weight of an actual skid pan, this is a perfect fit for you.
The evolution of 'Power Distribution Modules' is in full swing these days, and there are a few options available for those of you who have CAOD (Chronic Add On Disease). In the beginning, one would need a good knowledge of the world of fused wiring in order to add lighting systems, heated seats, grips and jackets, GPS devices and so on, but now we have some newer technologies that make this arduous task a thing of the past.
On the economical side, there is the PDM60, a solid device that can be programmed to distribute up to 60 amps along 6 channels with programmable on and off features. This is a solid performer and would be attractive to people who just need some things powered and the user may not feel the need to ever change the settings while on the road.
For our build, we opted for the 'Neutrino Black Box - Aurora' for it's robust catalog of features and program-ability on the fly with Bluetooth capability and an easy to use phone app that can be used for a multitude of functions to automatically turn items of your choice on and off with speed, temperature, time and more.
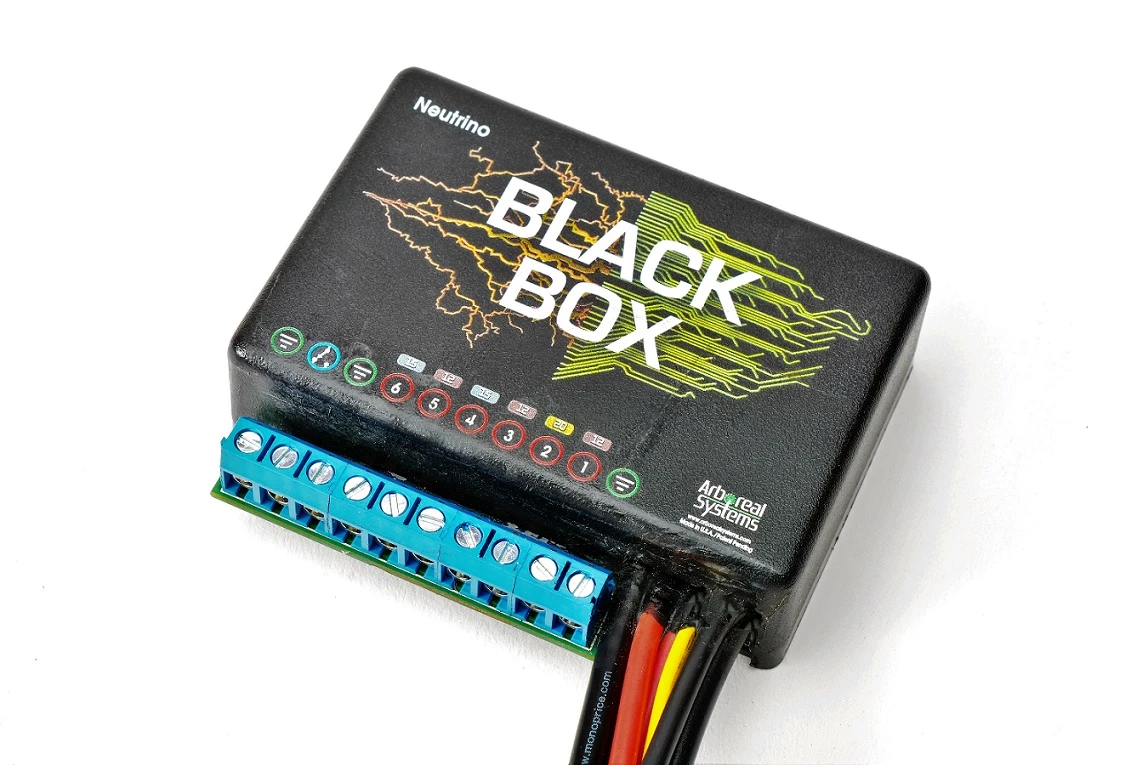
We fashioned a custom mount right underneath the rear plastic cover and secured the device there. This allowed us to cleanly run the varying wires to the unit that needed powering and then later set them all up according to our needs. On this build, we set up the tail light to flash upon deceleration, power the Dynojet Auto Tune and we have a few circuits left over for when we add auxiliary lighting and so on.
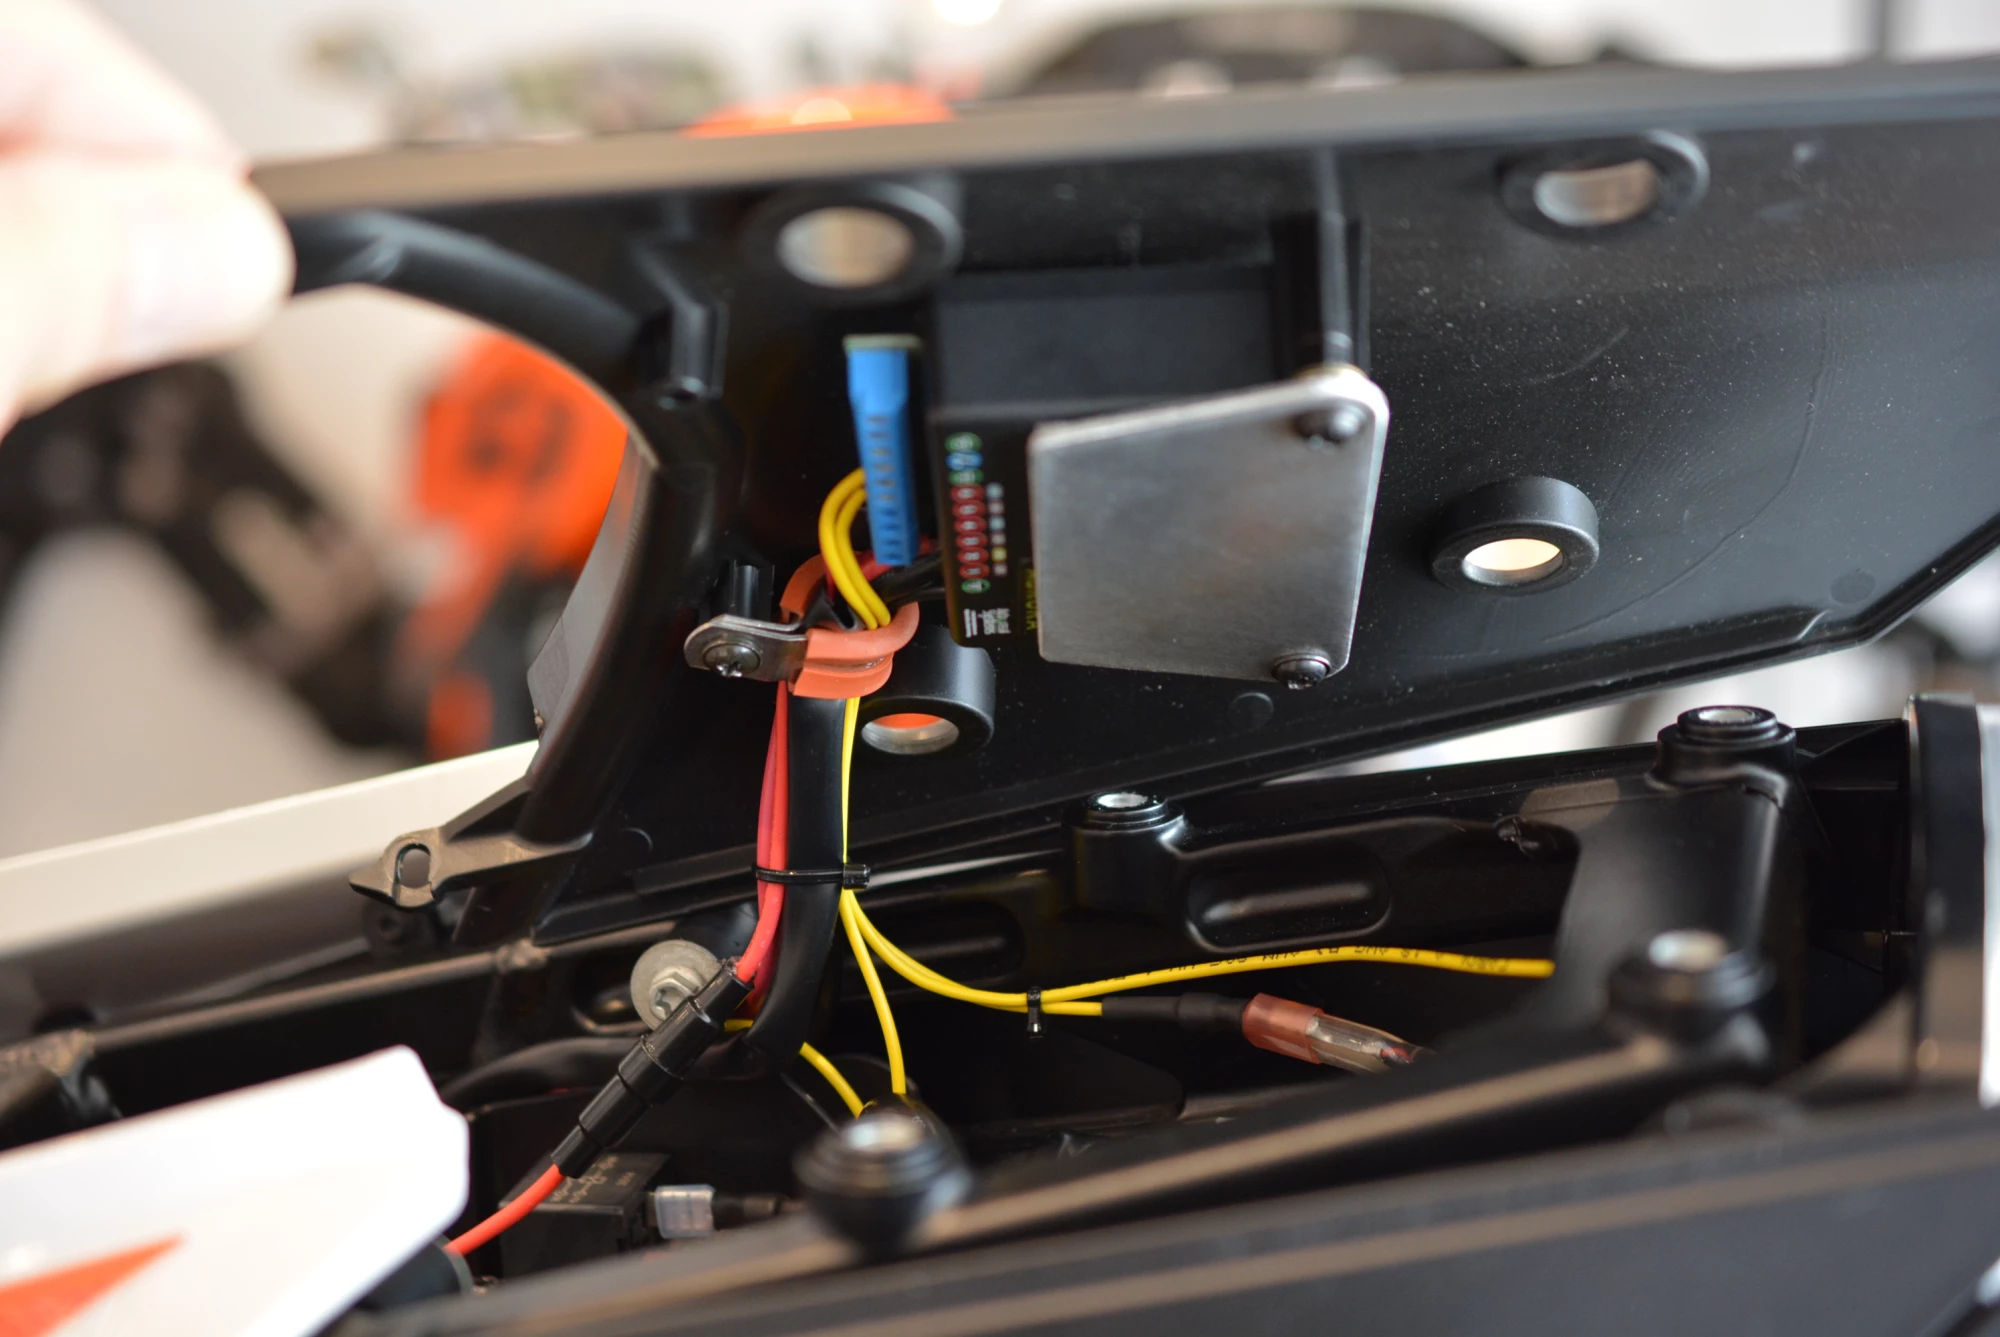
Next we went through the entire bike and swapped out the heavy black hoses for a lighter Tygon hose. While the weight difference is minimal, the Tygon hose won't crack or get hard over time and if you have any fluids draining for any reason they are more visible.
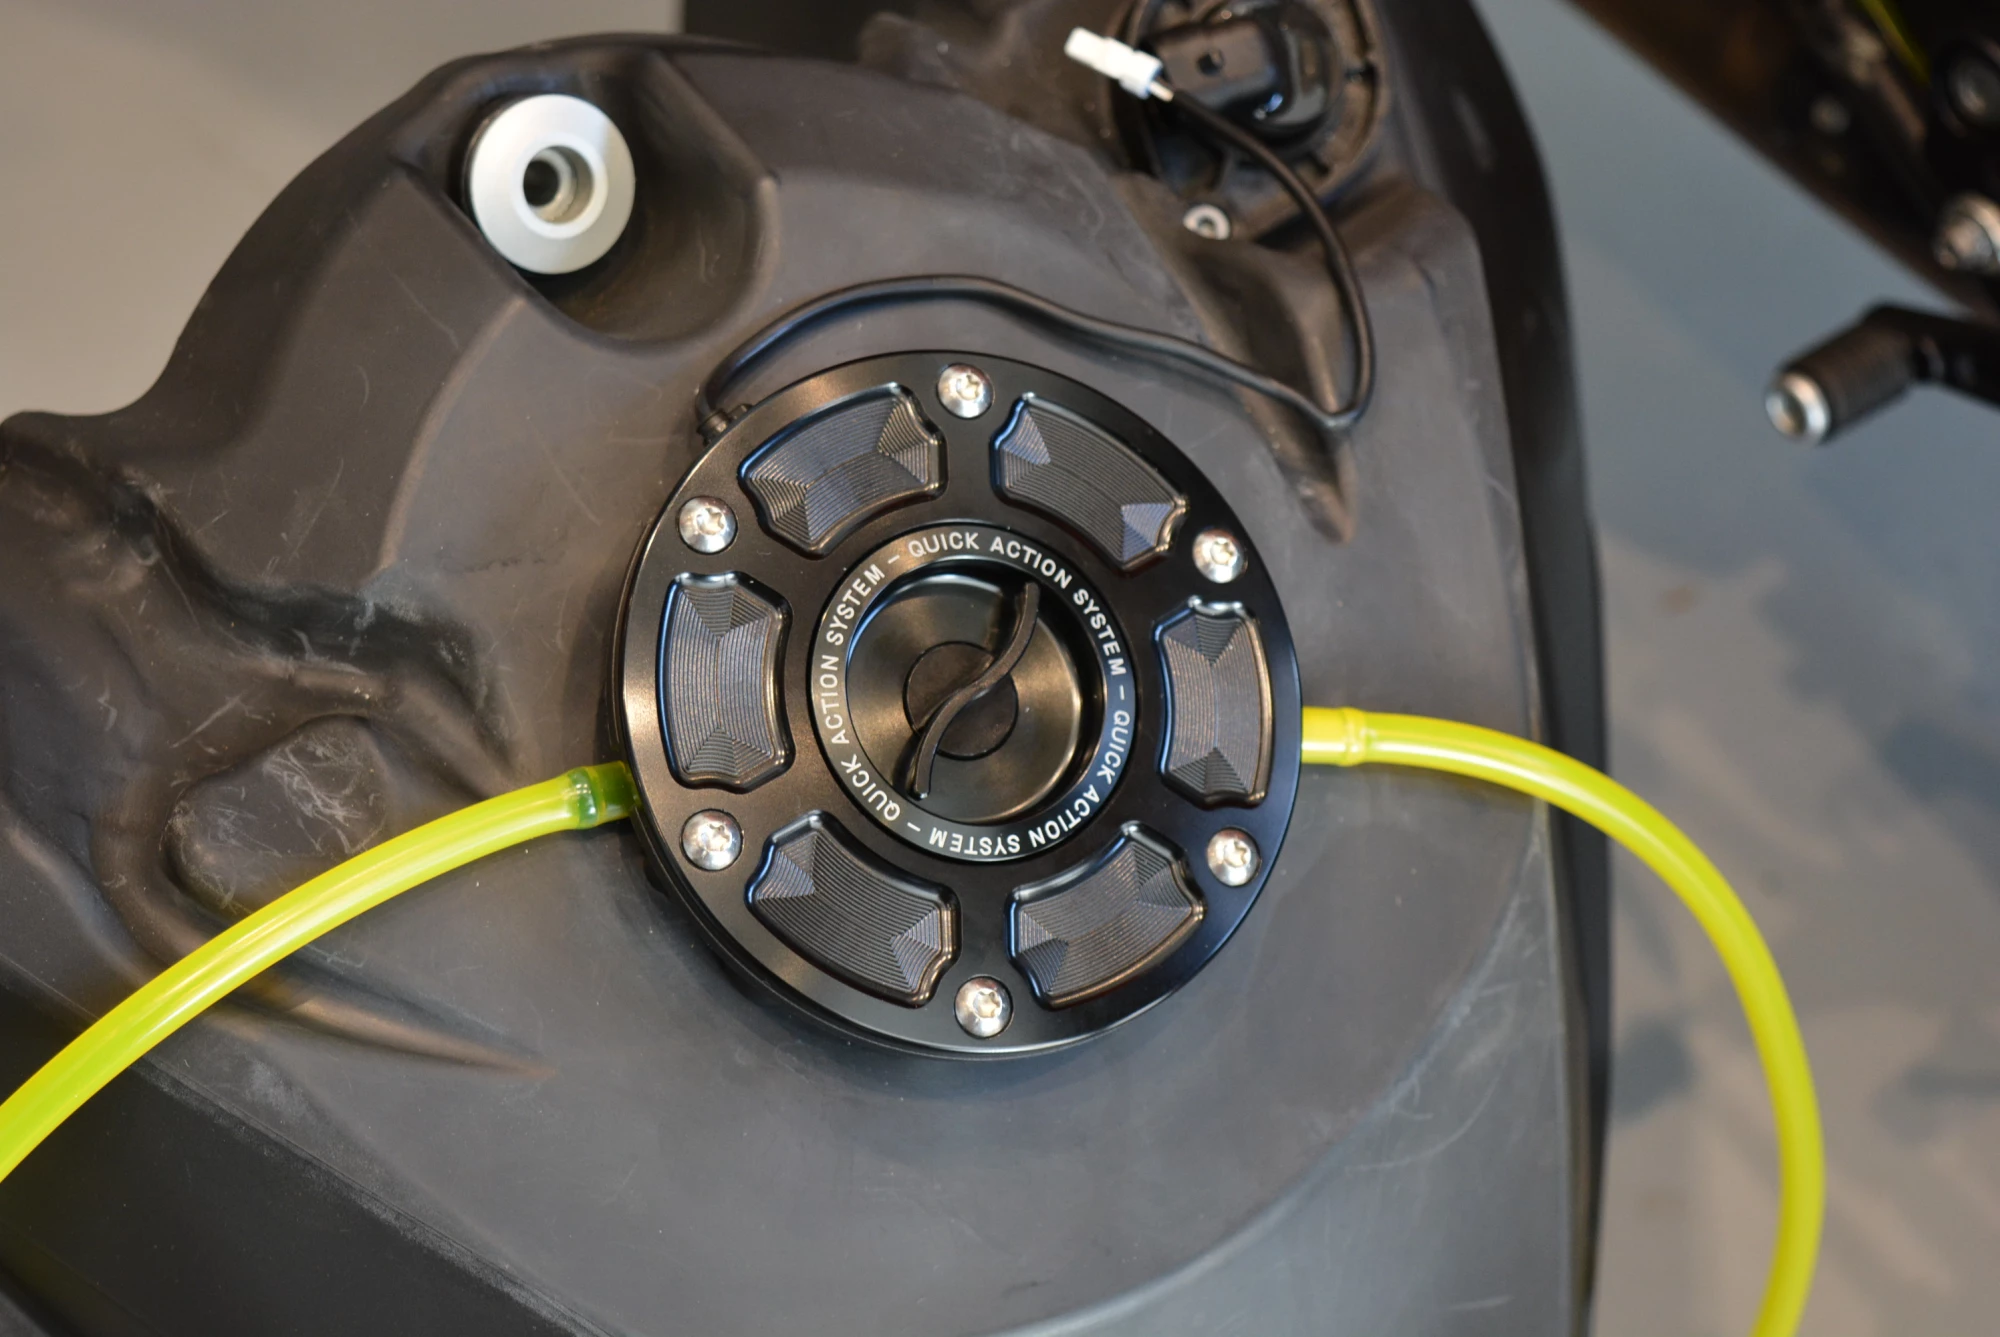
The coolant hoses were creatively replaced as well, cleaning up the area a little and adding a little flash that only I will ever see.
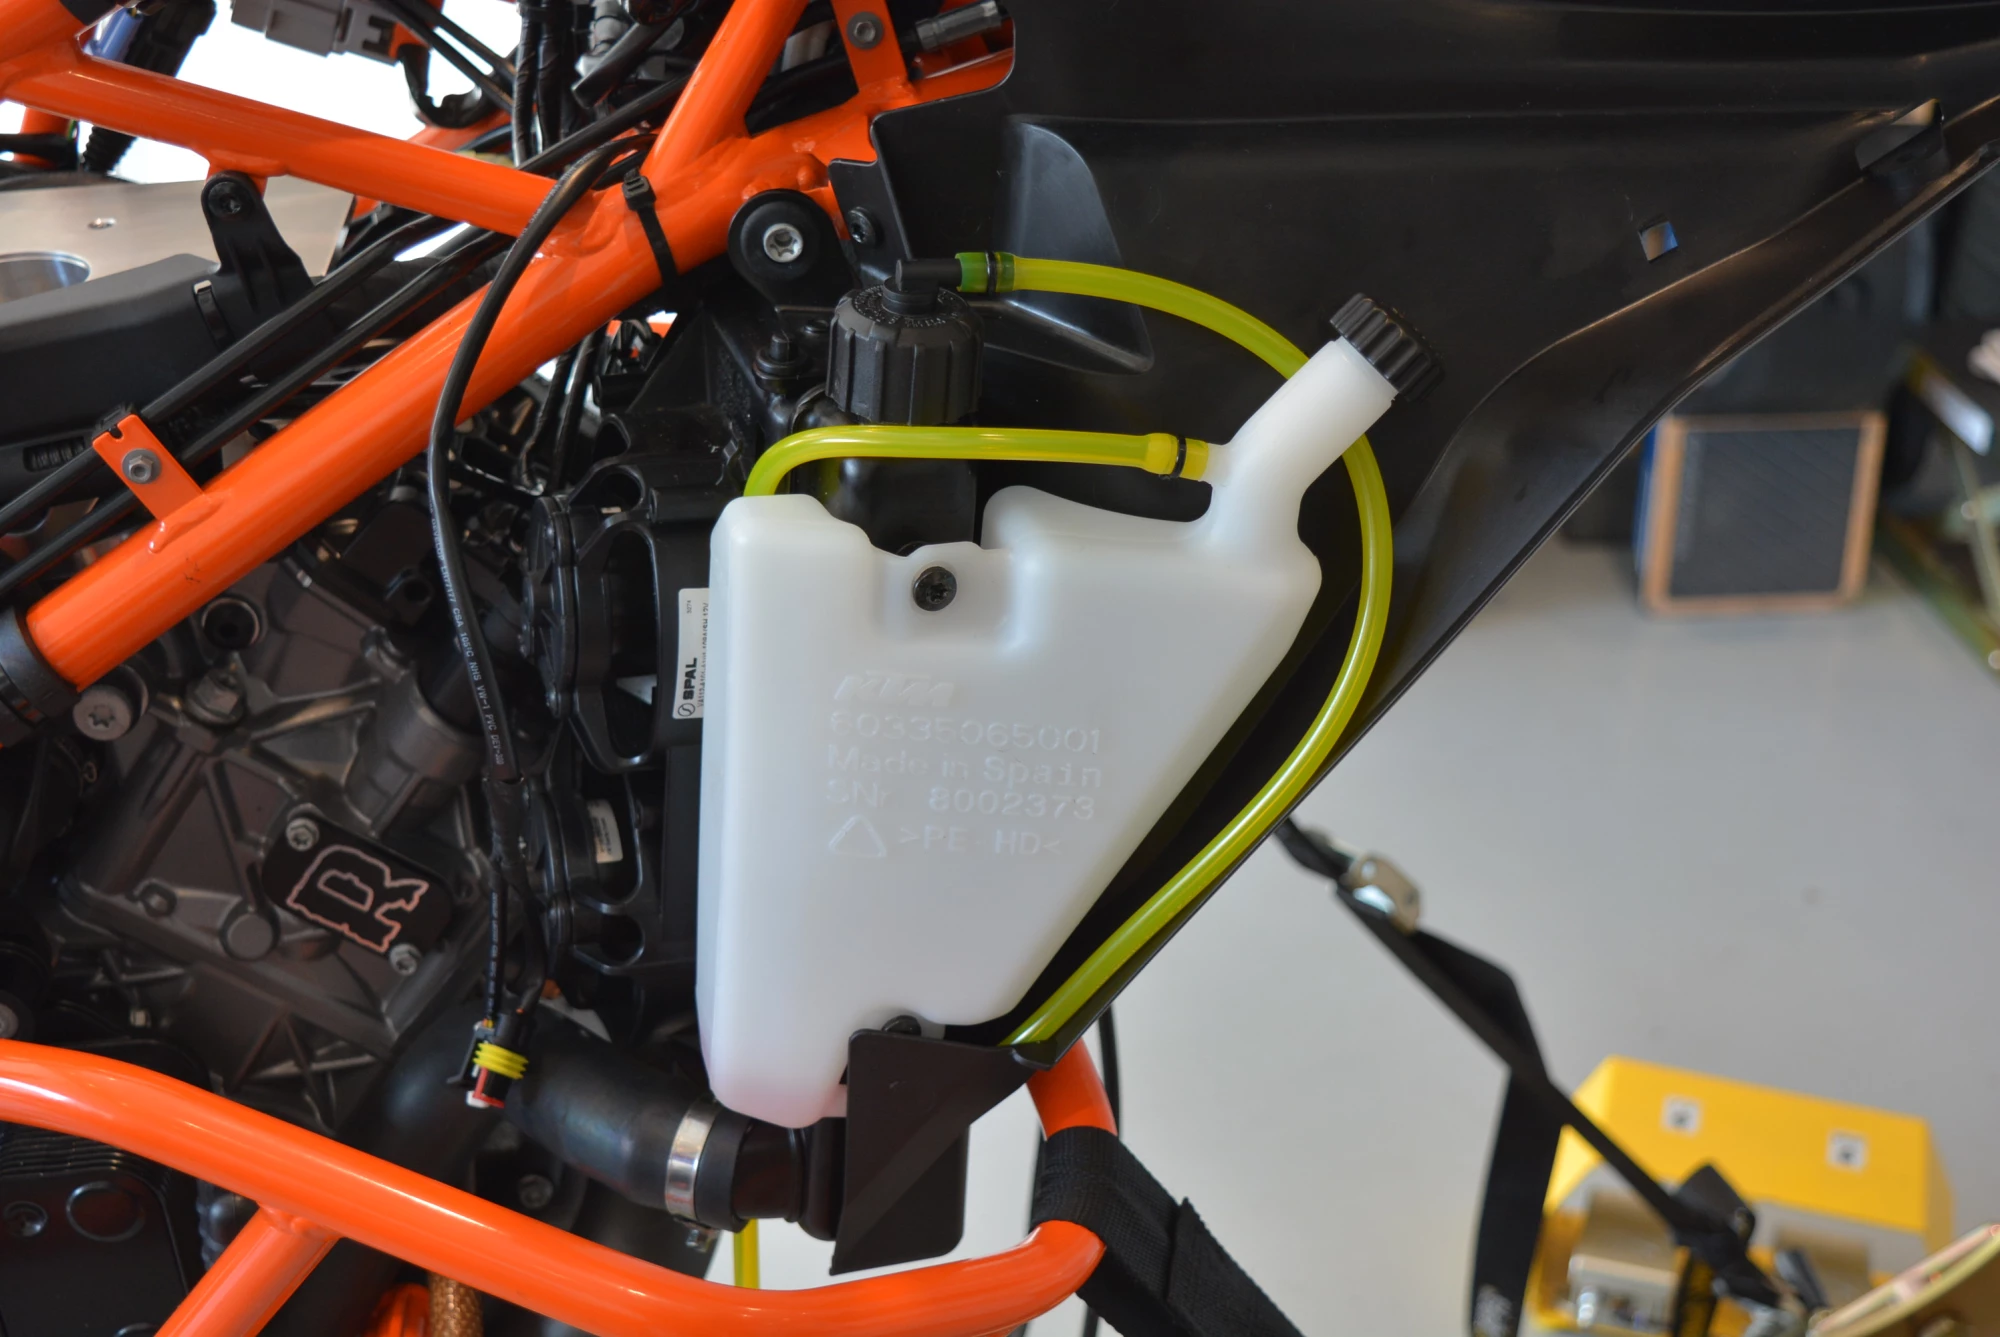
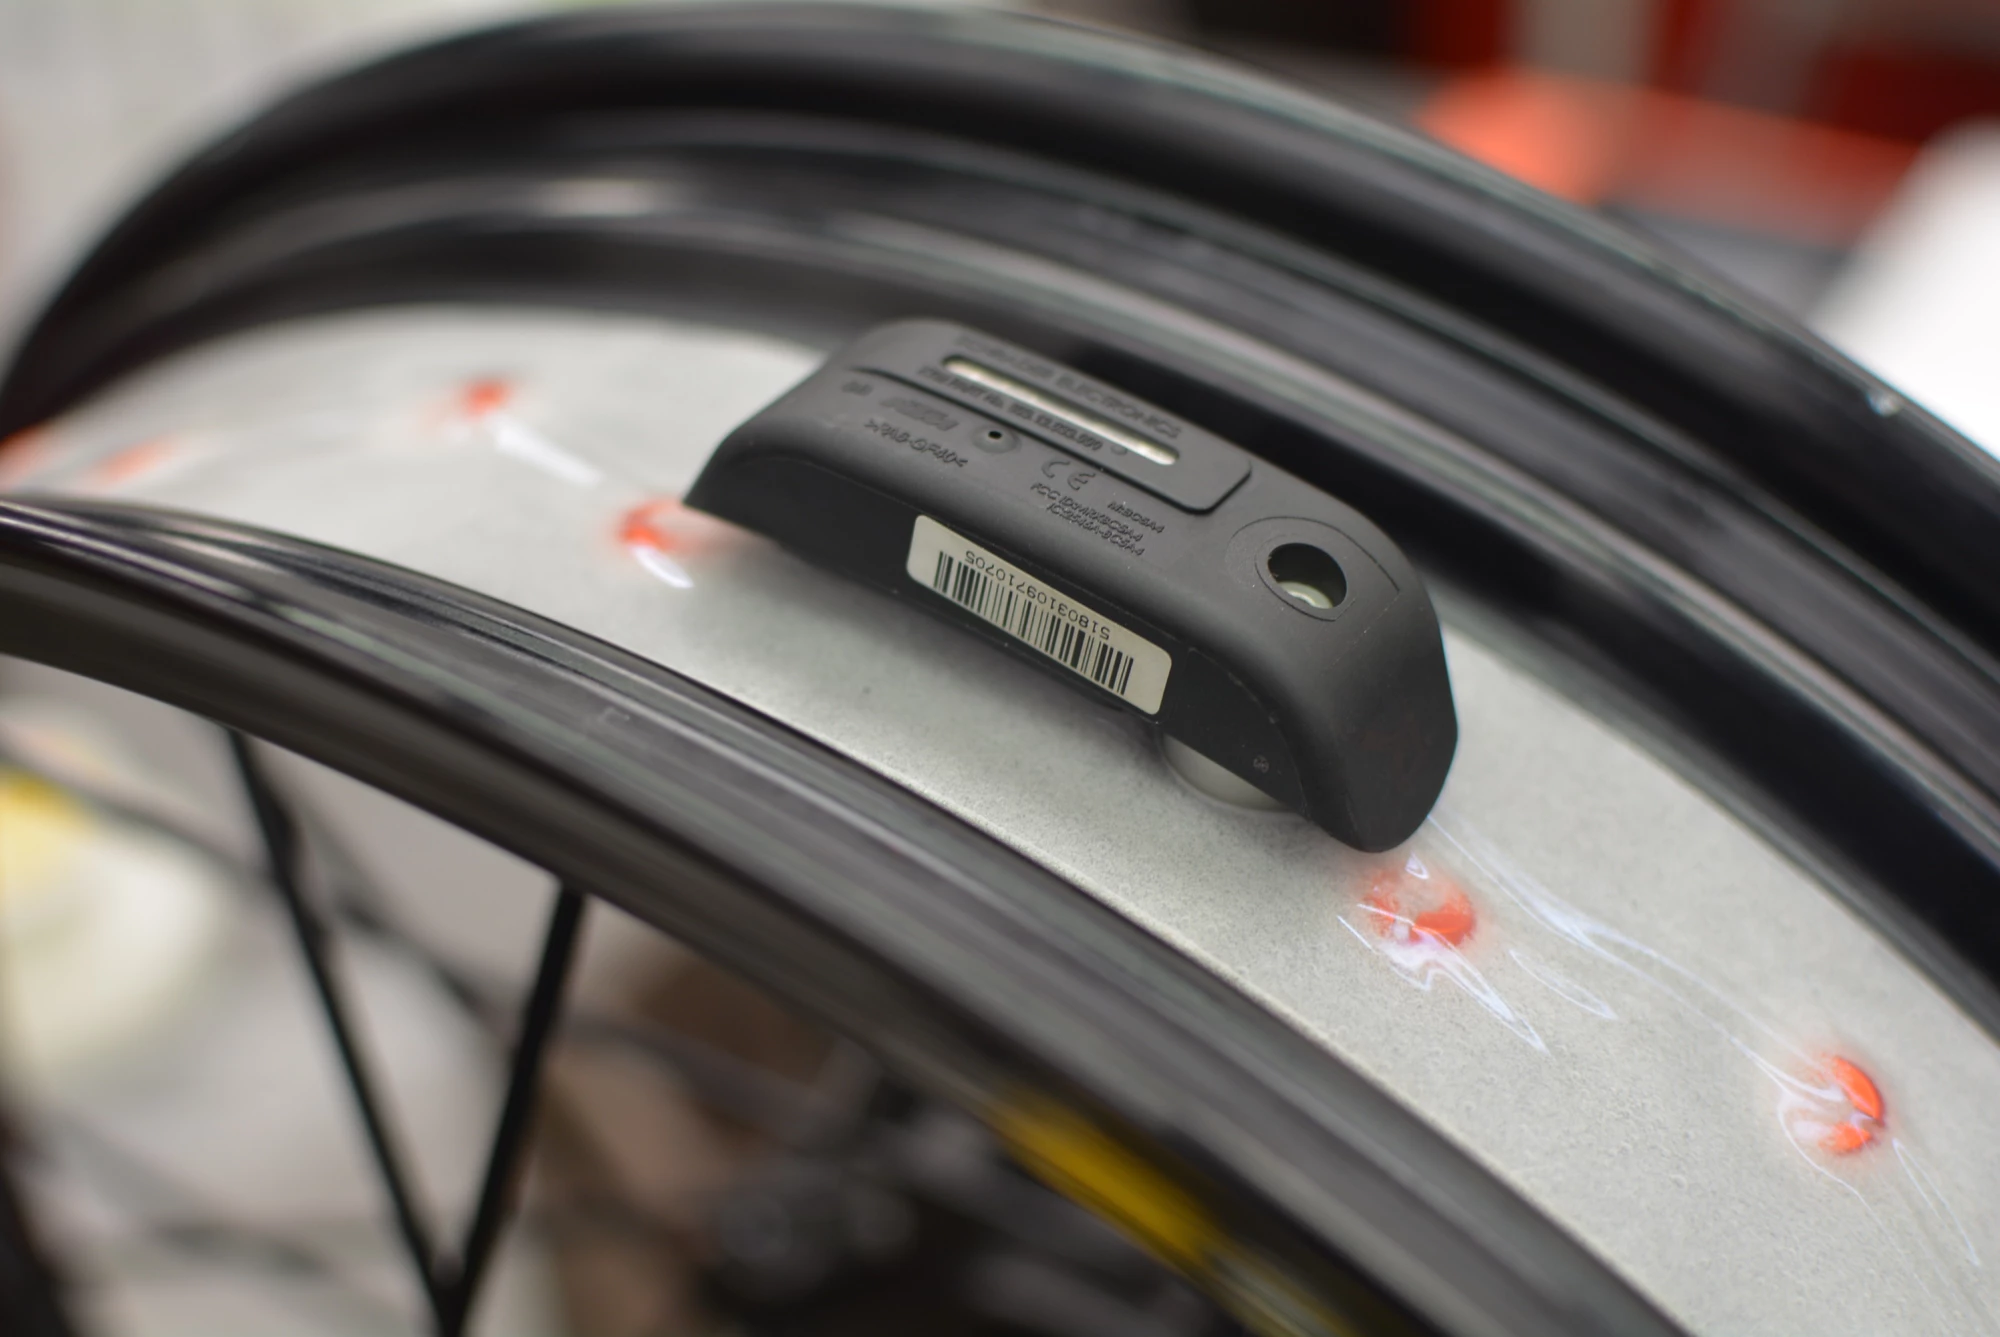
Not feeling content to leave the stock rims on such bespoke project, we built a beautiful set of Dybya wheels with Excel rims attached with Bulldog spokes to a set of Billet Talon hubs. My first order of business was to drill out the schrader valve hole to prepare the rim to accept the TPS sensors.
YES, WE ARE GOING TUBELESS ON AN AFTERMARKET WHEEL SET. READ ON...
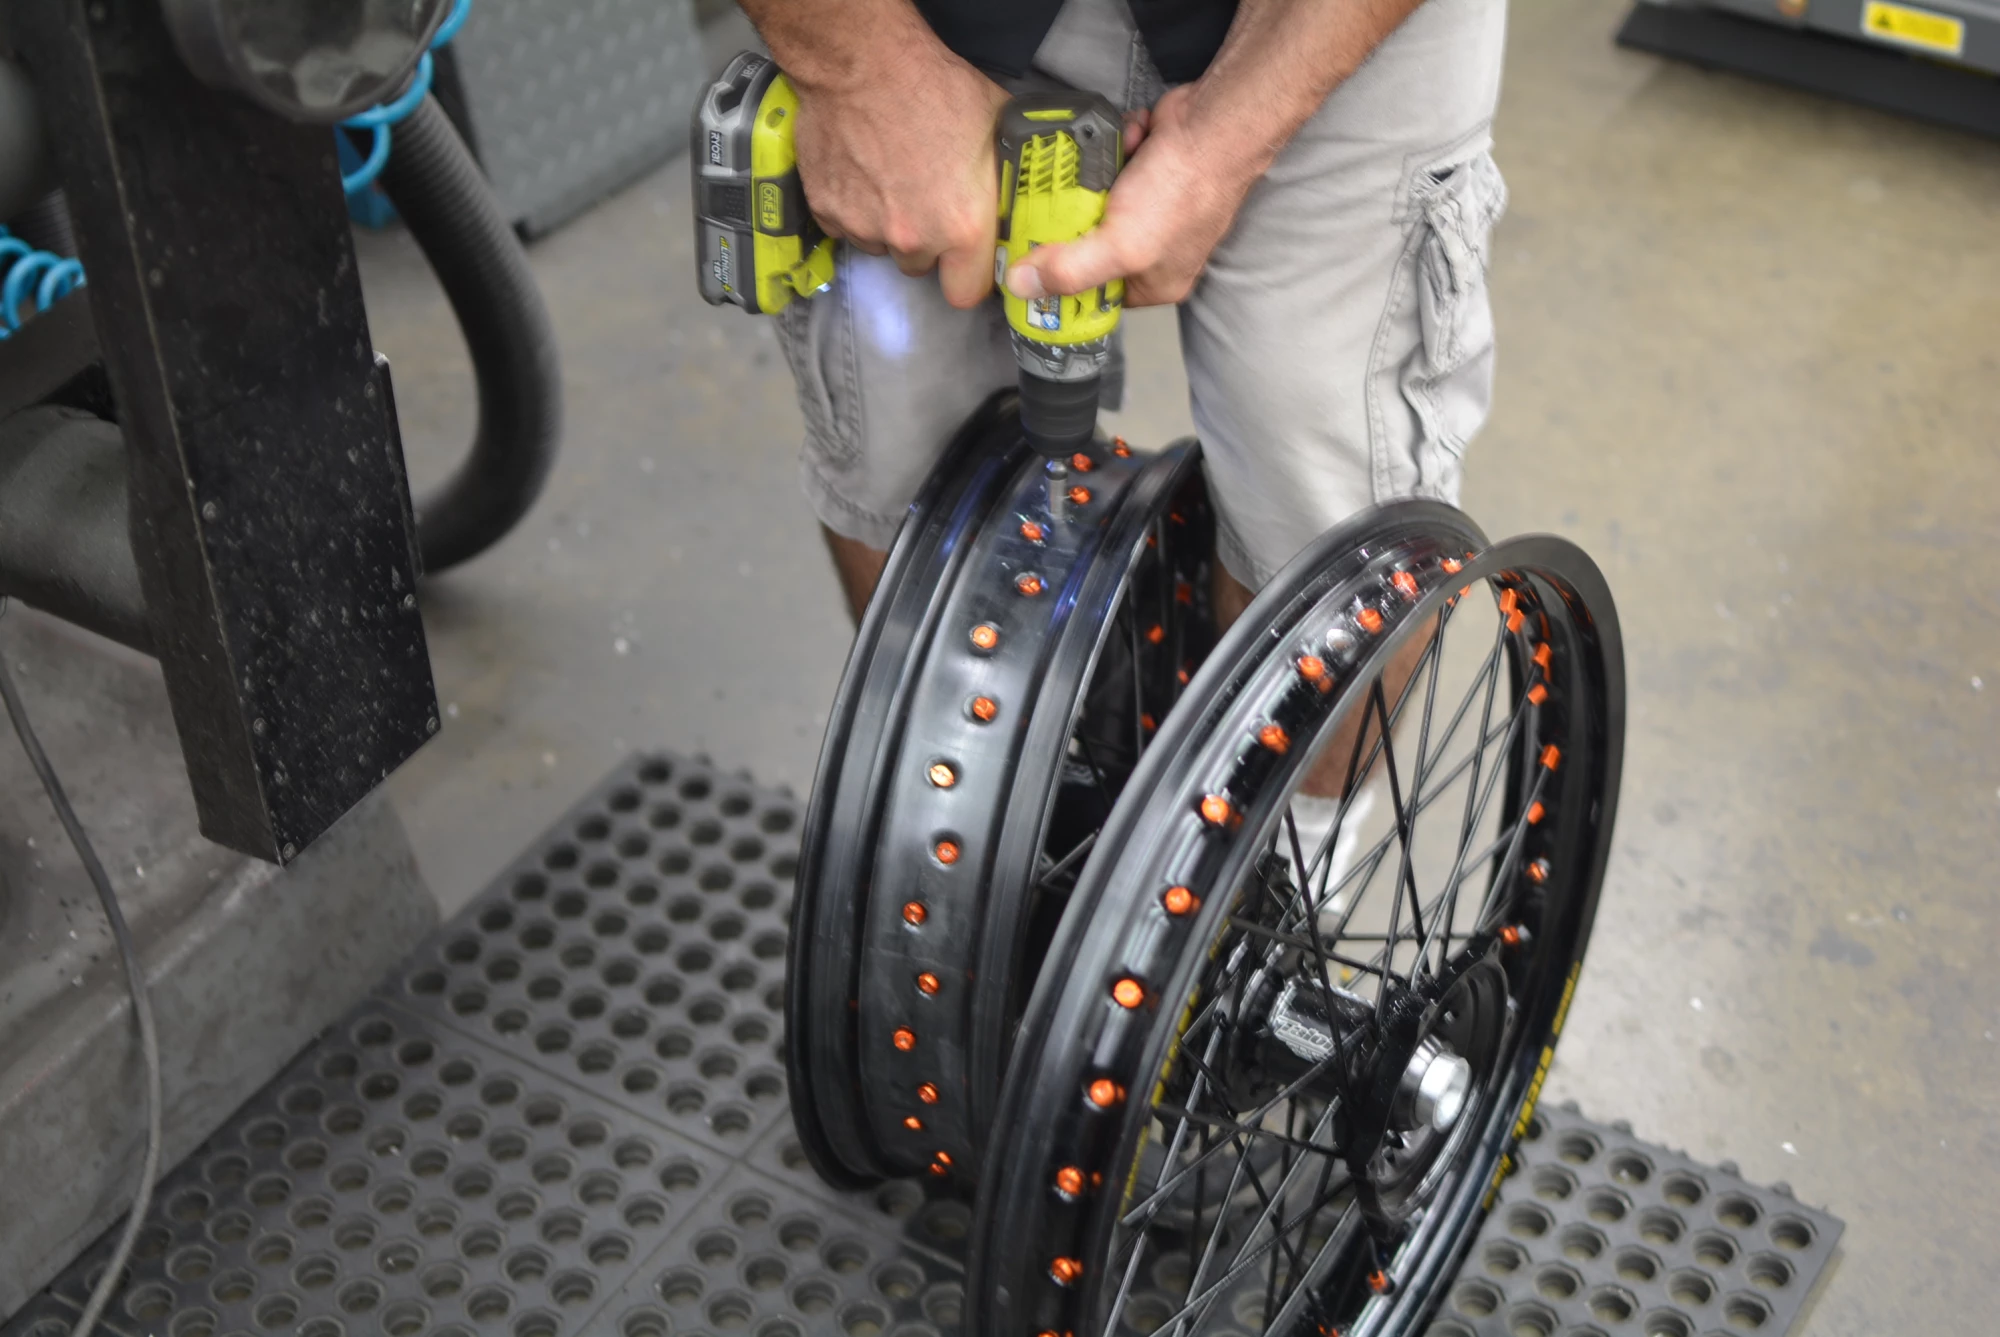
We had learned about a special 3M 4211N tape designed to seal skylights that you could use to make your rims tubeless. It had the consistency of a sort of bonded gel that was held together by a clear cellophane membrane and is amazingly sticky. The only trick is that the rim has to be 100% free of any oil or grease, so careful preparation is paramount. Oil is used in the assembly and needed to be completely flushed out.
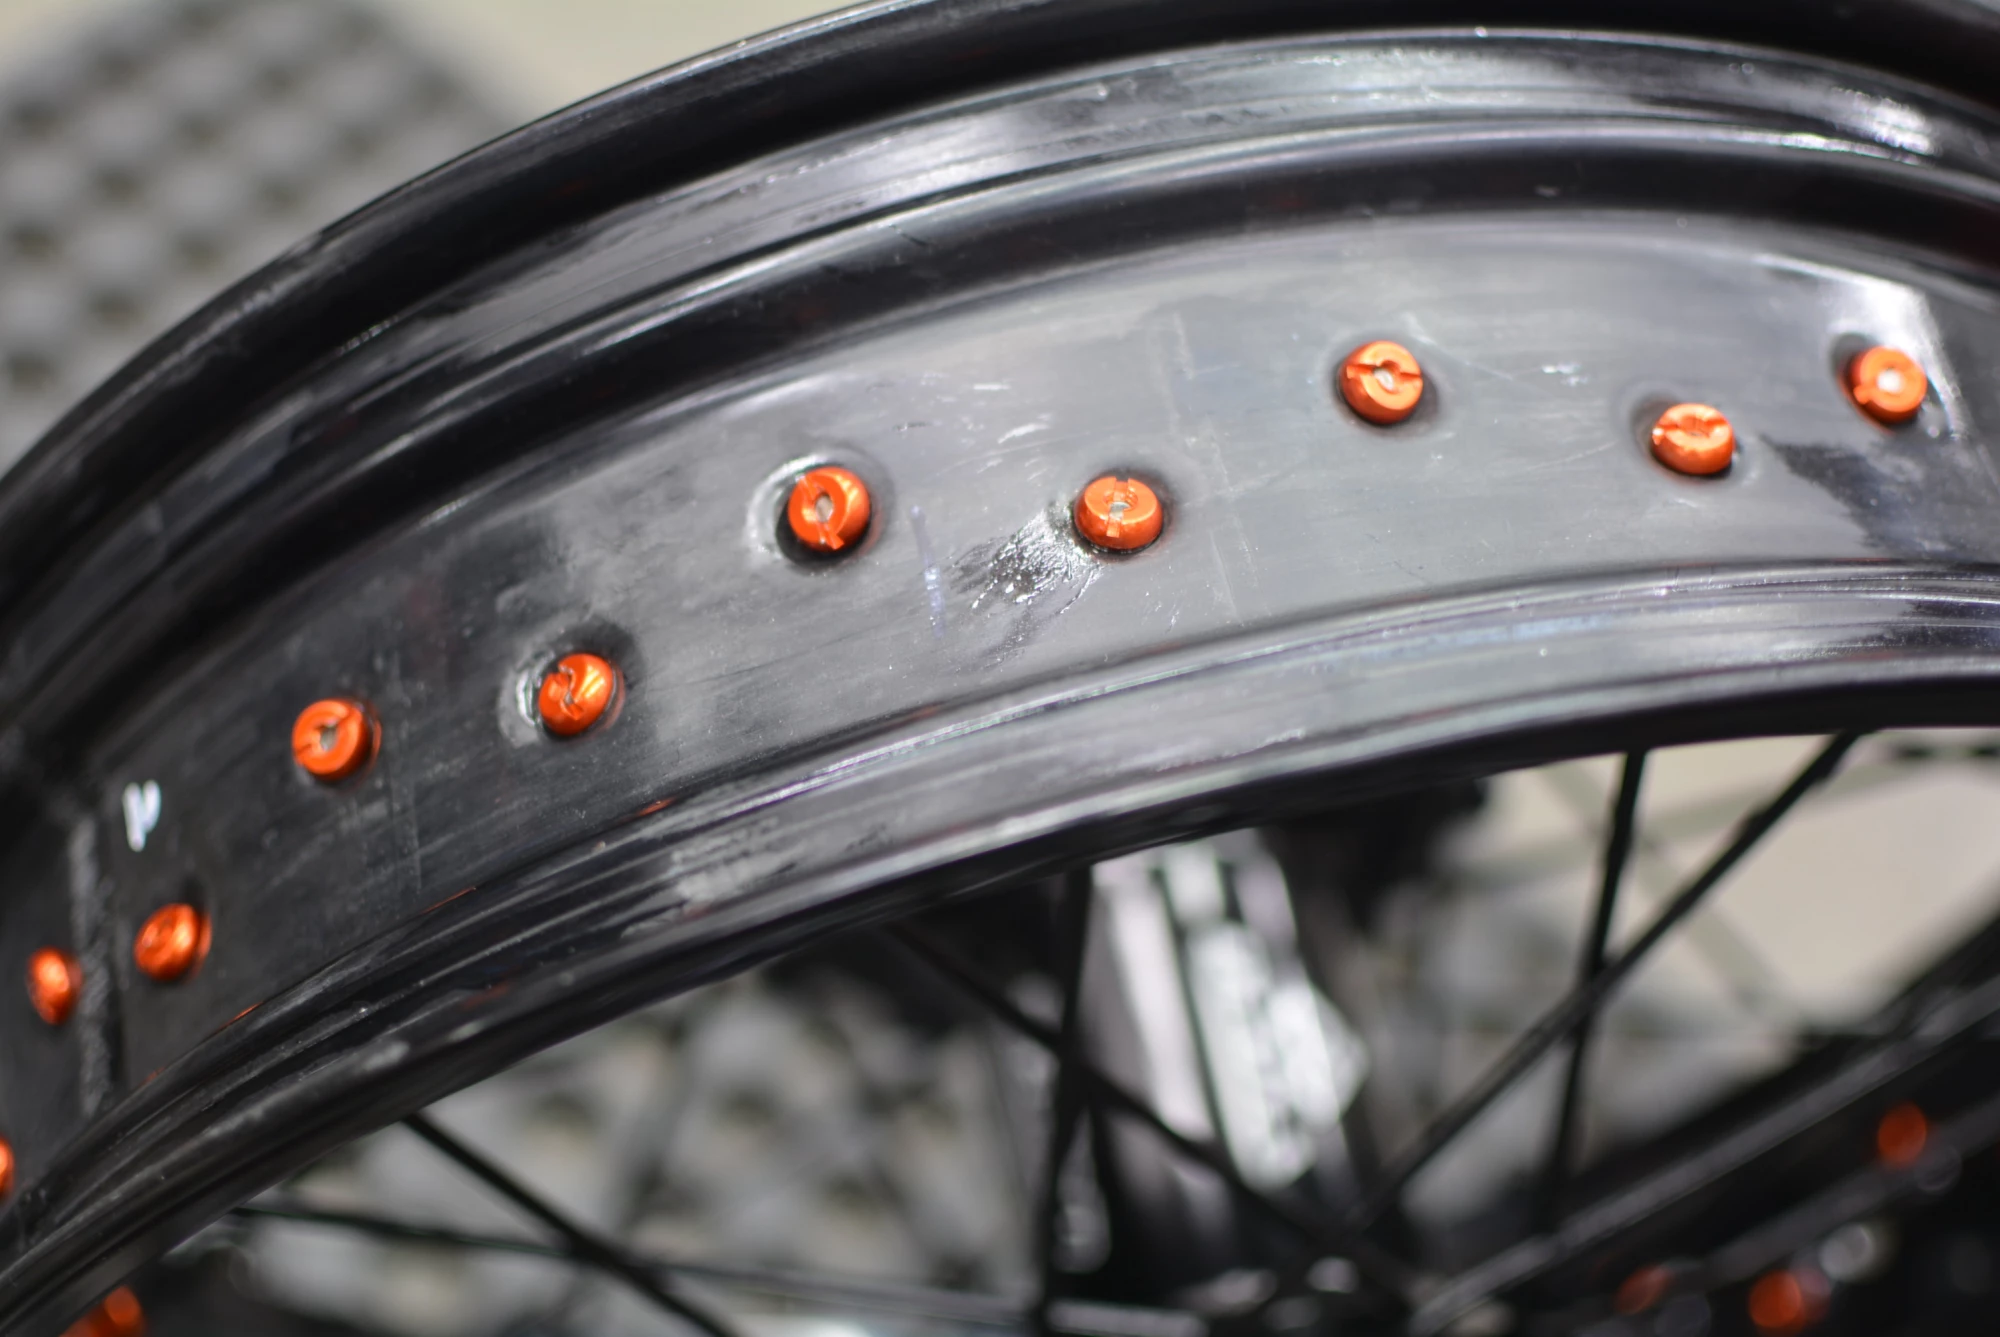
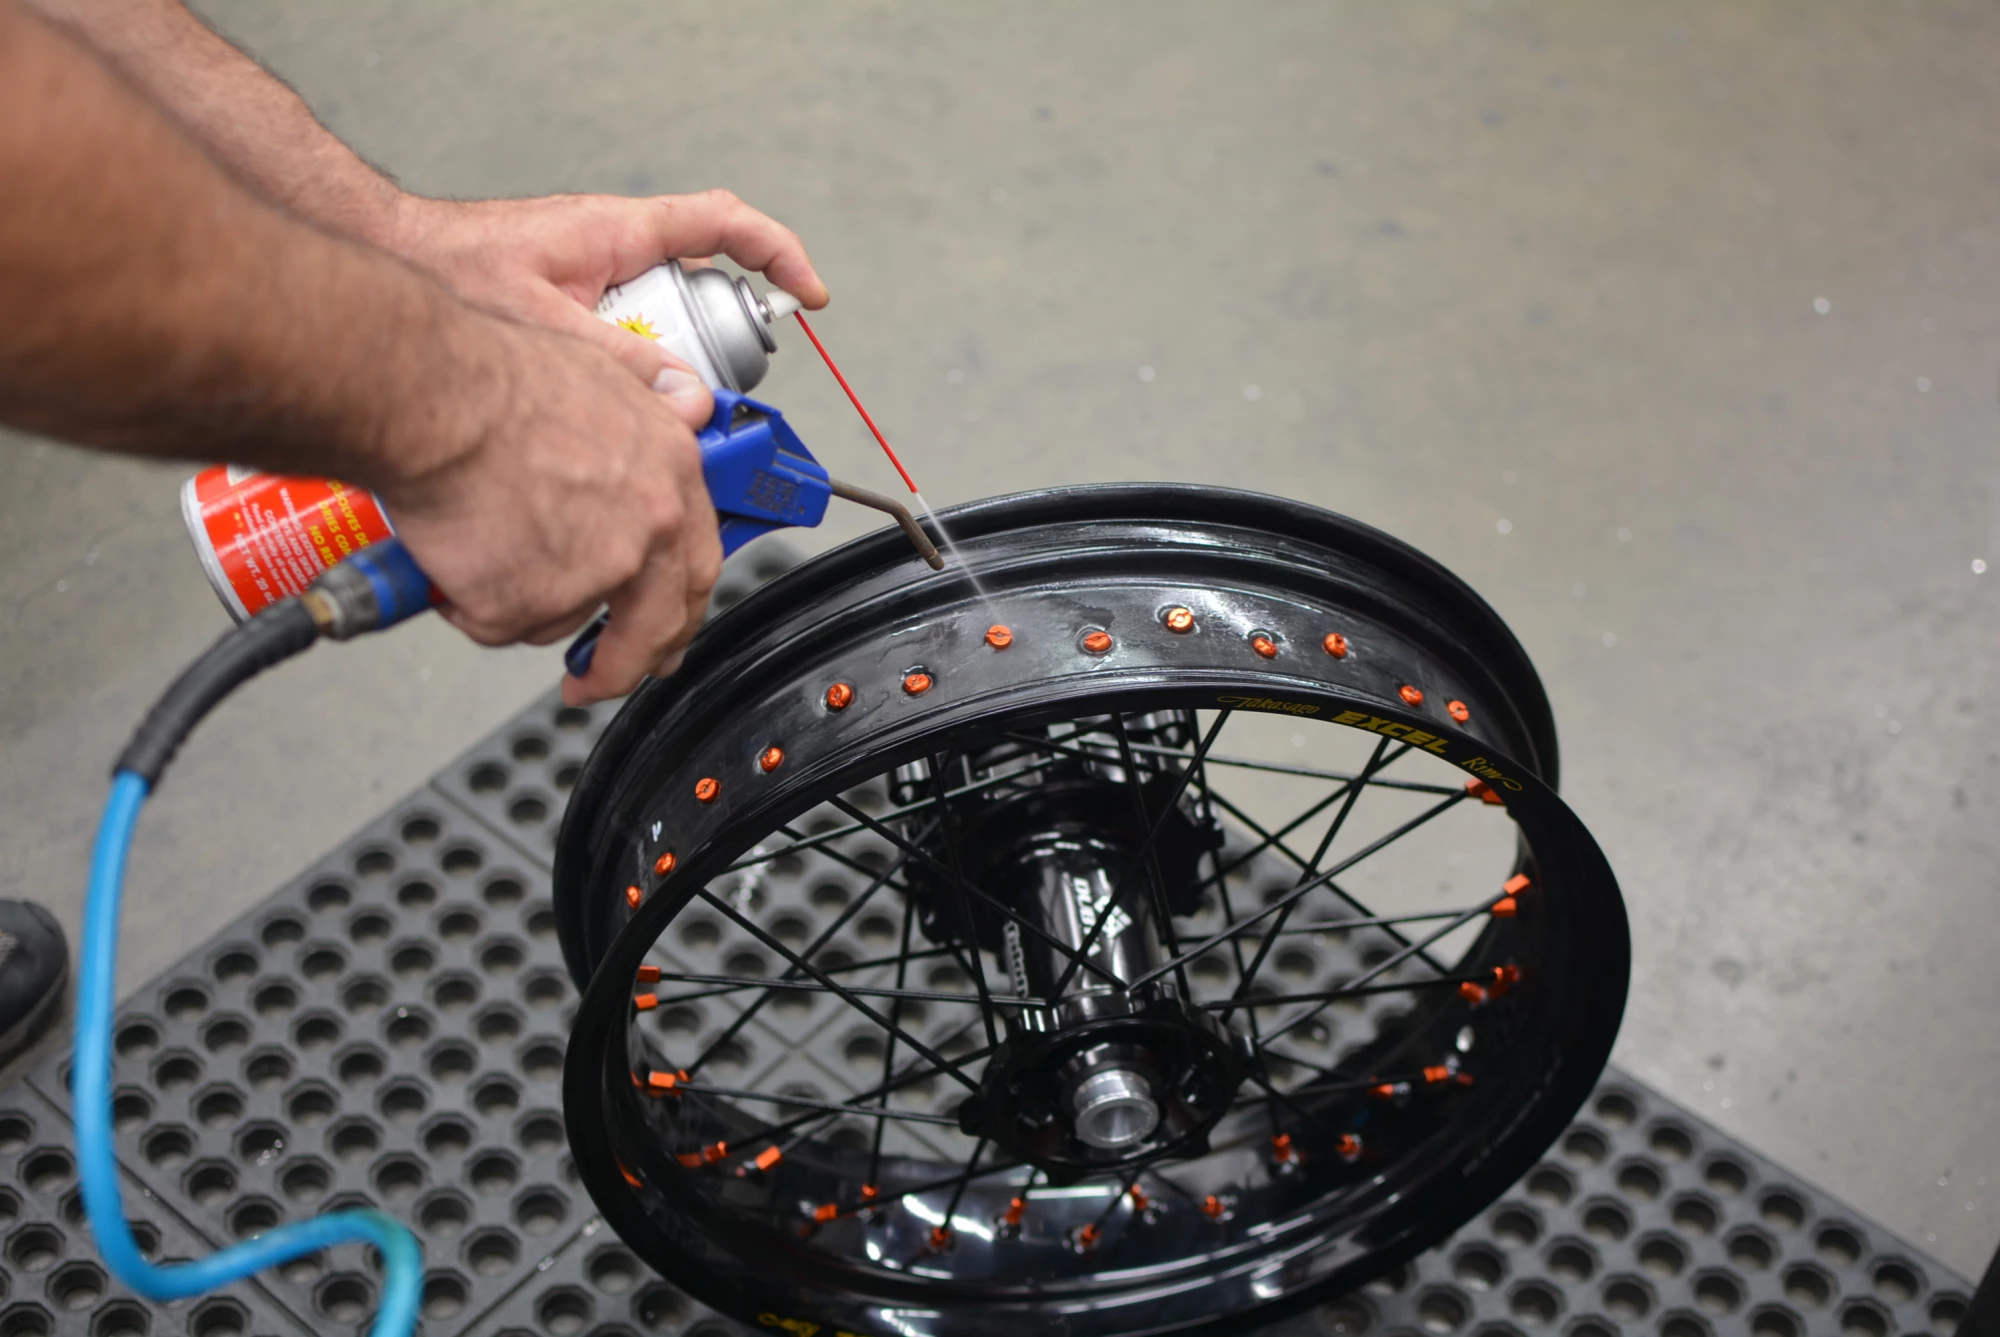
Using a can of carb cleaner and compressed air, we flushed out each spoke nipple independently until every one showed no signs of any contaminants.
Once we were confident that no contaminants remained, we started in the middle of a set of spoke nipples and began laying the tape. This process can help to have a second person rotating the rim because there are no do-overs with this stuff.
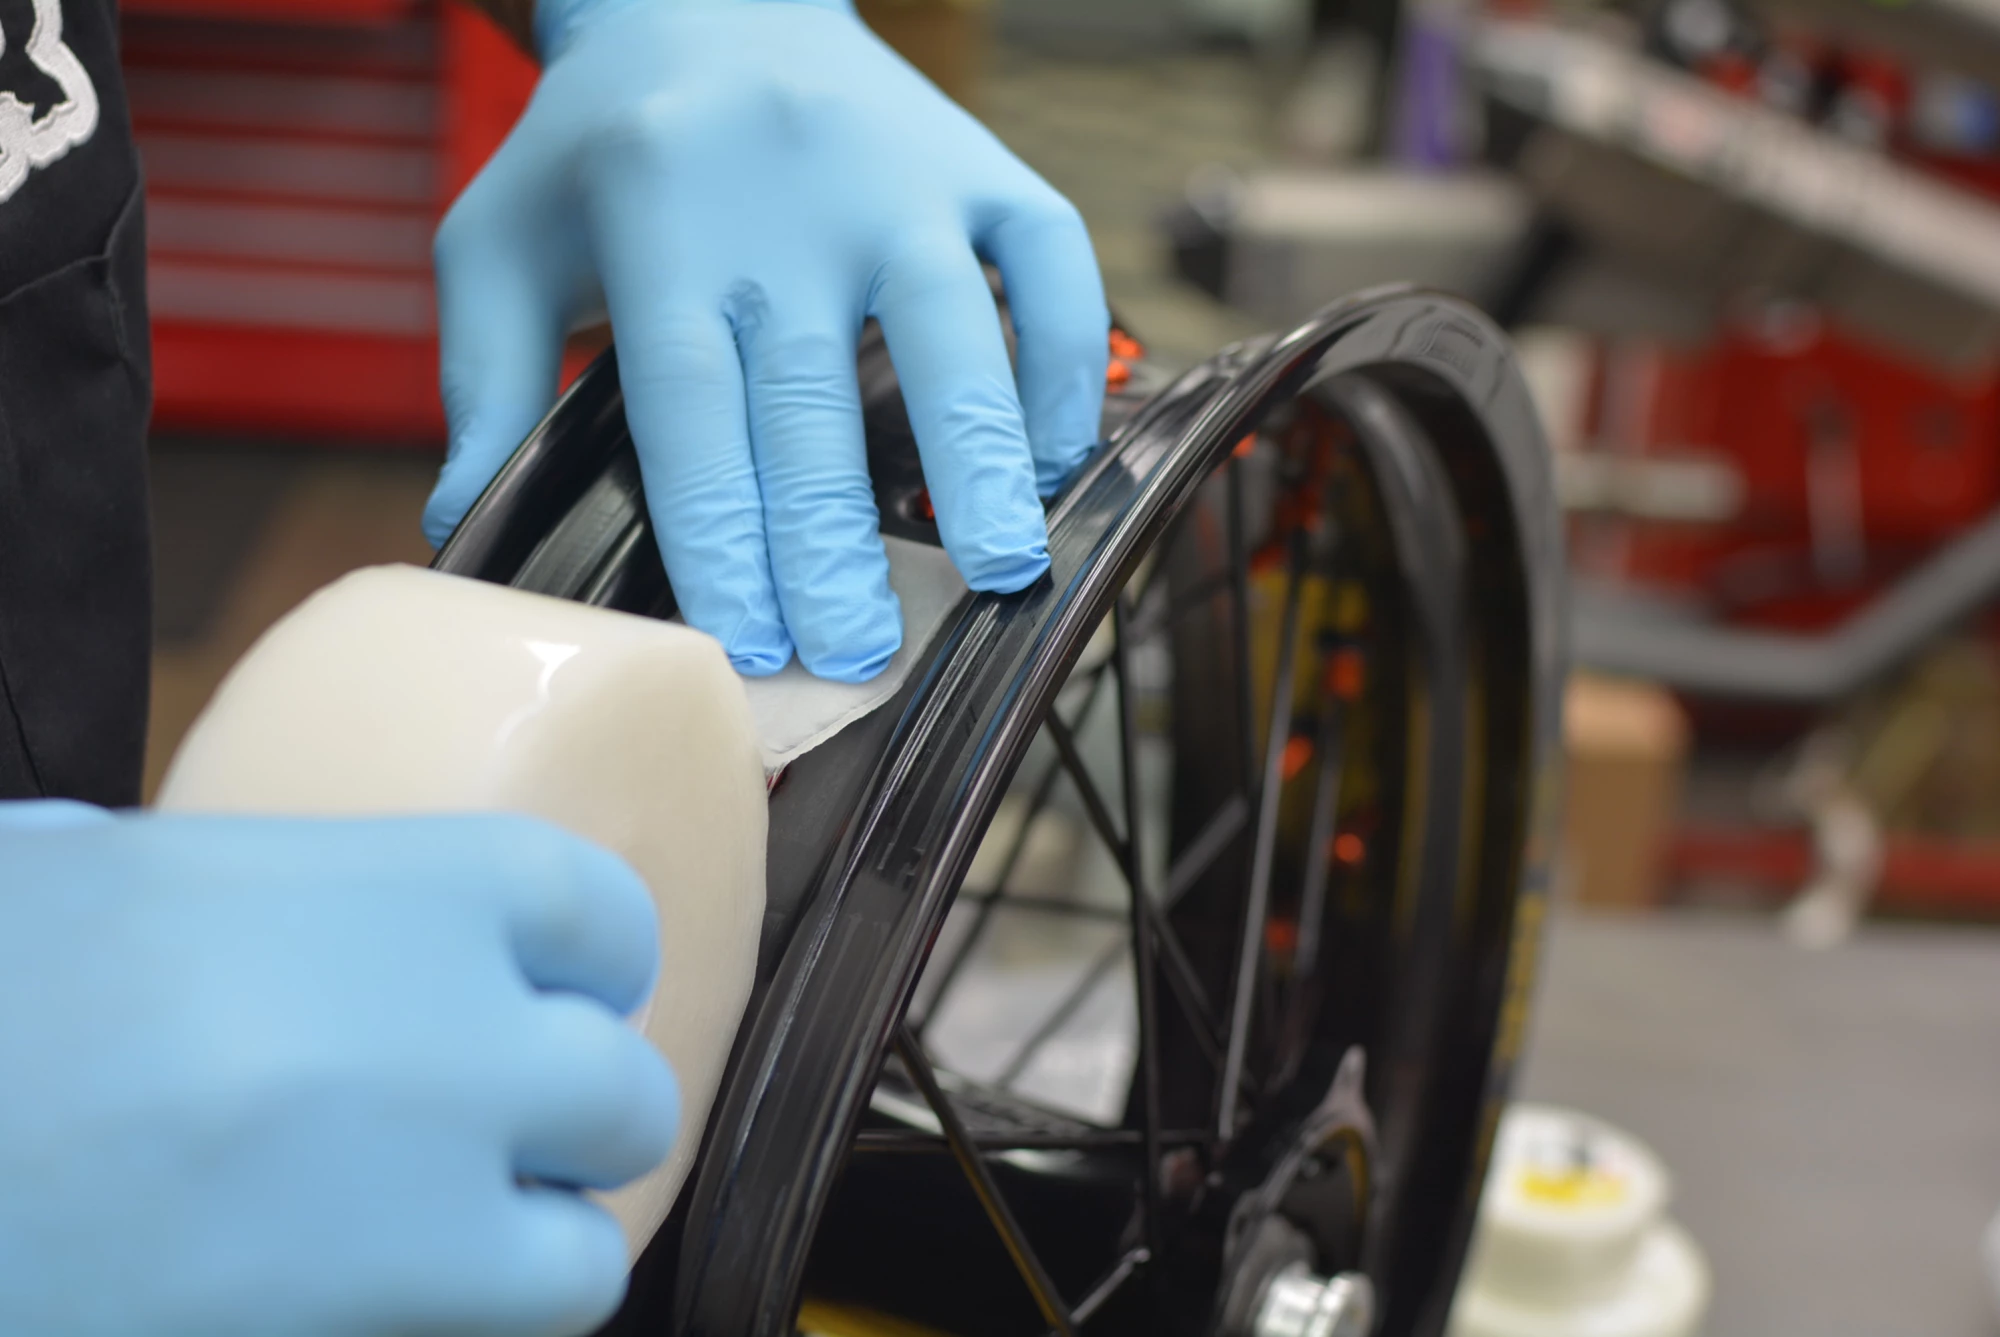
Each spoke nipple was covered and care was taken to make sure everything laid down perfectly. There are different widths that can be obtained with this tape and for this application we chose 1.5 inches wide on both front and rear rims.
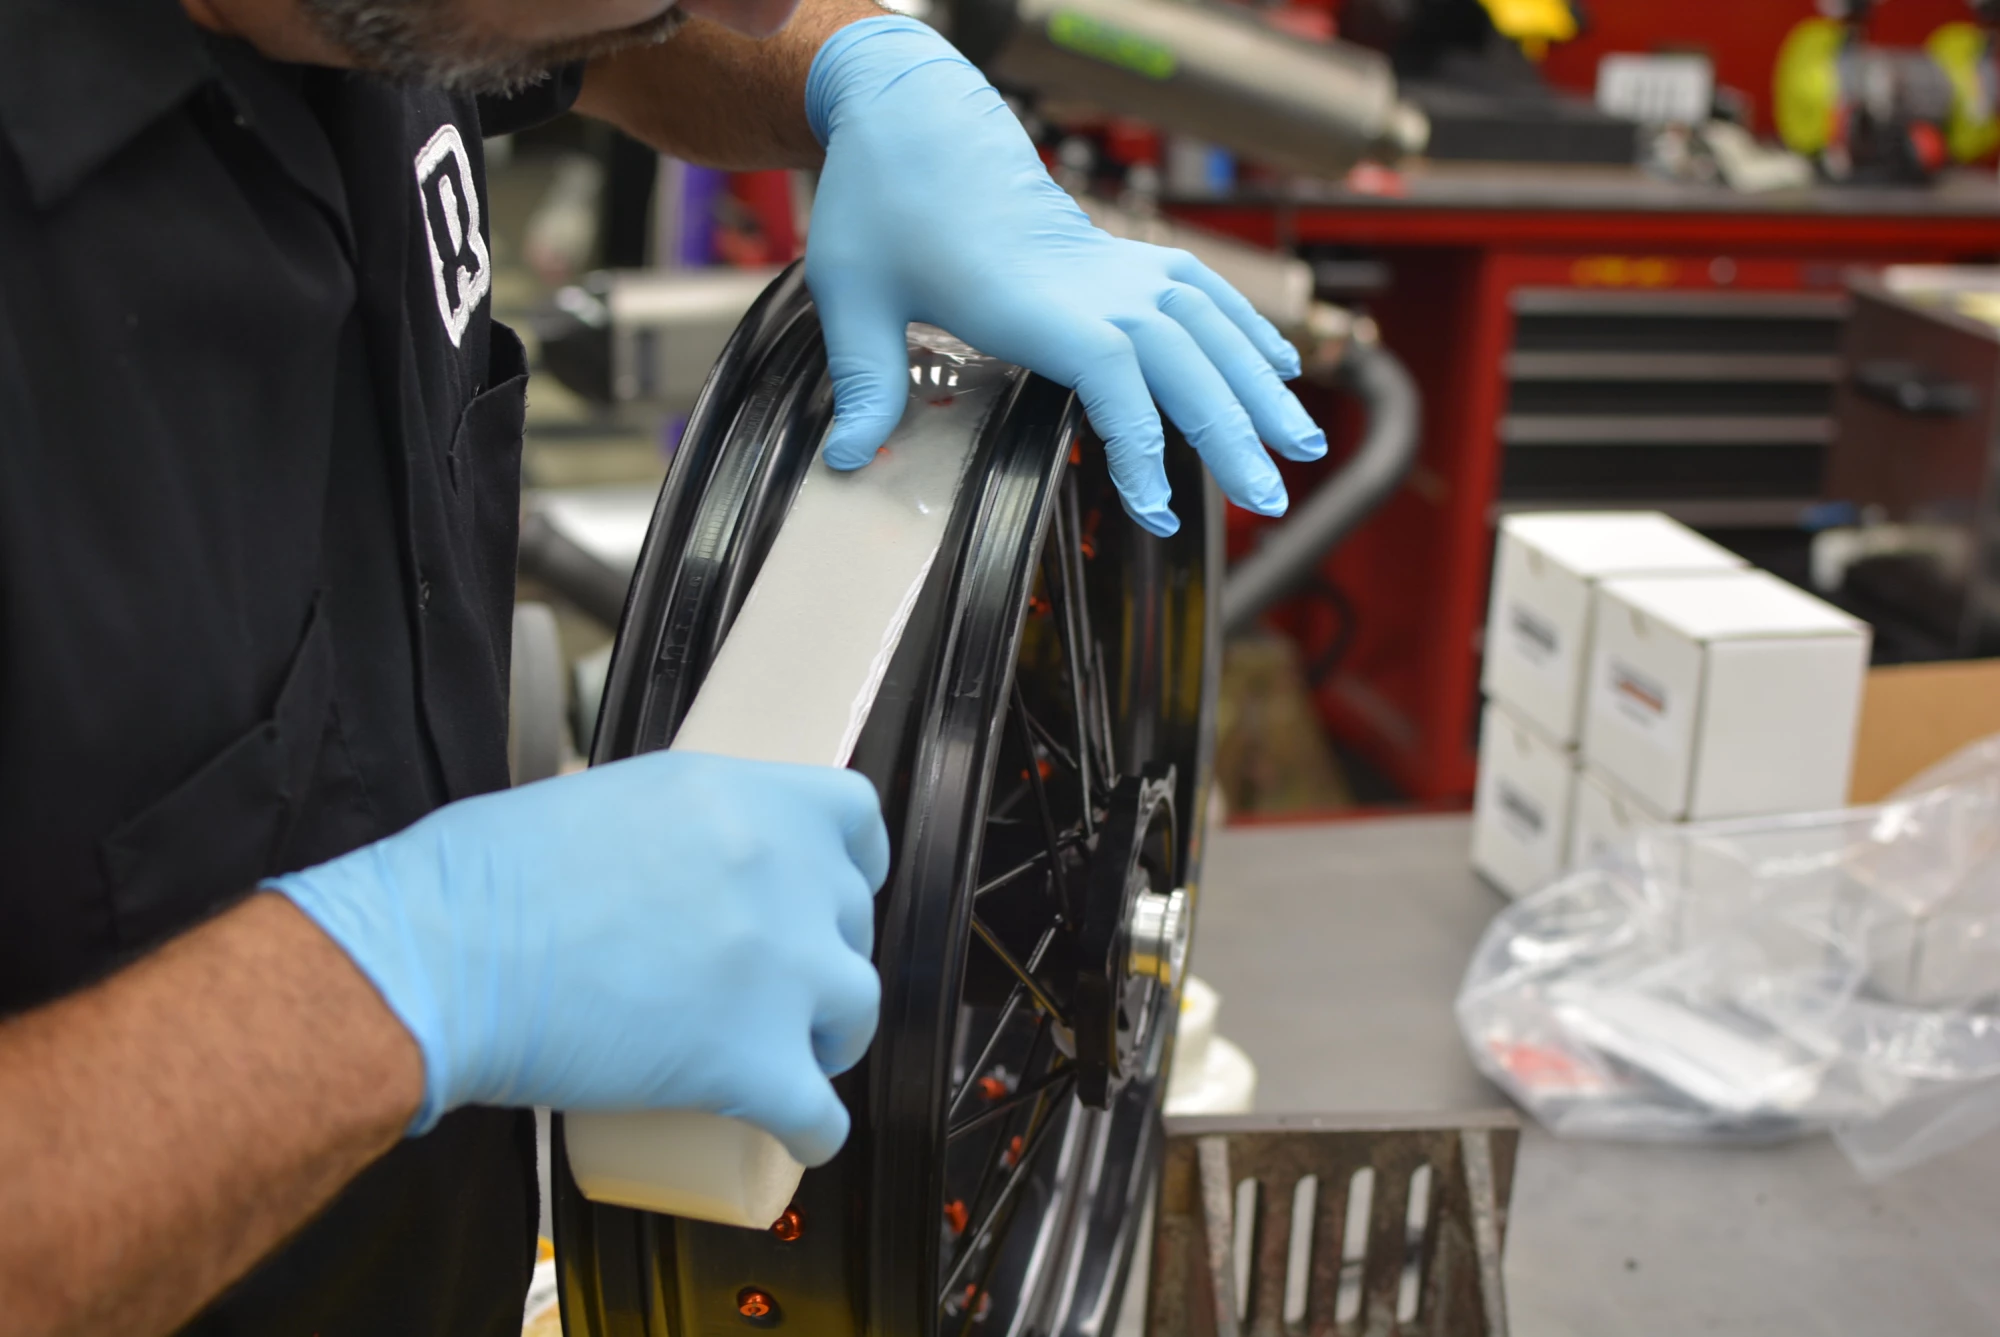
We overlapped the product but in hindsight this was not necessary and I wished that we had simply butted the two ends together. The tape is designed to not stick to the back of itself so having this overlap was unnecessary. We trimmed off the excess and hoped for the best.
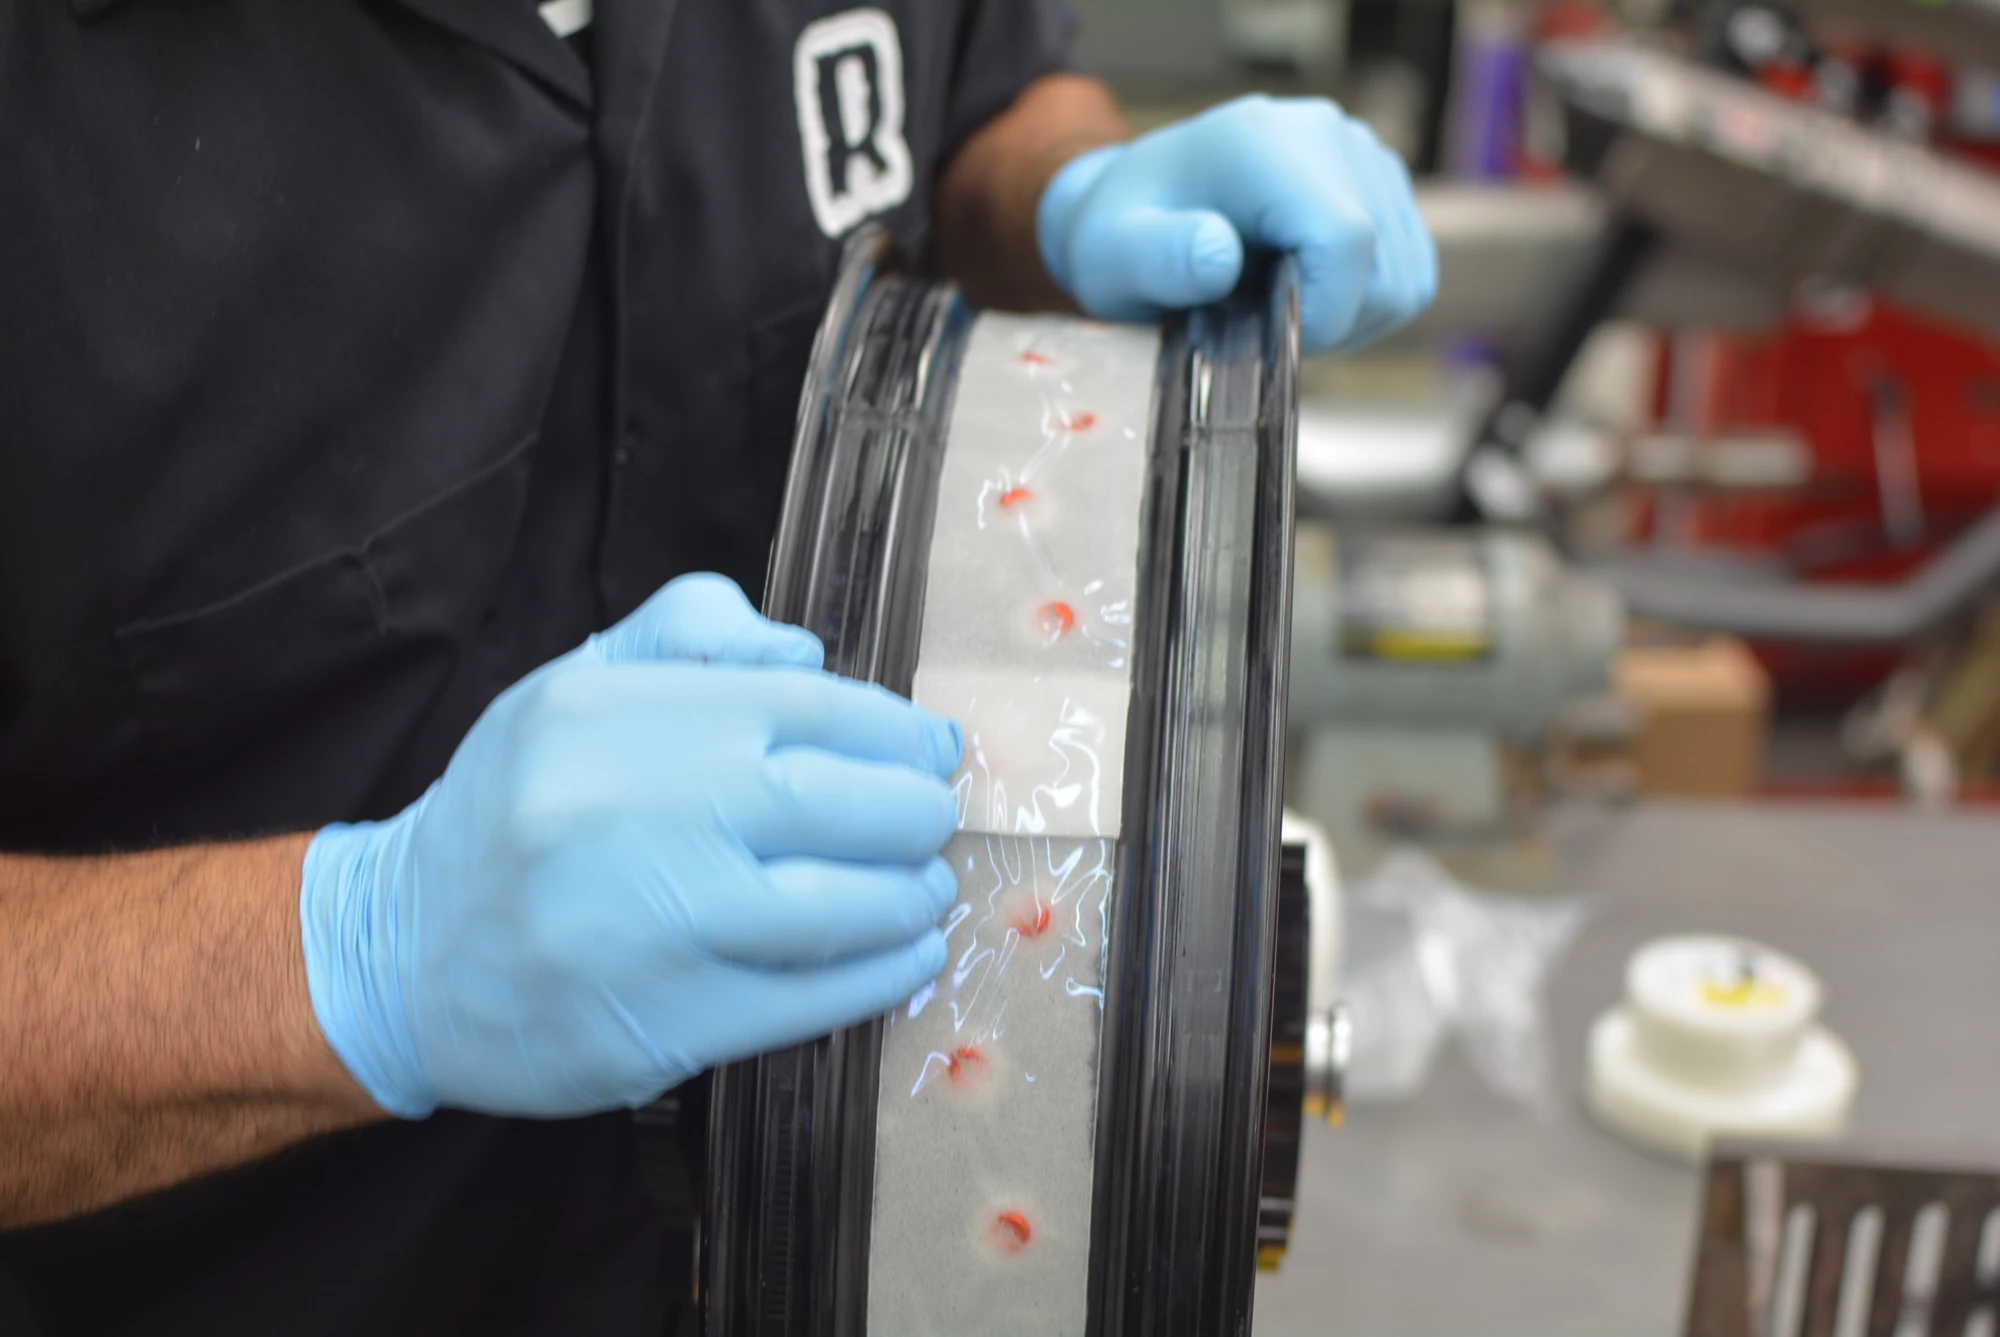
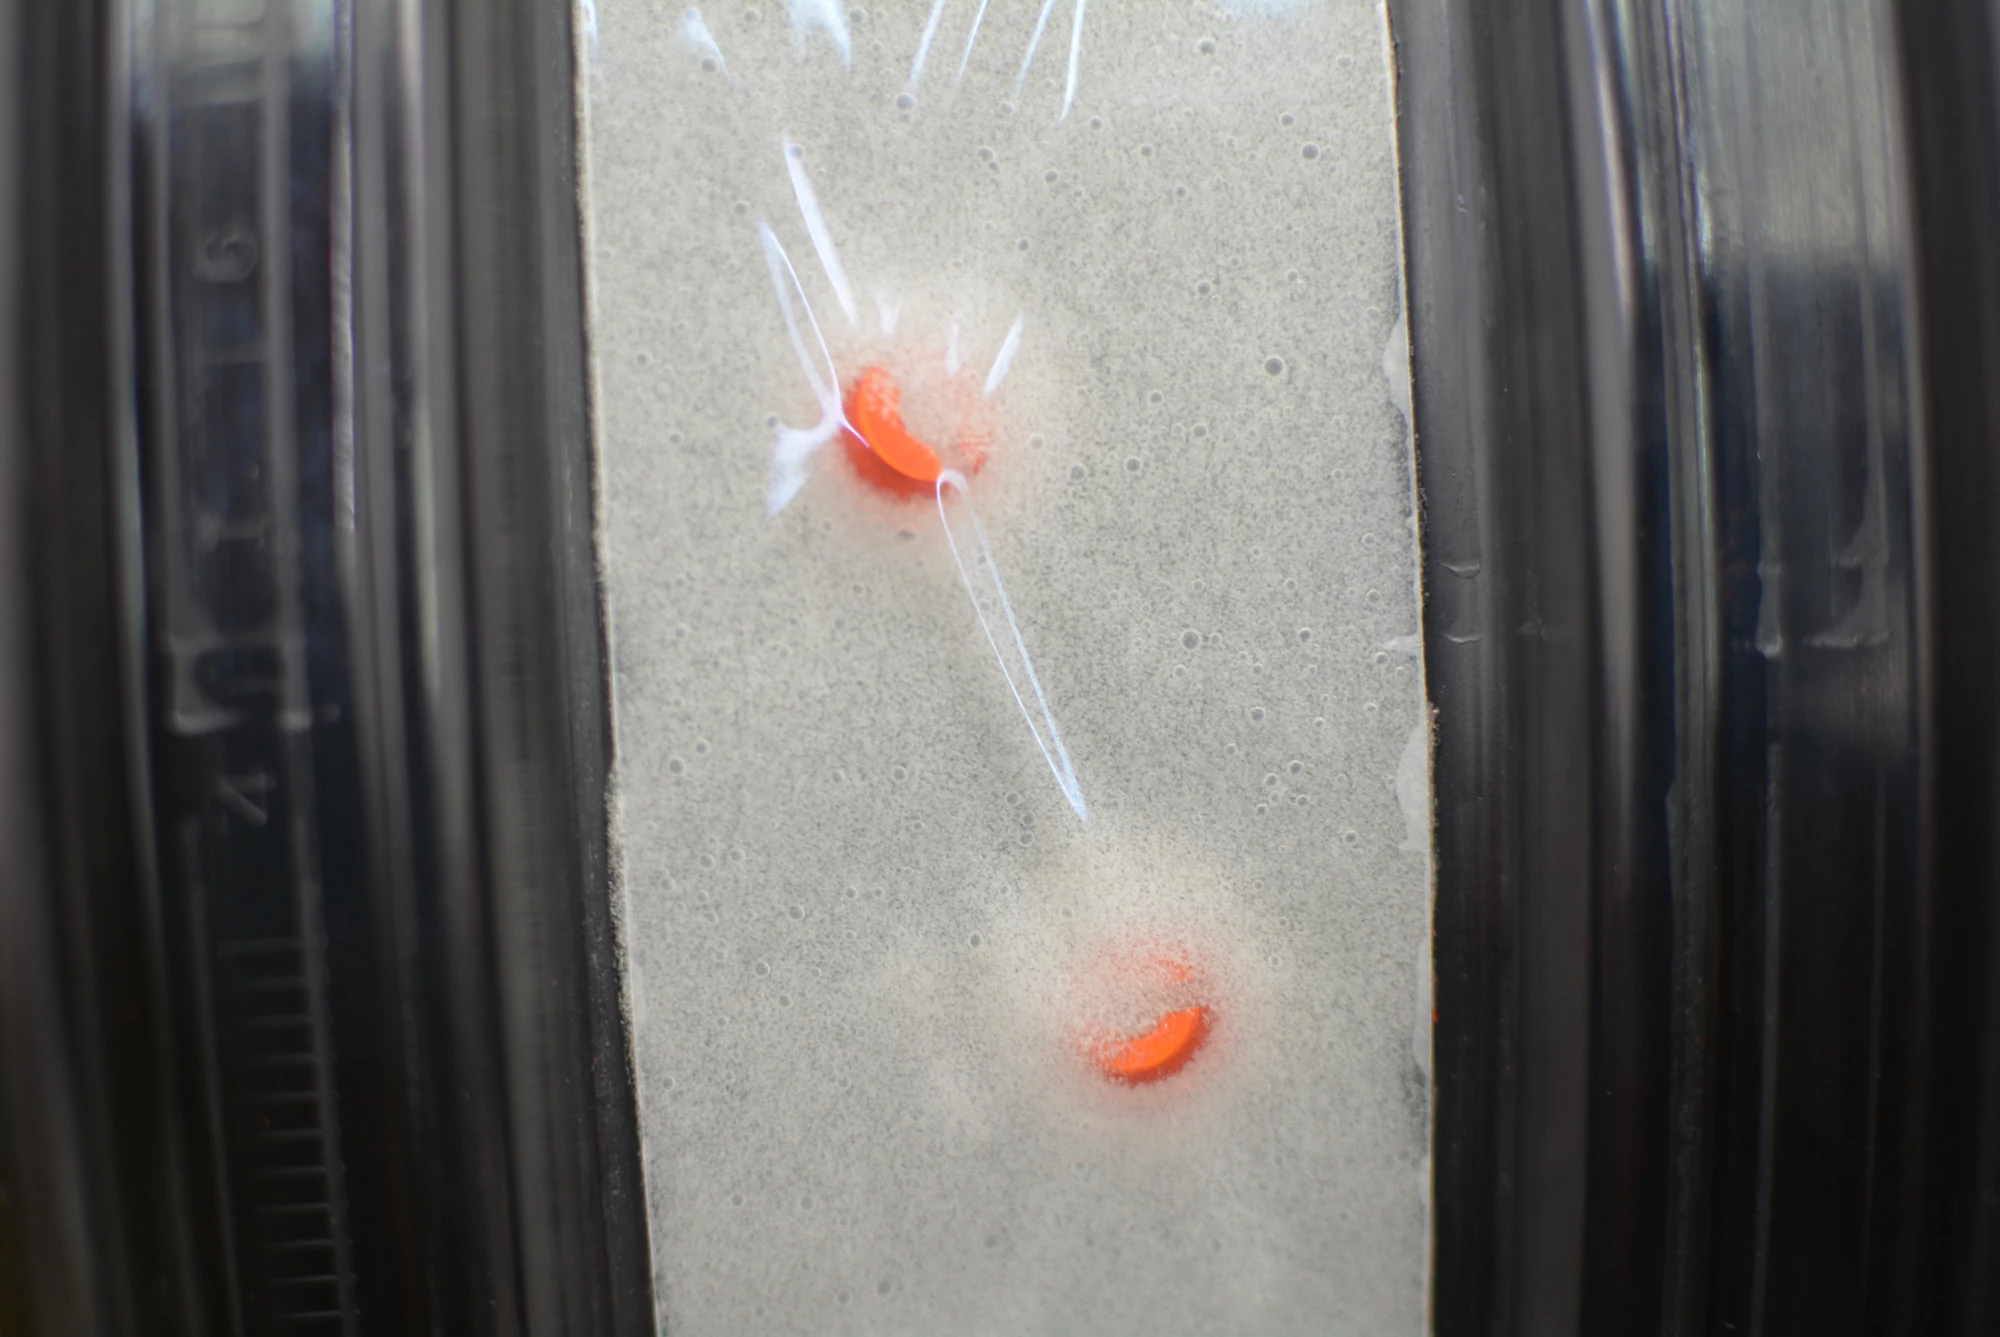
A close up look shows a very gel like tape that is, true to a lot of 3M products, extremely sticky! You can clearly see how well it sealed the nipples.
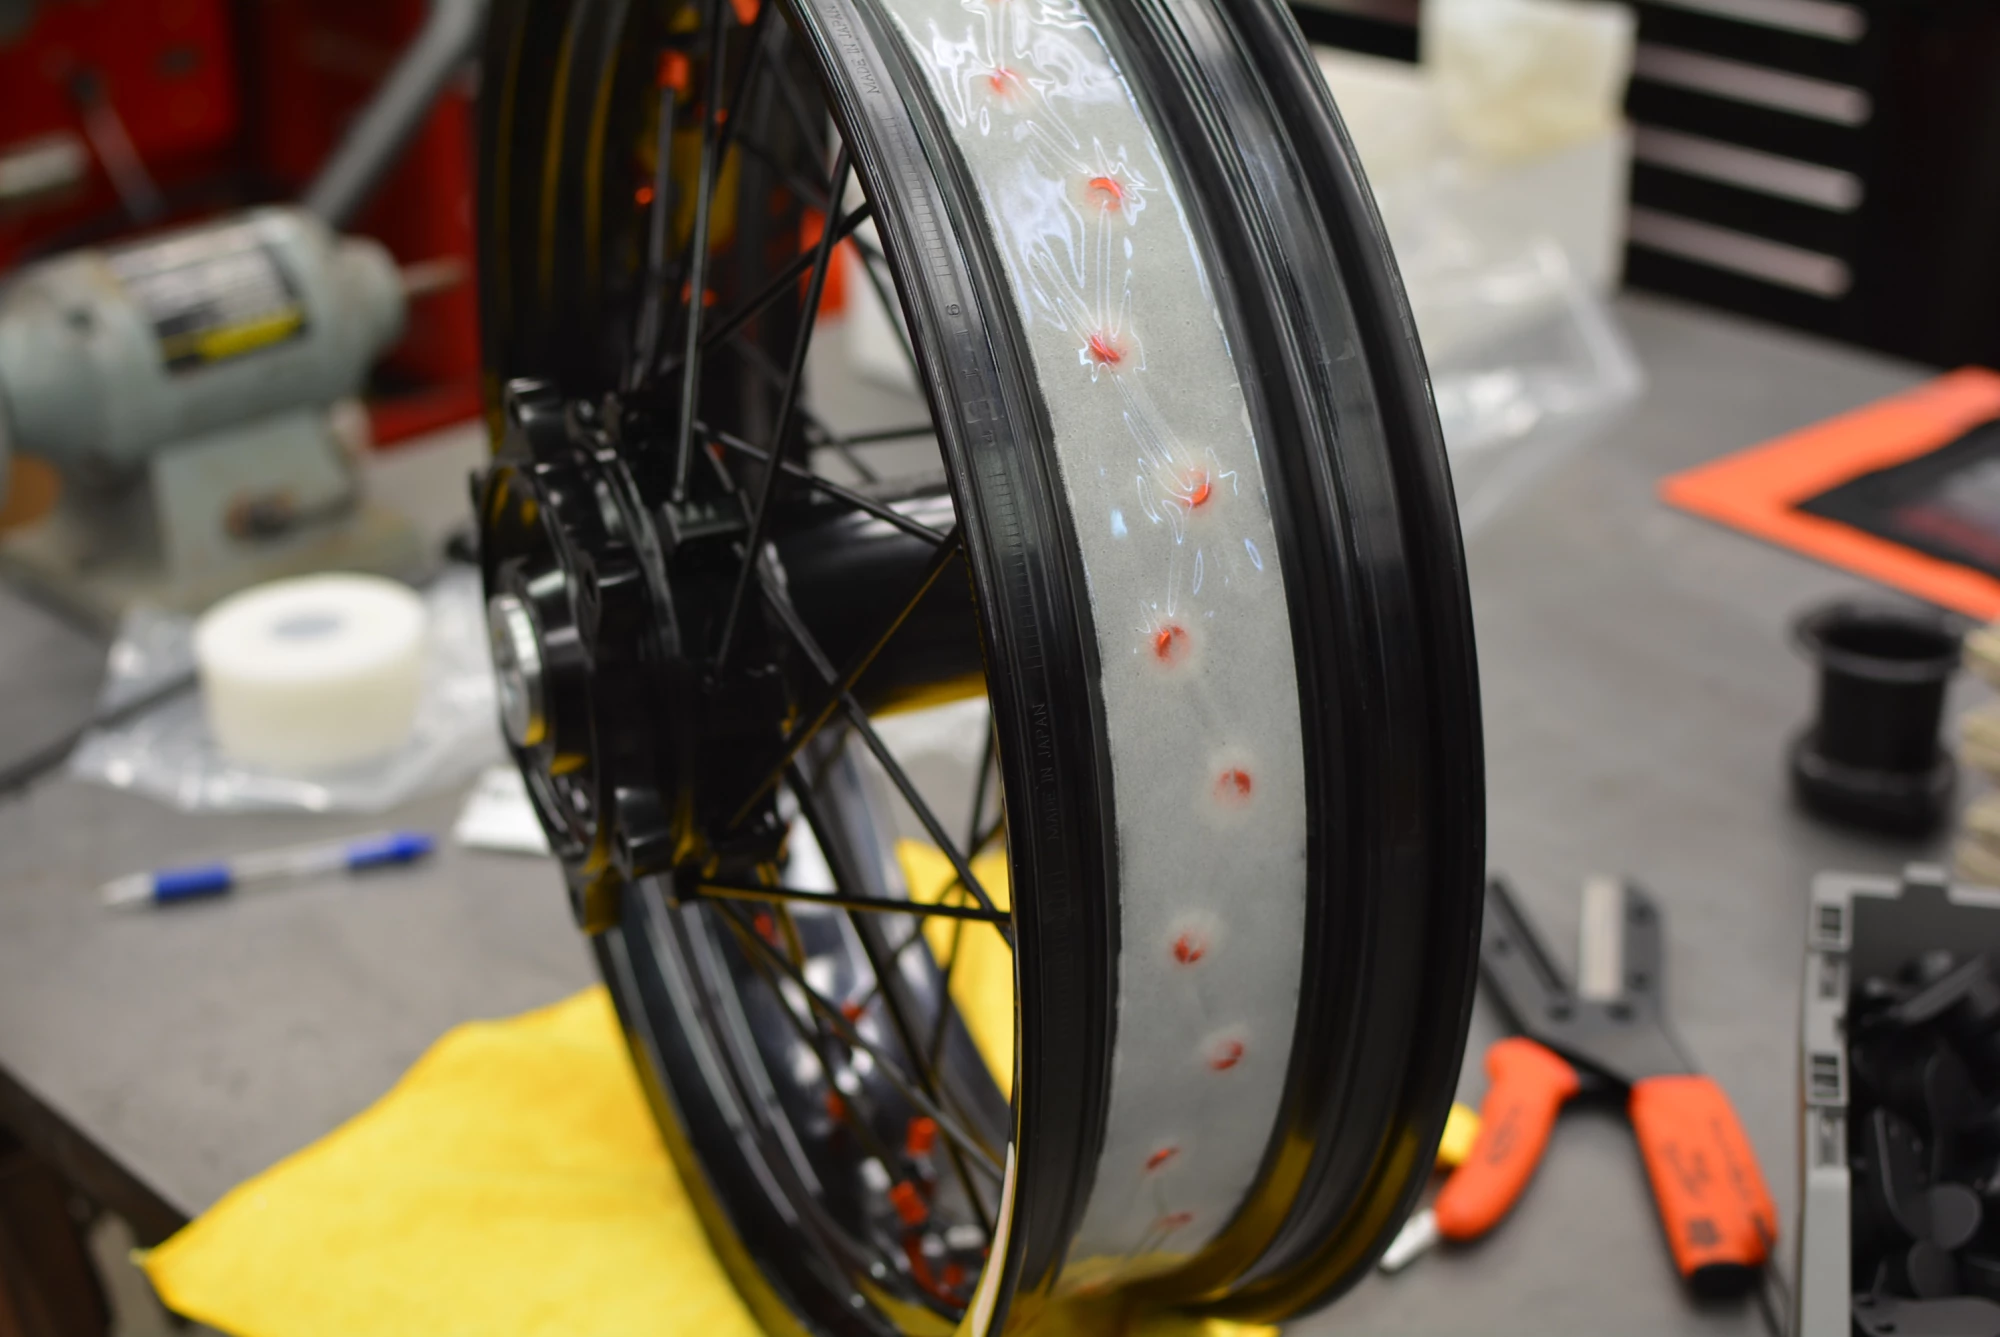
Next we cut the hole out for the TPS monitor. With something new like this that we have not tried before, it's nice to know that if anything starts to leak or let air out rapidly, the dash on the KTM will tell us so right away and we can at least keep an eye on it.
We would recommend a very sharp Xacto knife for the job as this stuff is like helicopter tape and sticks to everything. The TPS monitor fit right through with a slight machining of the aluminum nut and it was off to the tire machine to see if it was all going to work.
It was not off to our No Mar tire machine to put the Continental back on, being very careful not to damage or move the tape.
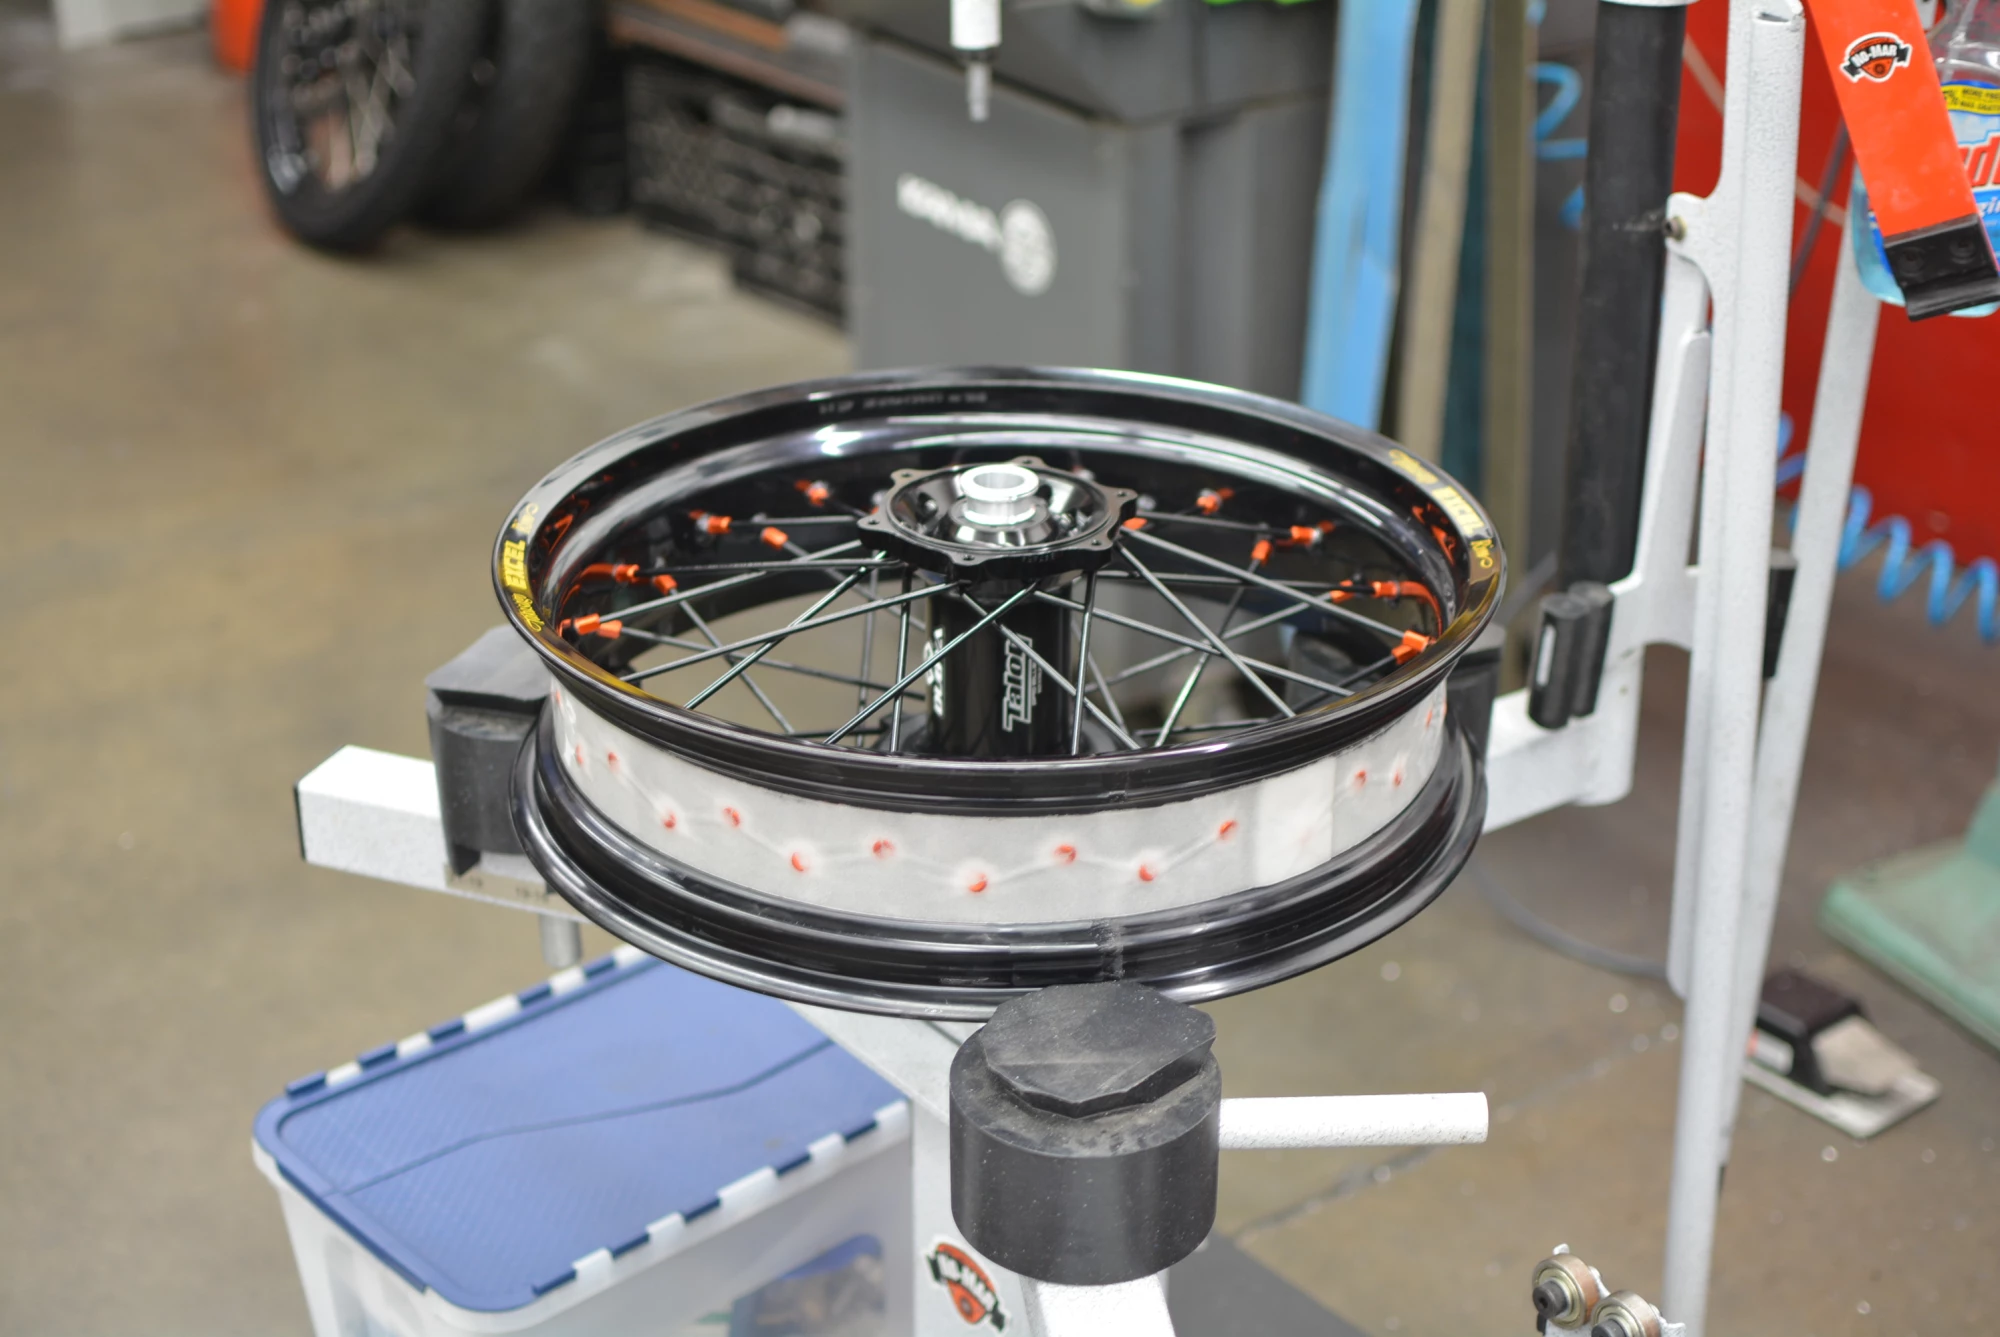
For larger rims, these machines are fantastic and we use them all the time for mounting tires to carbon wheels. We prefer them because while it takes a bit longer, we can feel exactly what is going on with the tire without risking any clamp damage to the wheel.
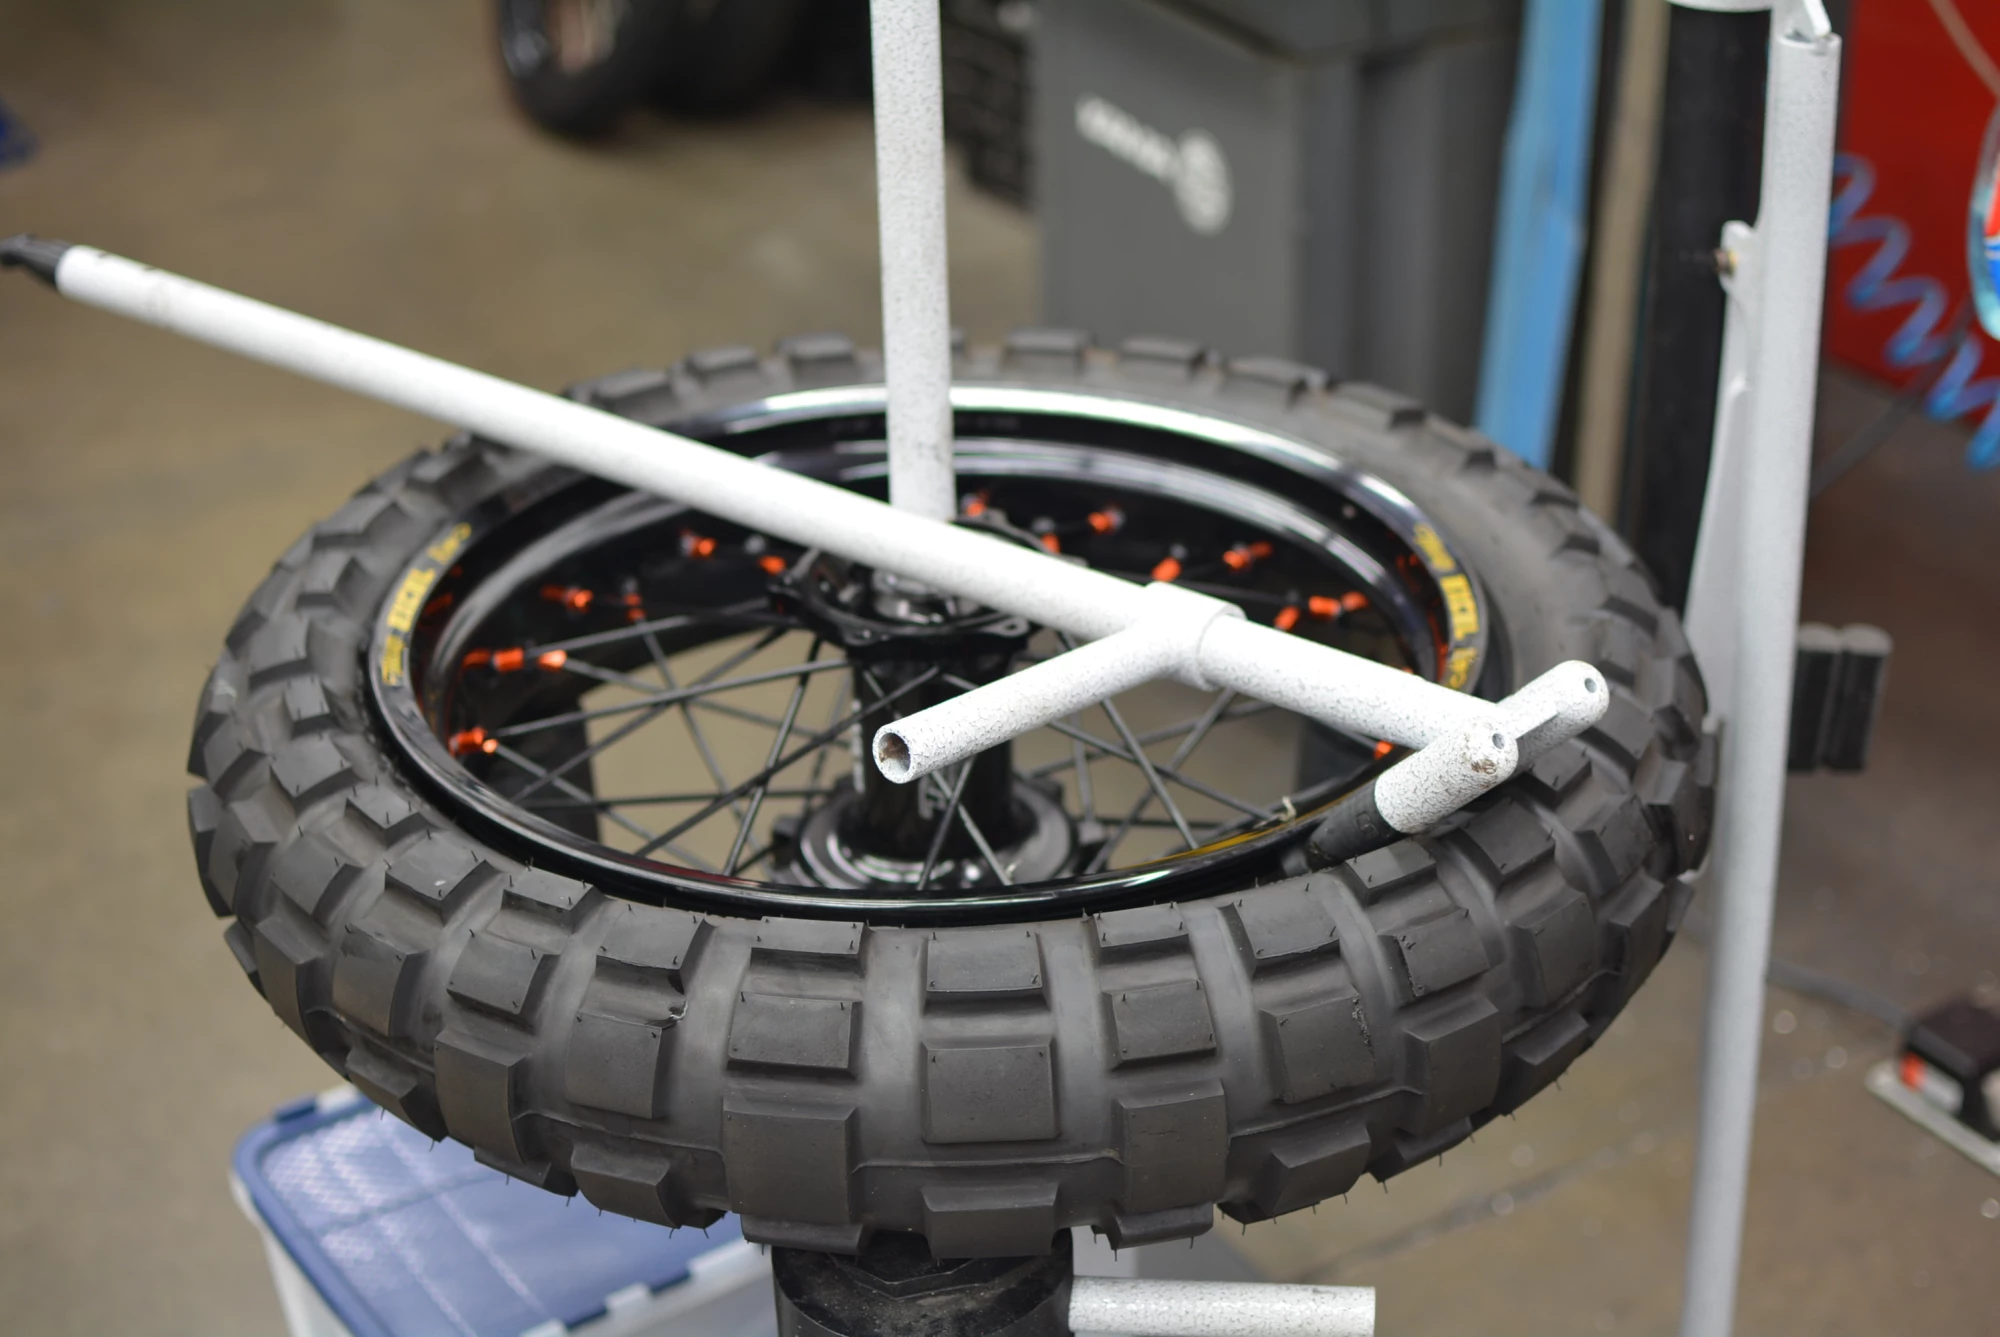
Our first experiment with the tape was a complete success and the tire held air perfectly. We made sure to check it again the next day and everything was absolutely perfect.
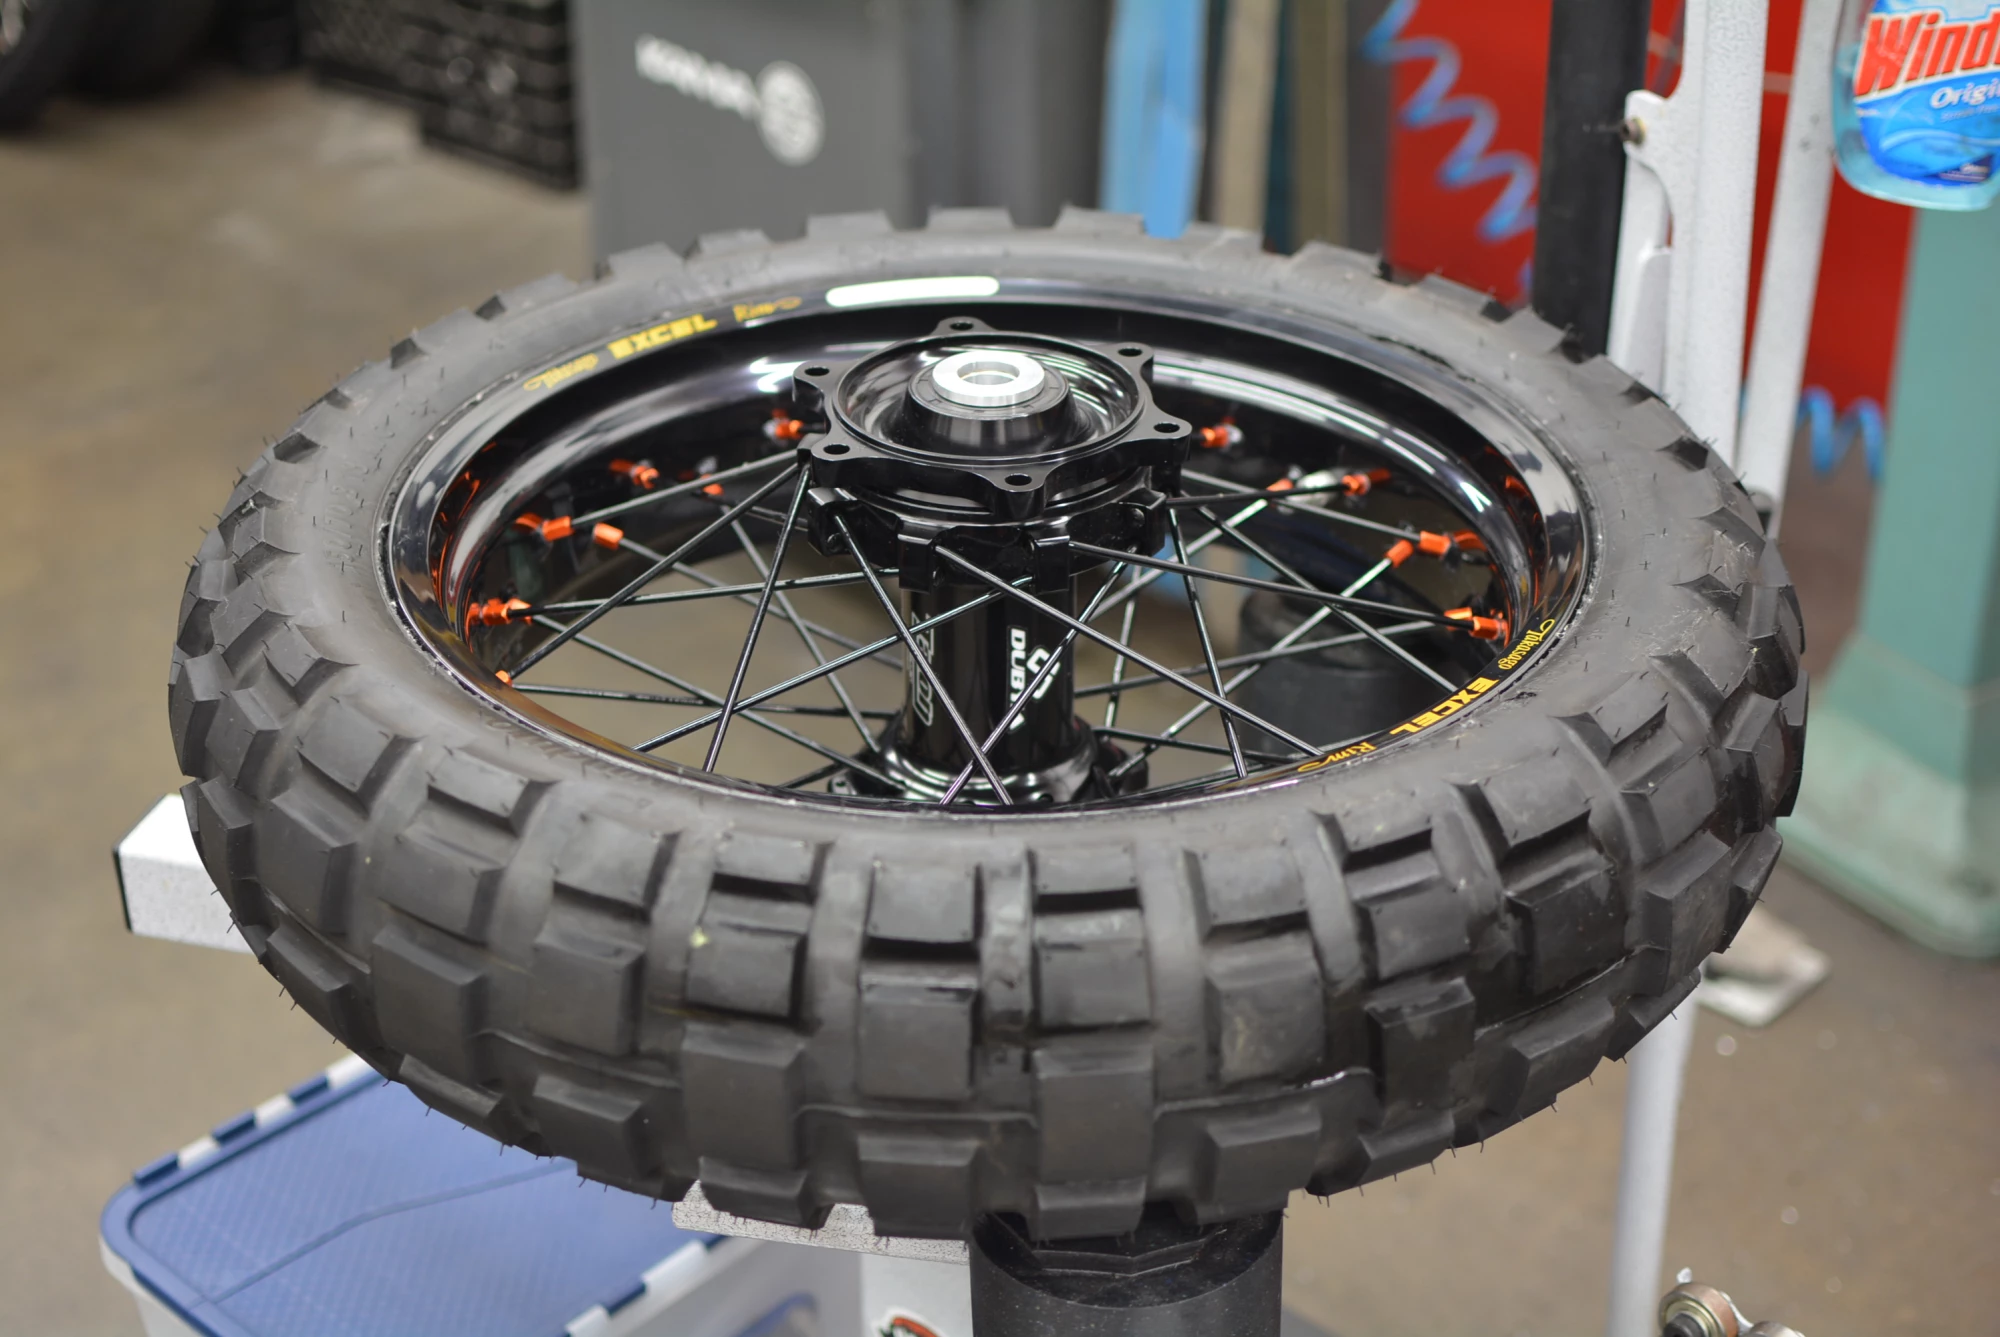
For the front wheel we machined a small plastic plug to seal the hole for the rim lock that Excel wheels come with. Then covered it with the magic tape. The picture below was after fully mounting the tire and then removing it to see how the tape compressed under pressure. Once we filled it with about 50 lbs, the compressed air actually pushed the tape down even further totally compressing it against the spoke nipples and further making us feel secure about the job.
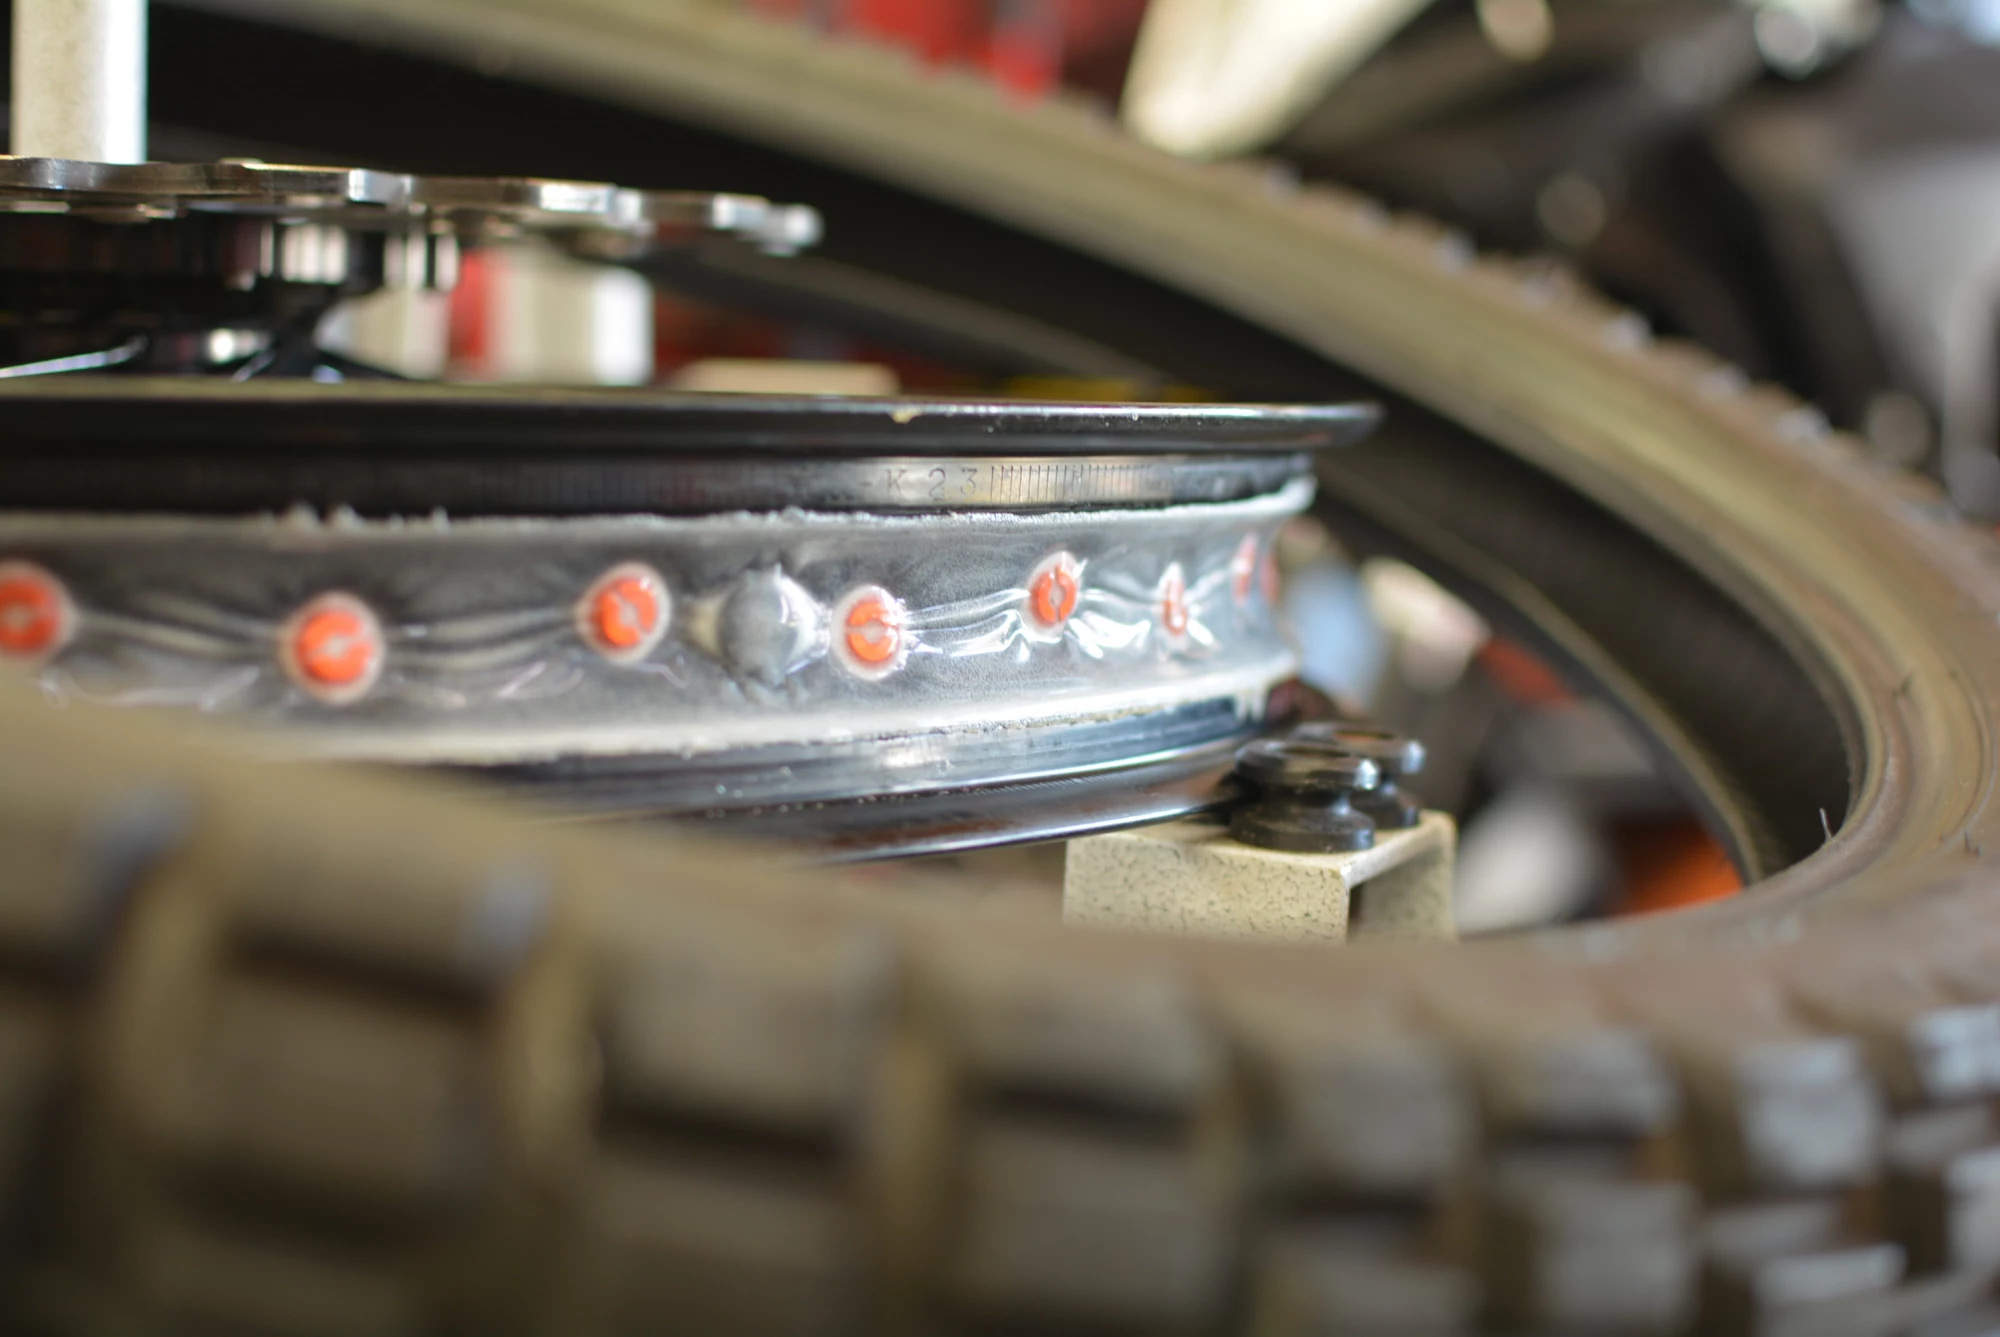
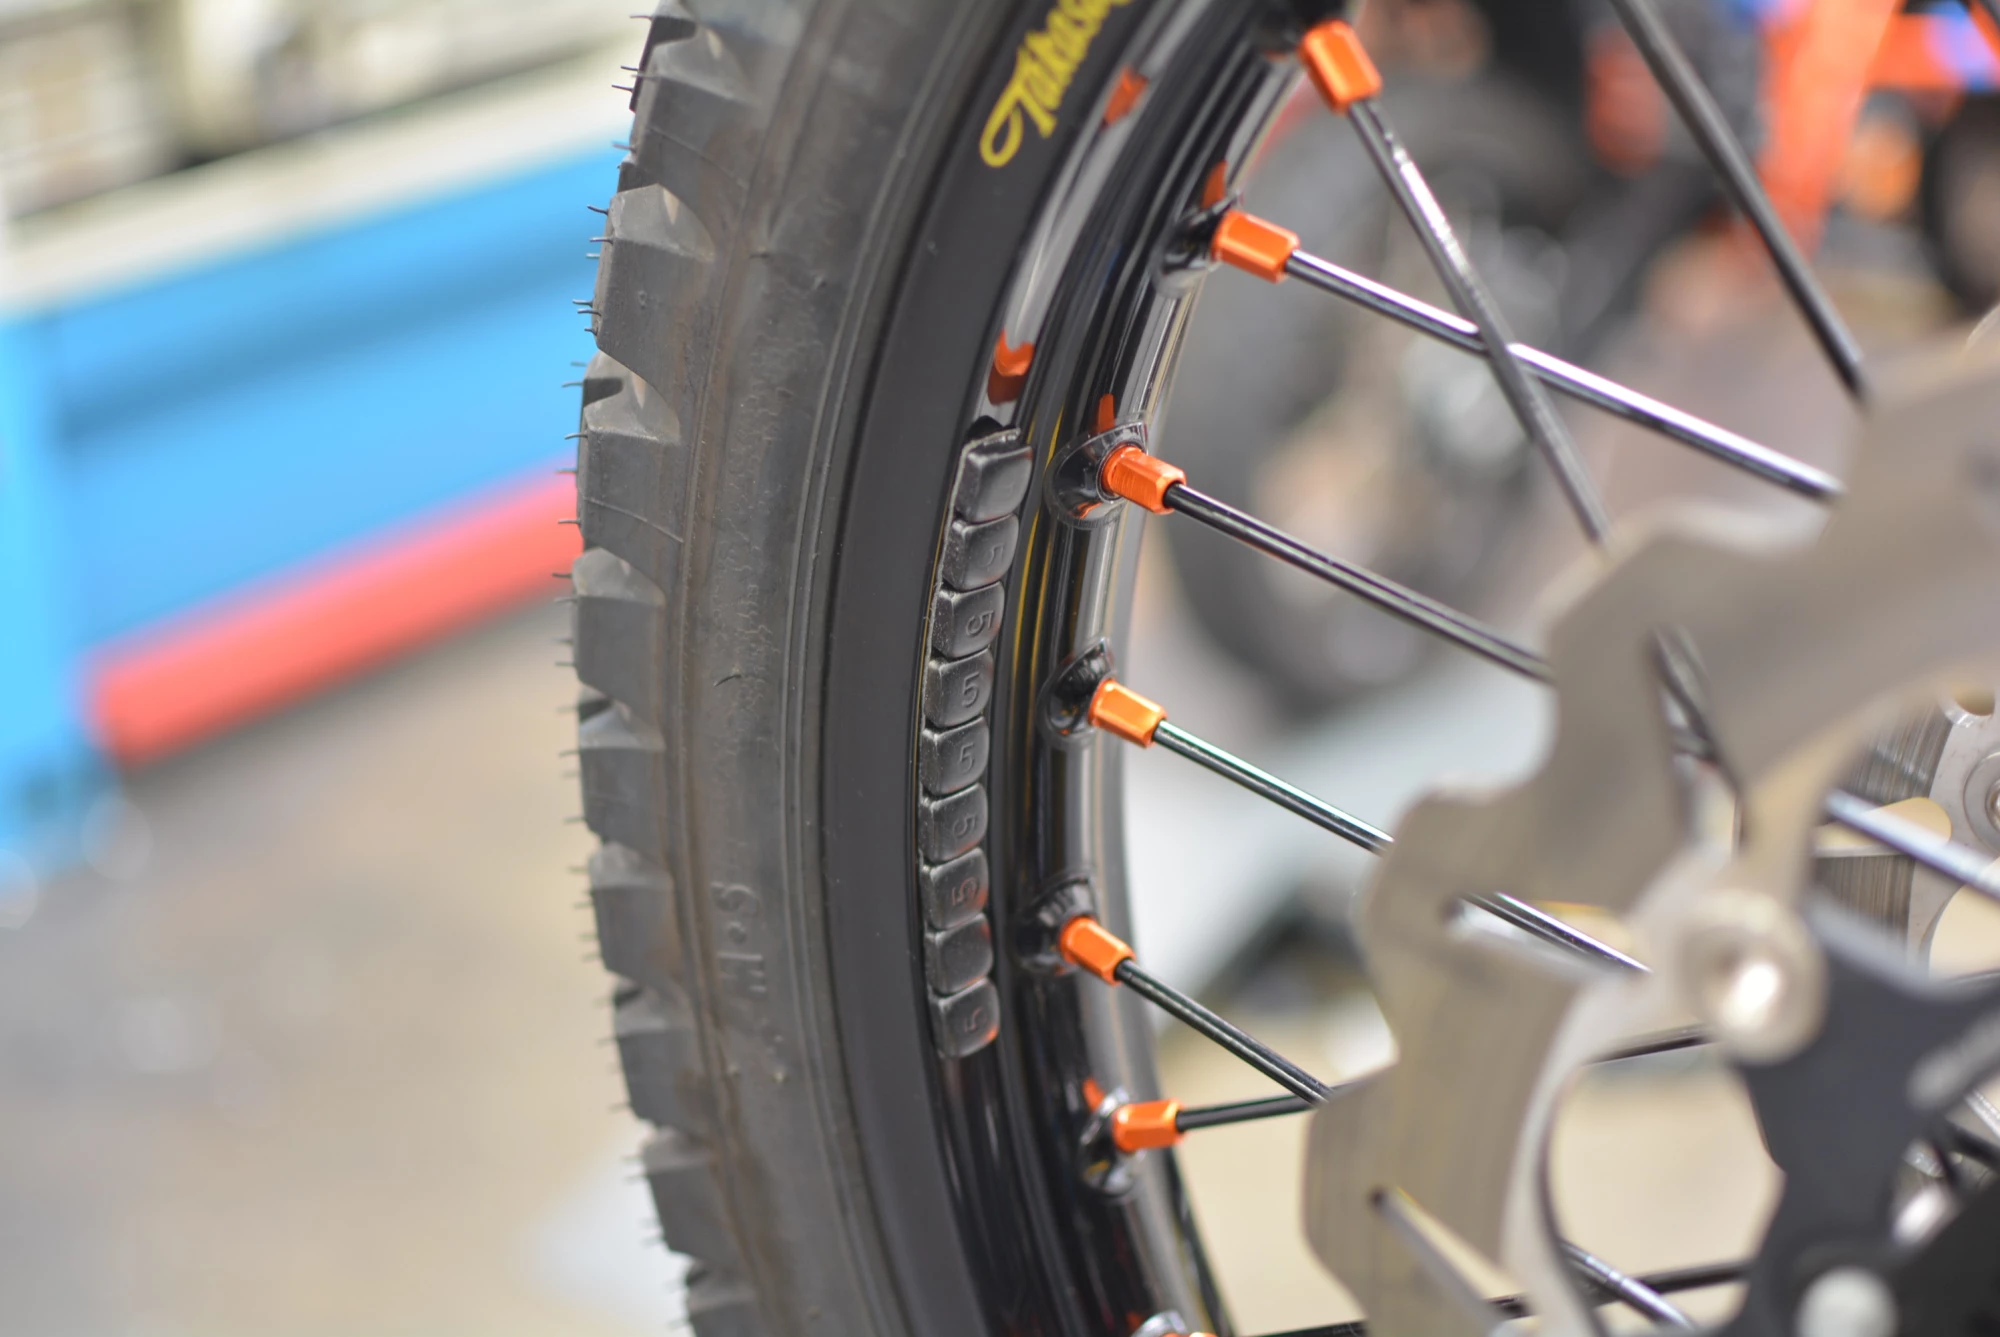
We statically balance our tires and with a few readjustments only ended up with a few wheel weights.
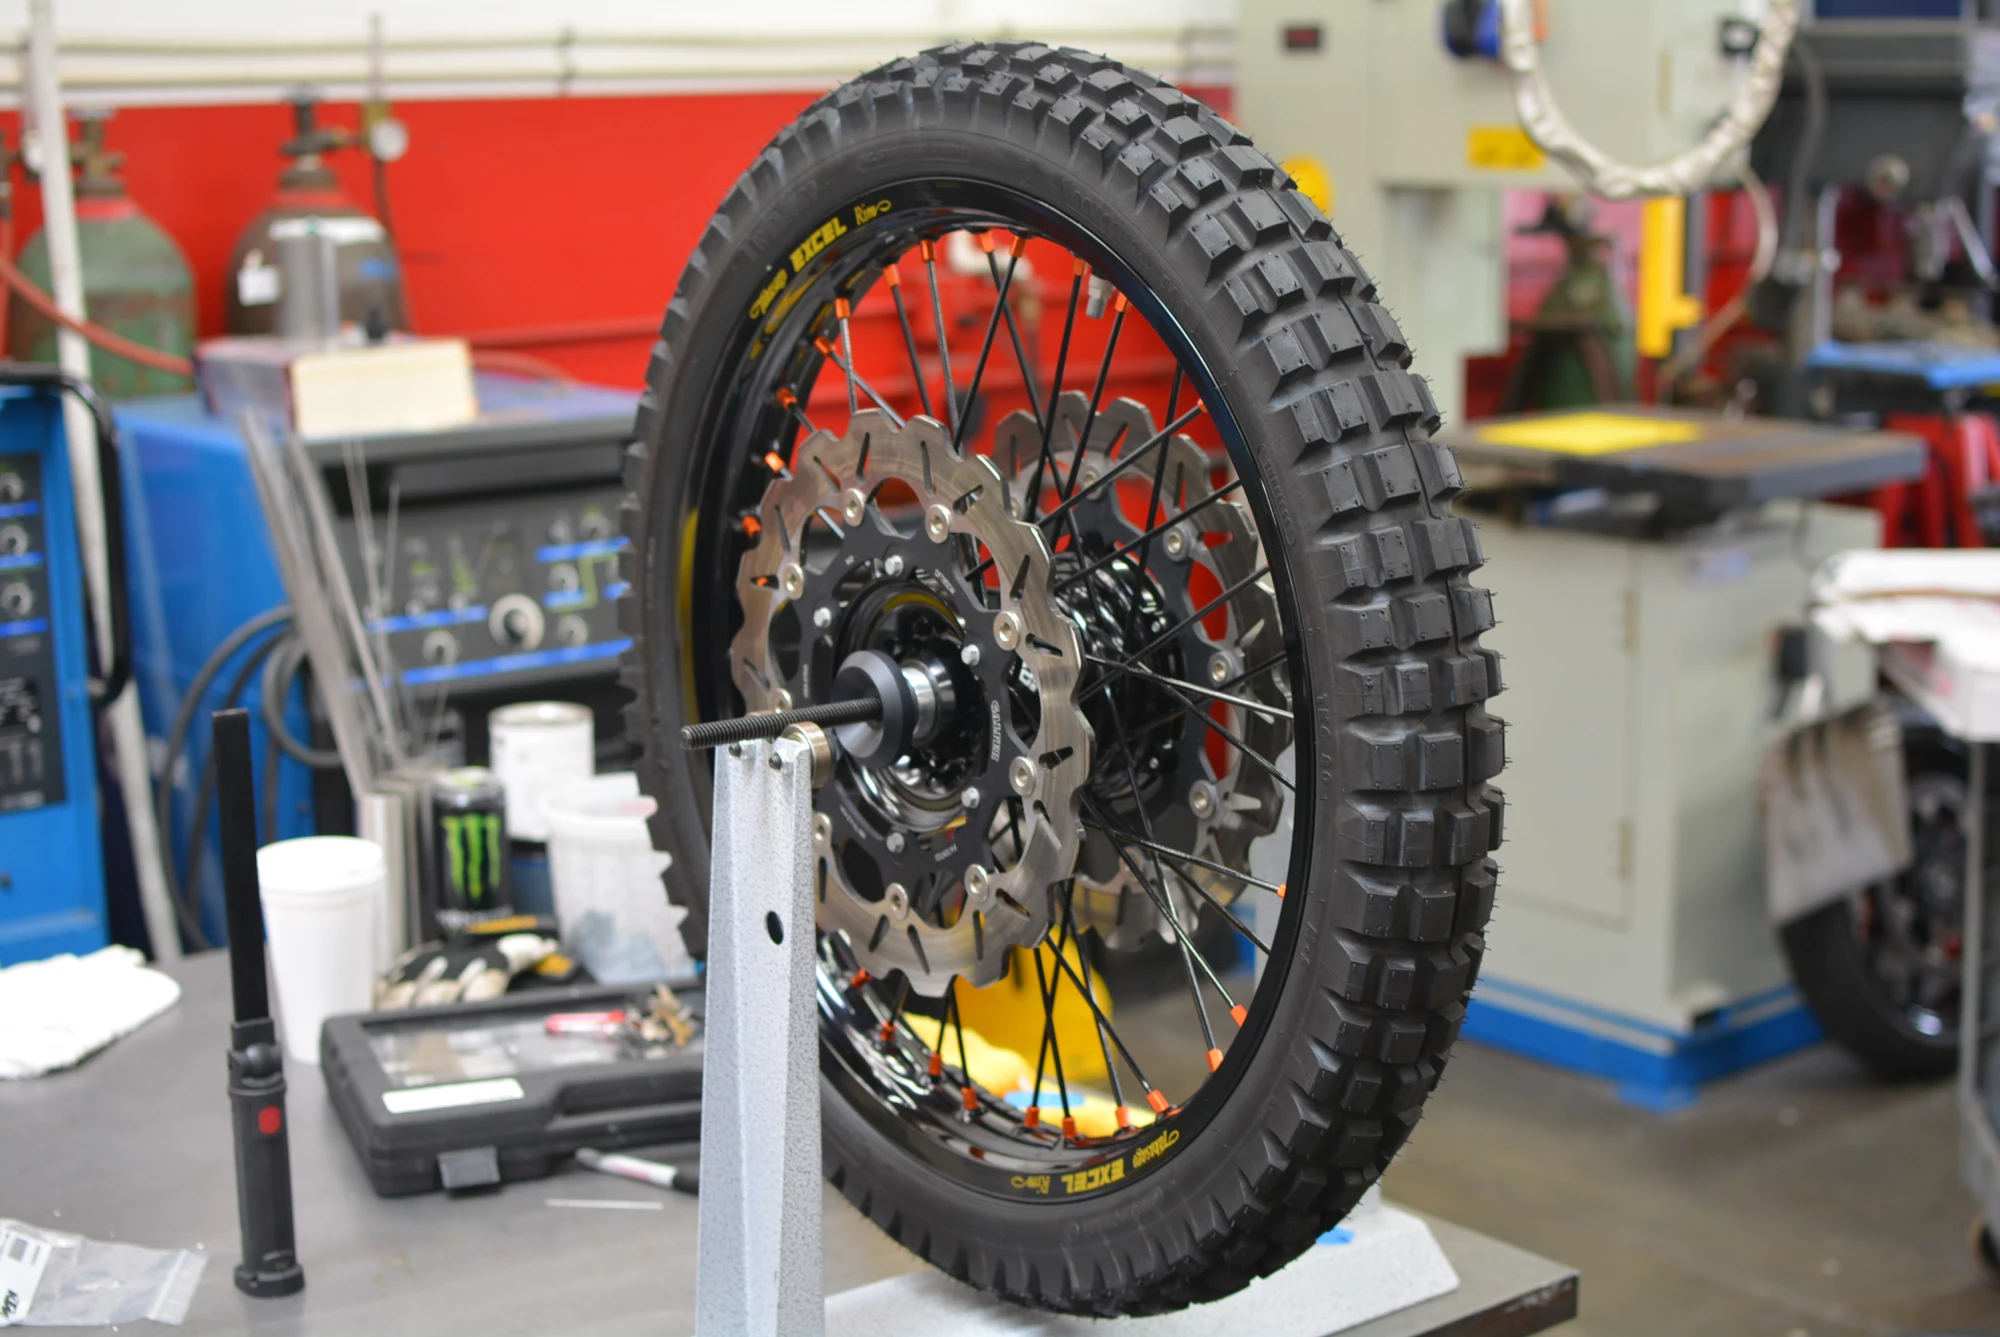
Not too bad of a balance for a off road tire.
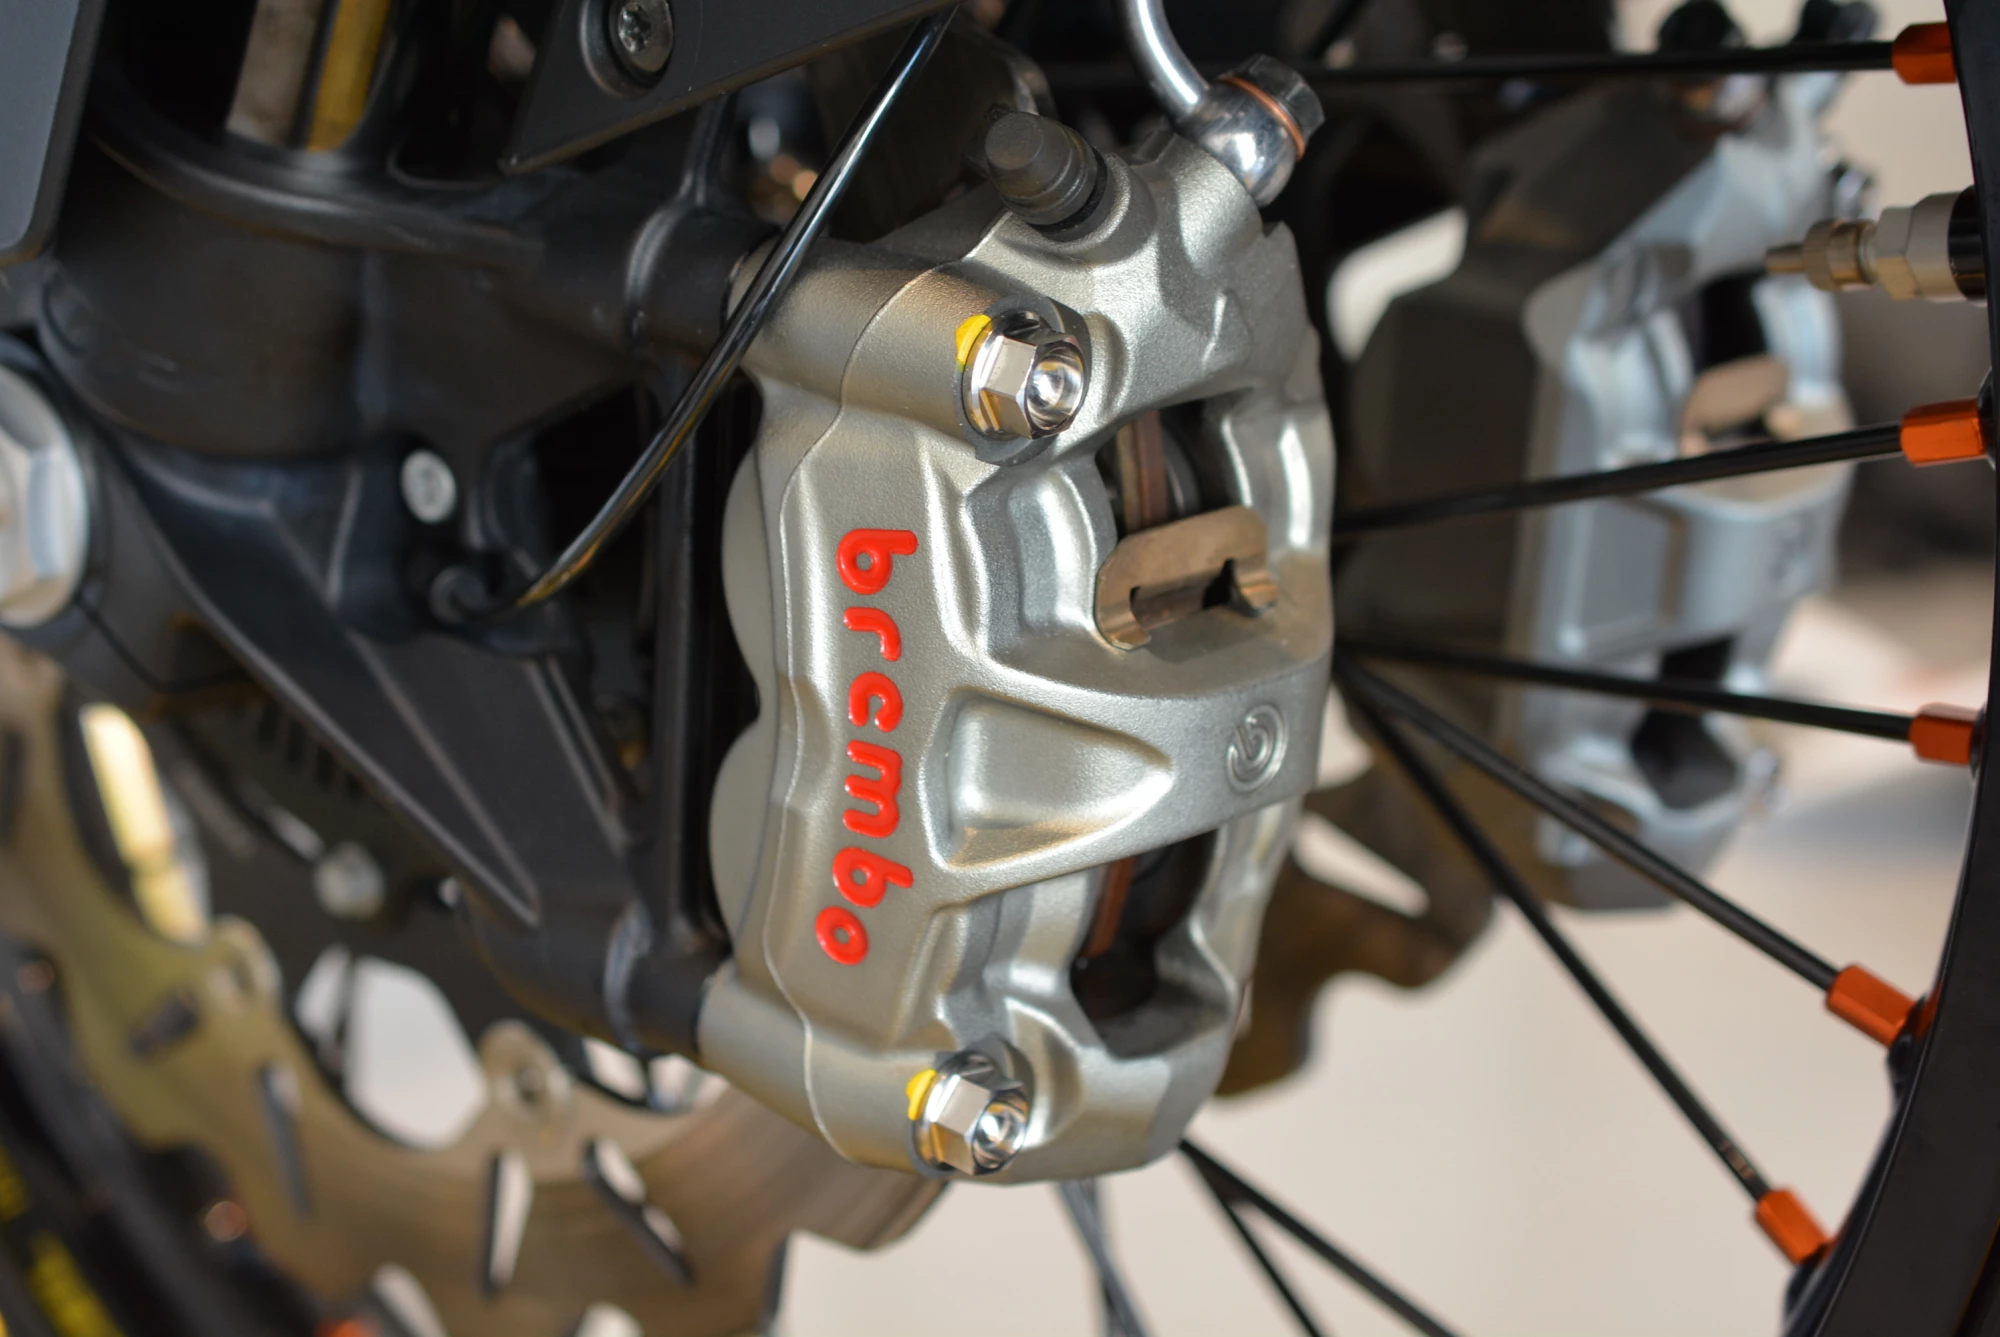
First we outfitted both ends of the bike with Galfer Wave Rotors, known for their resistance to heat buildup and unique wave pattern aiding in water and mud ejection from the braking system, but we didn't stop there (pardon the pun). Right next to our Adventure 1290 R build was our 2015 Super Duke 1290 test bike with a set of Brembo's M50 monoblock calipers. 'What the heck' we thought and proceeded to take some measurements to see if they would work on our project Adventure bike.
Sure enough, all of the measurements between the two bikes were the same! The Radial offset and spacing were identical so off came the stock lower grade Brembo calipers and on went a brand new set of M50's. The only part of the system that was slightly tricky was how the brake lines attached to the calipers but with some creative positioning, we got them to work quite well.
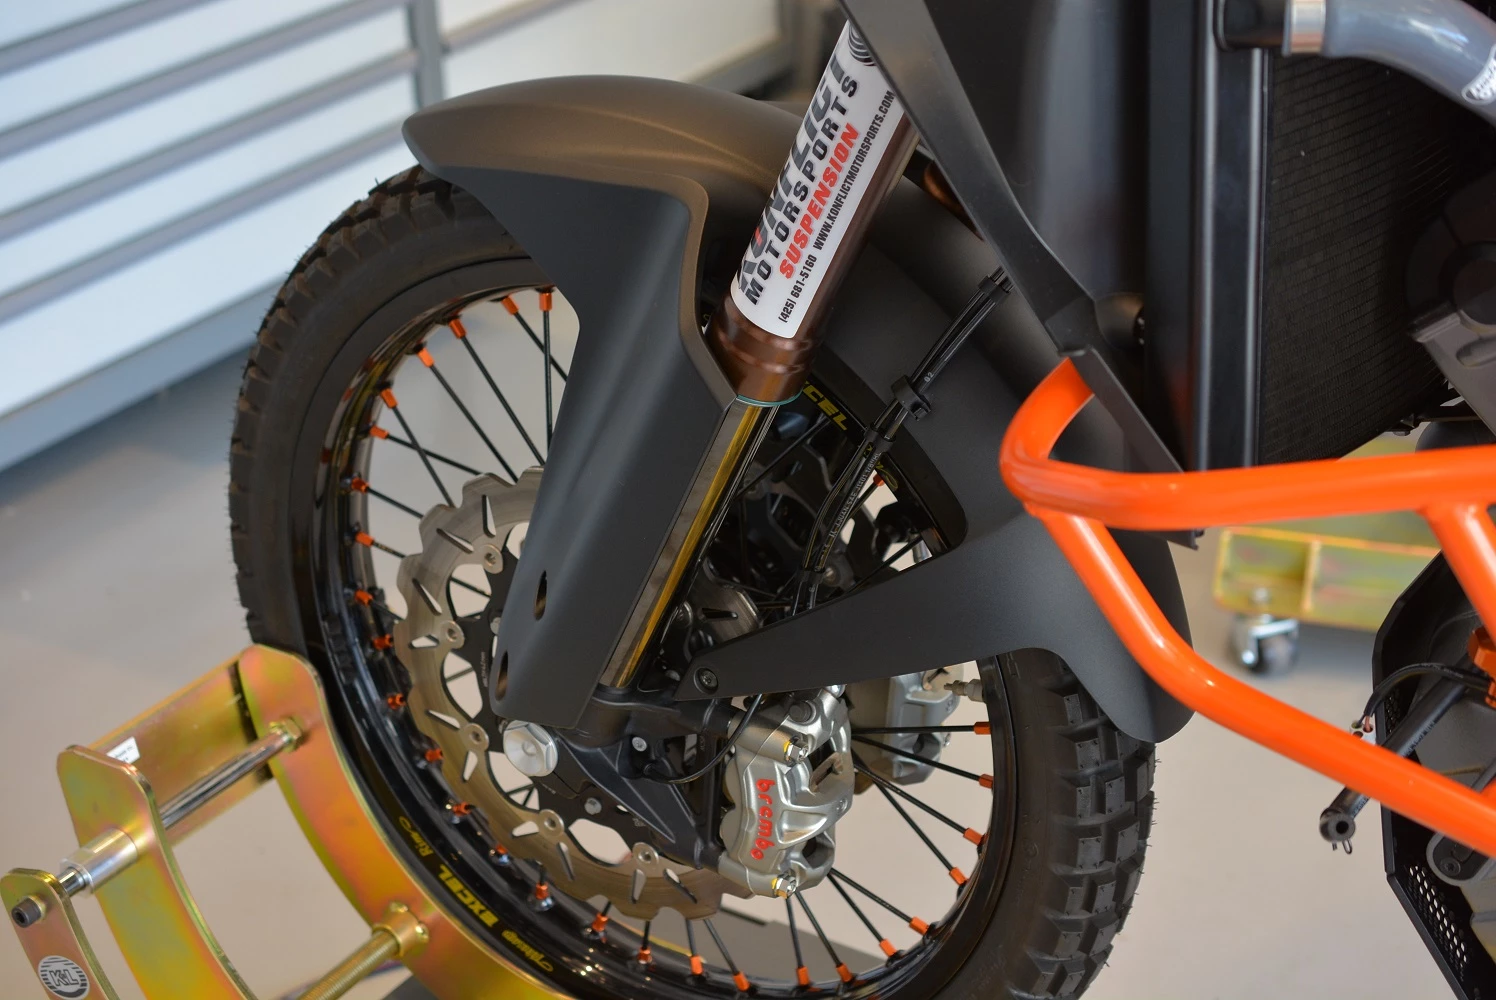
Still not content, we thought to ourselves that, 'If we are going to construct the best braking Adventure bike in the world, we are going to need one of the best master cylinders in the world', so we opted to mount a Brembo billet master cylinder to the handlebars.
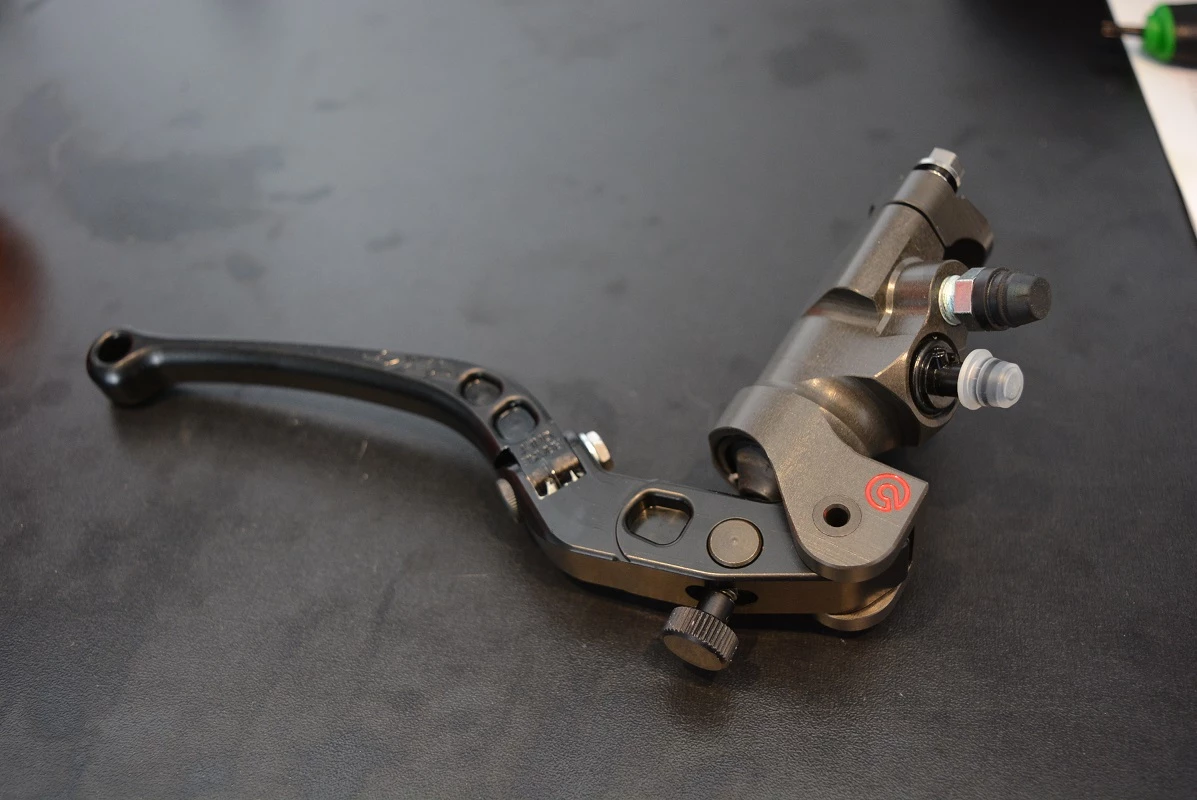
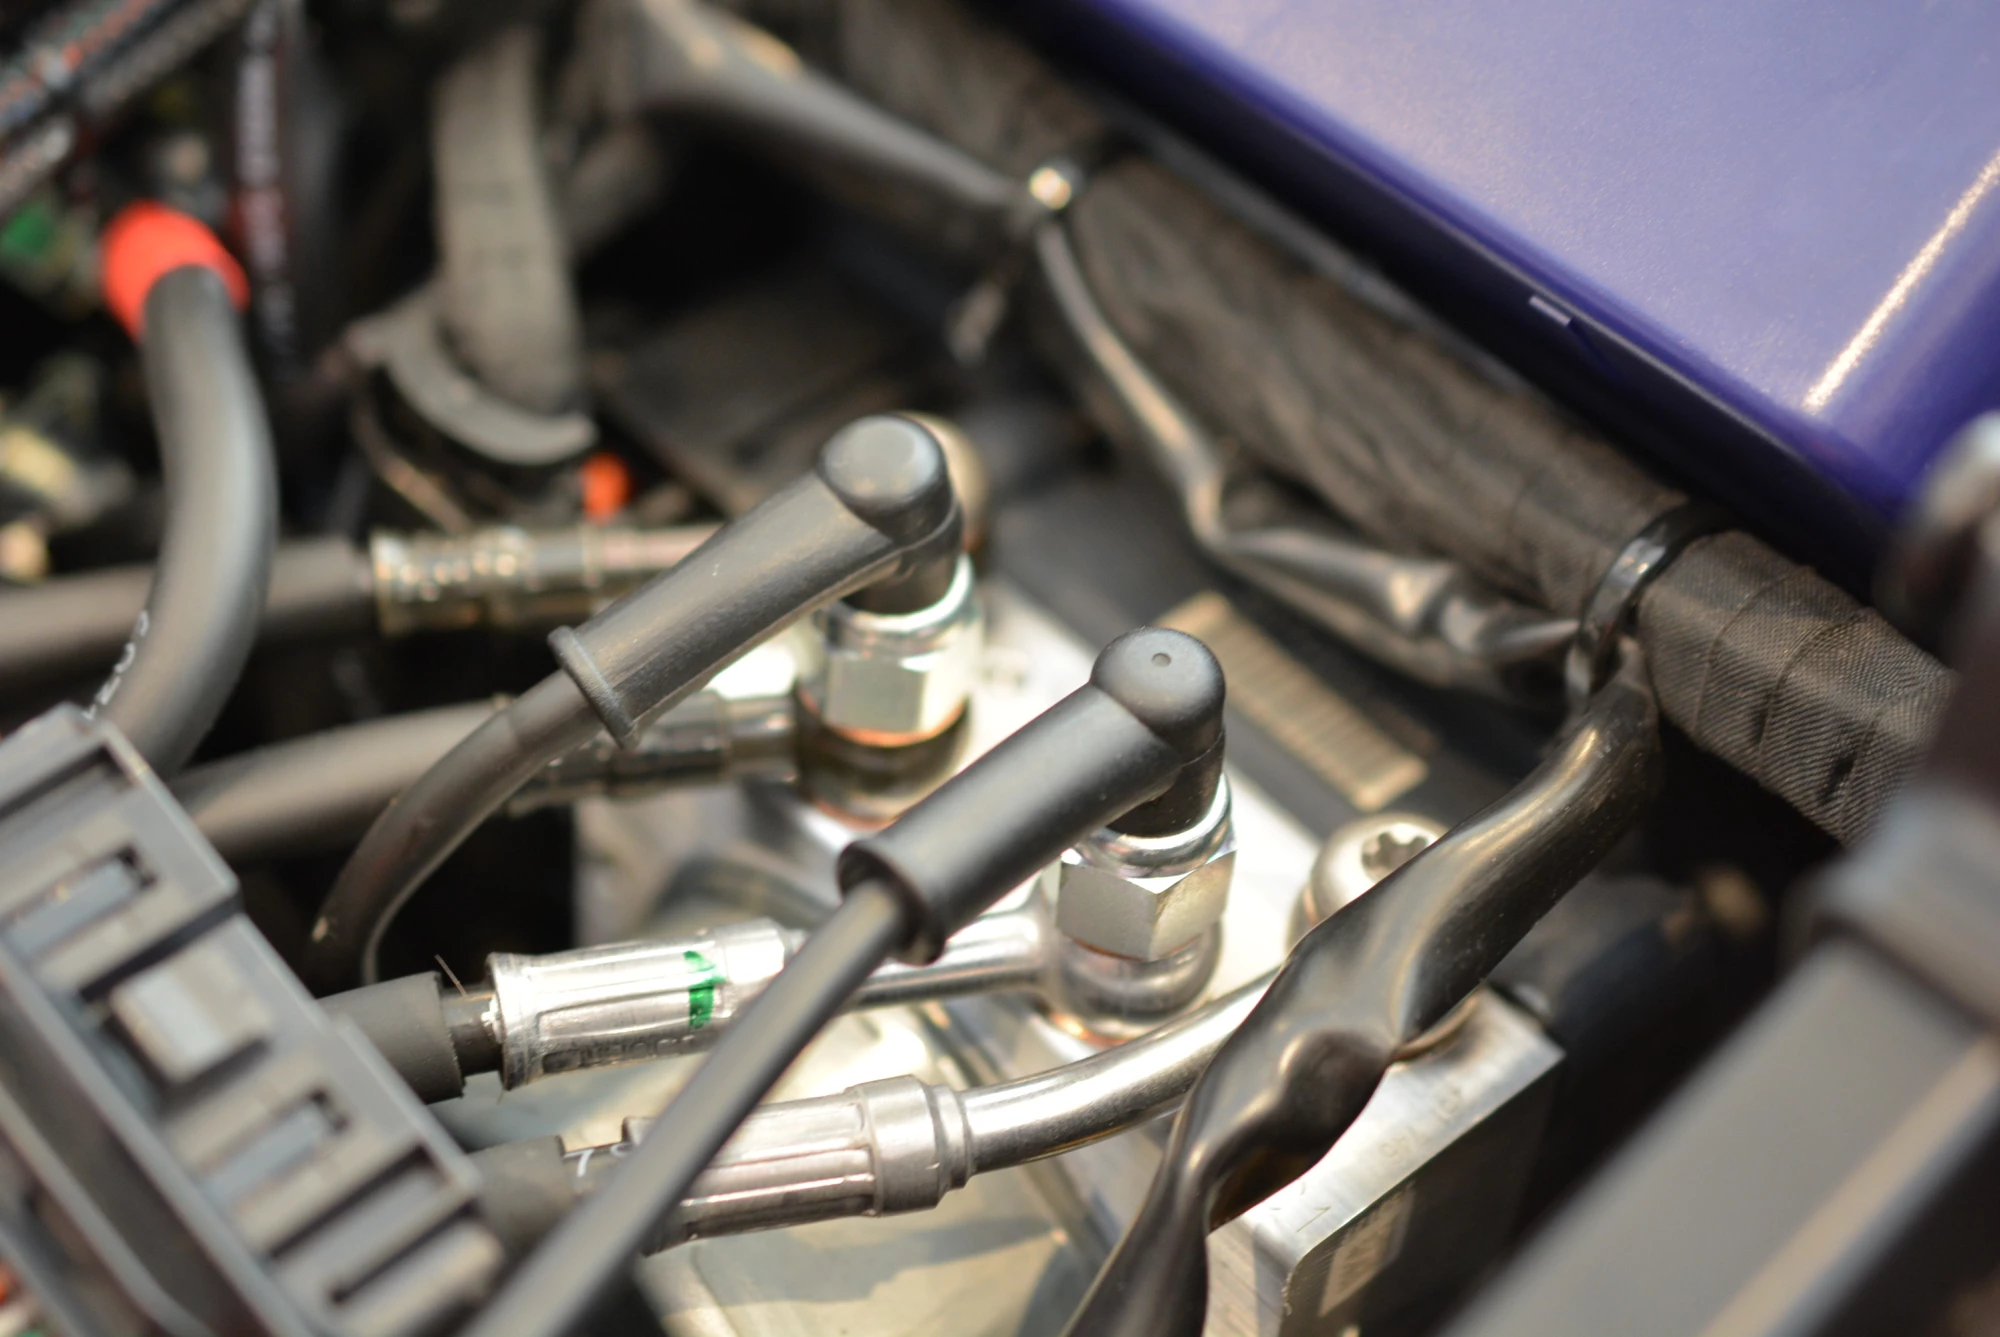
This left us with one problem though. Since the Brembo billet master cylinder is a racing part, there are no provisions for a brake light switch, so we reconfigured the system to actuate the brake light via pressure switch right off of the ABS module. The rear brakes are already set up this way so we simply added one right next to it for the front switch. The end result turned out to be a much cleaner package with less wiring on the bars and worked and looked as if it was right from the factory.
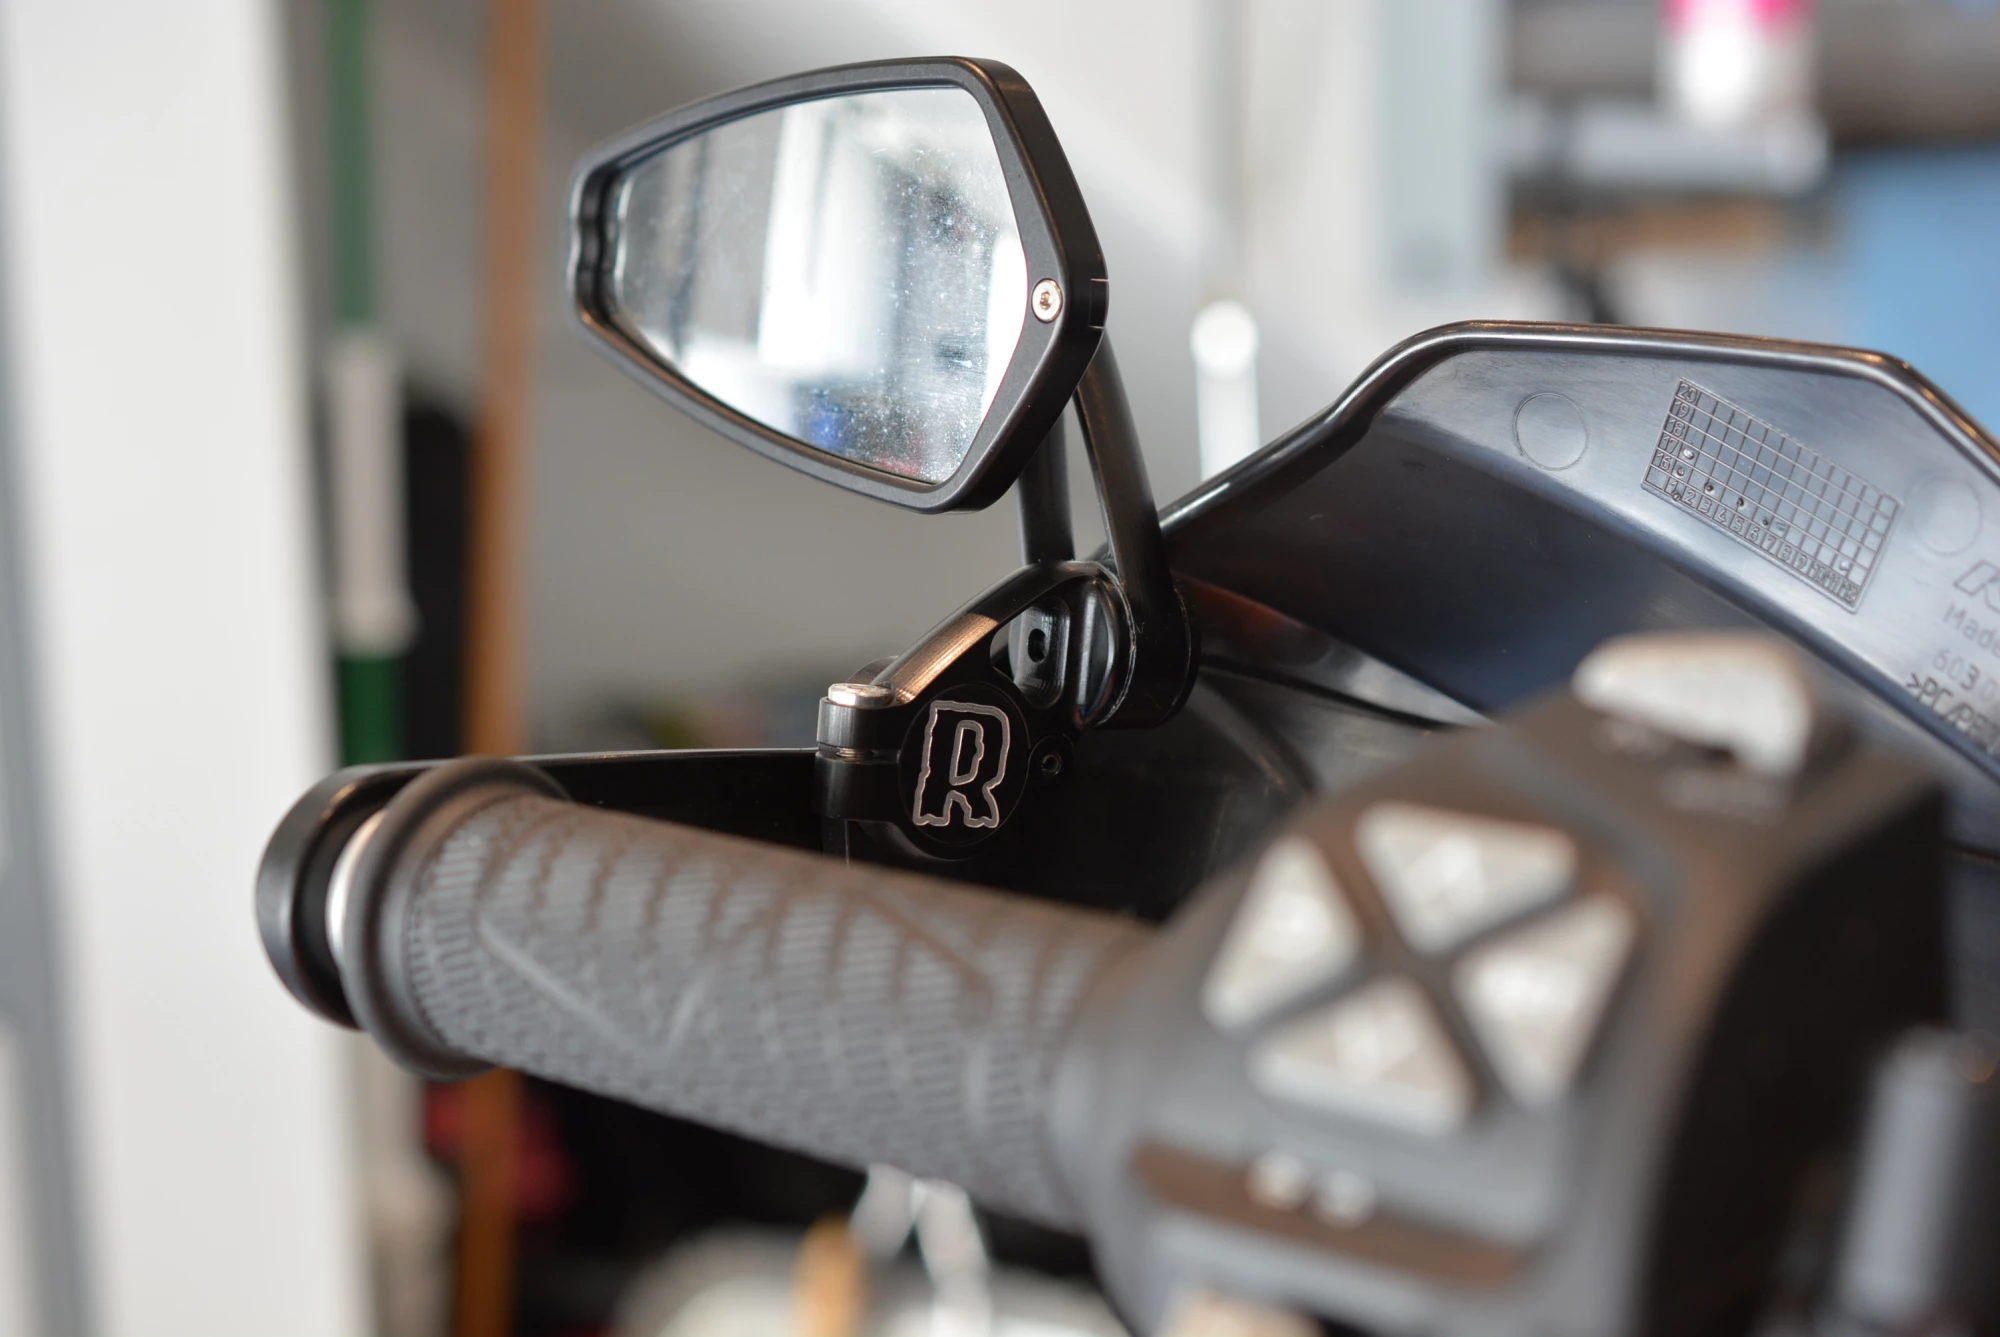
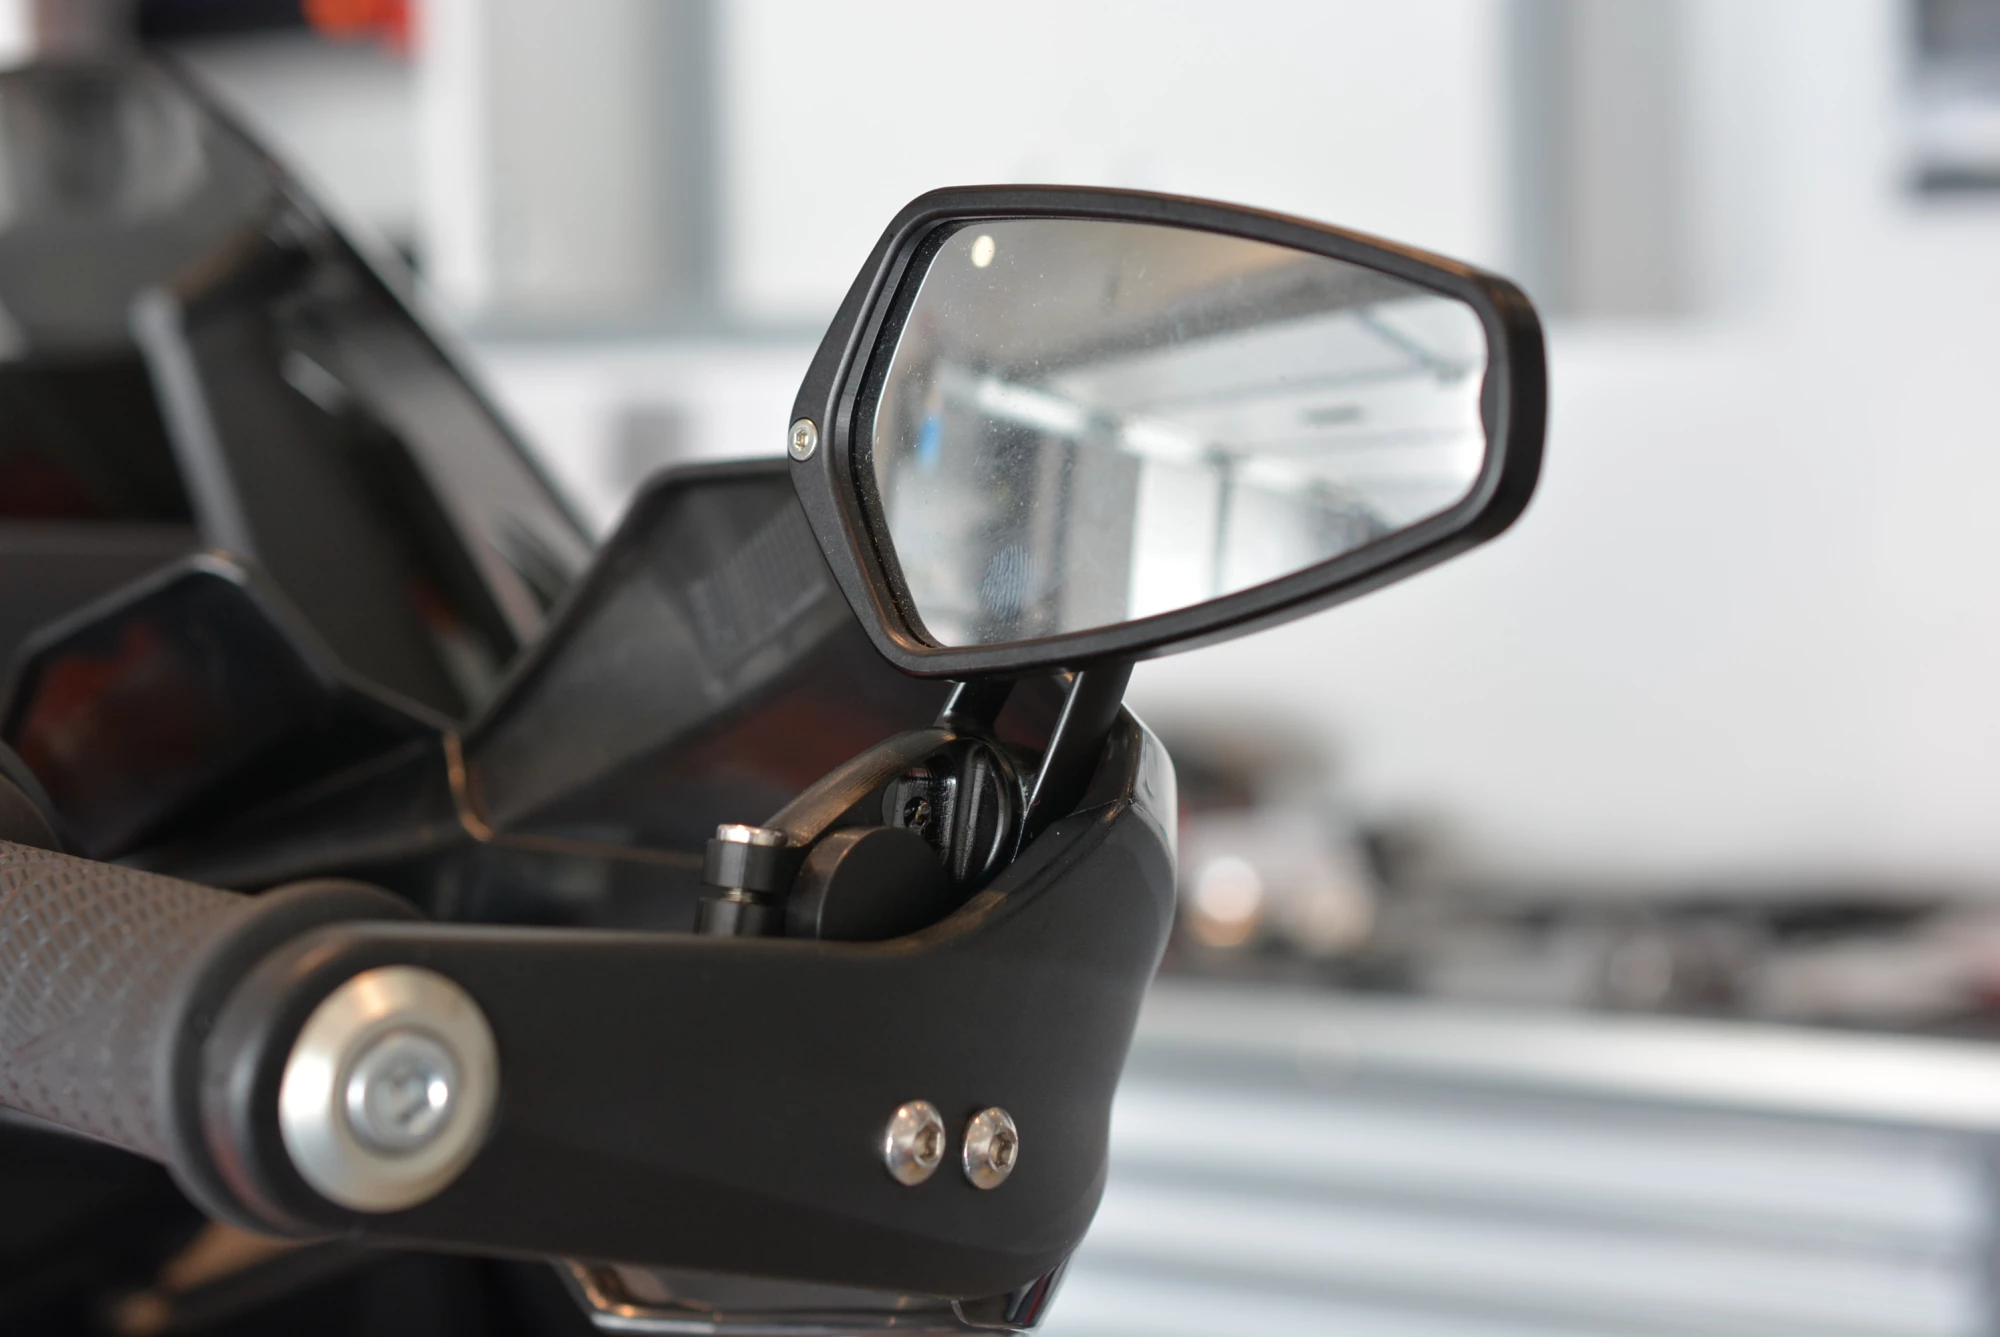
None of our bikes would be complete without our popular 'Quick Flip Mirror Kits' and getting the big ugly stock mirrors off and into the storage box. These were originally created quite by accident and I had machined a small pair of billet adapters to put a set of CRG mirrors into a unique position just for my own use. At our first KTM rally in Steamboat Springs, CO, we left the set on our display bike without thinking much about it and by the end of the rally, so many people had asked about them we decided to take a gamble and make about 50 sets of them.
FIVE YEARS LATER WE HAVE SOLD THOUSANDS OF THEM AND THEY ARE ONE OF OUR MORE POPULAR CREATIONS.
They reduce weight, drastically reduce wind buffeting on your helmet caused by the stock mirrors, can be positioned in a number of unique ways, fold in for land splitting or on a tip over, and provide the widest rear-view of any mirror available. What's not to like? Because of the quality of the replaceable glass and the construction of the billet pieces, they are not inexpensive, but if you actually read the reviews of these mirrors, many people relate that they wish they had not waited so long to get a set. To date the only complaints we hear is that they are not made for other brands!
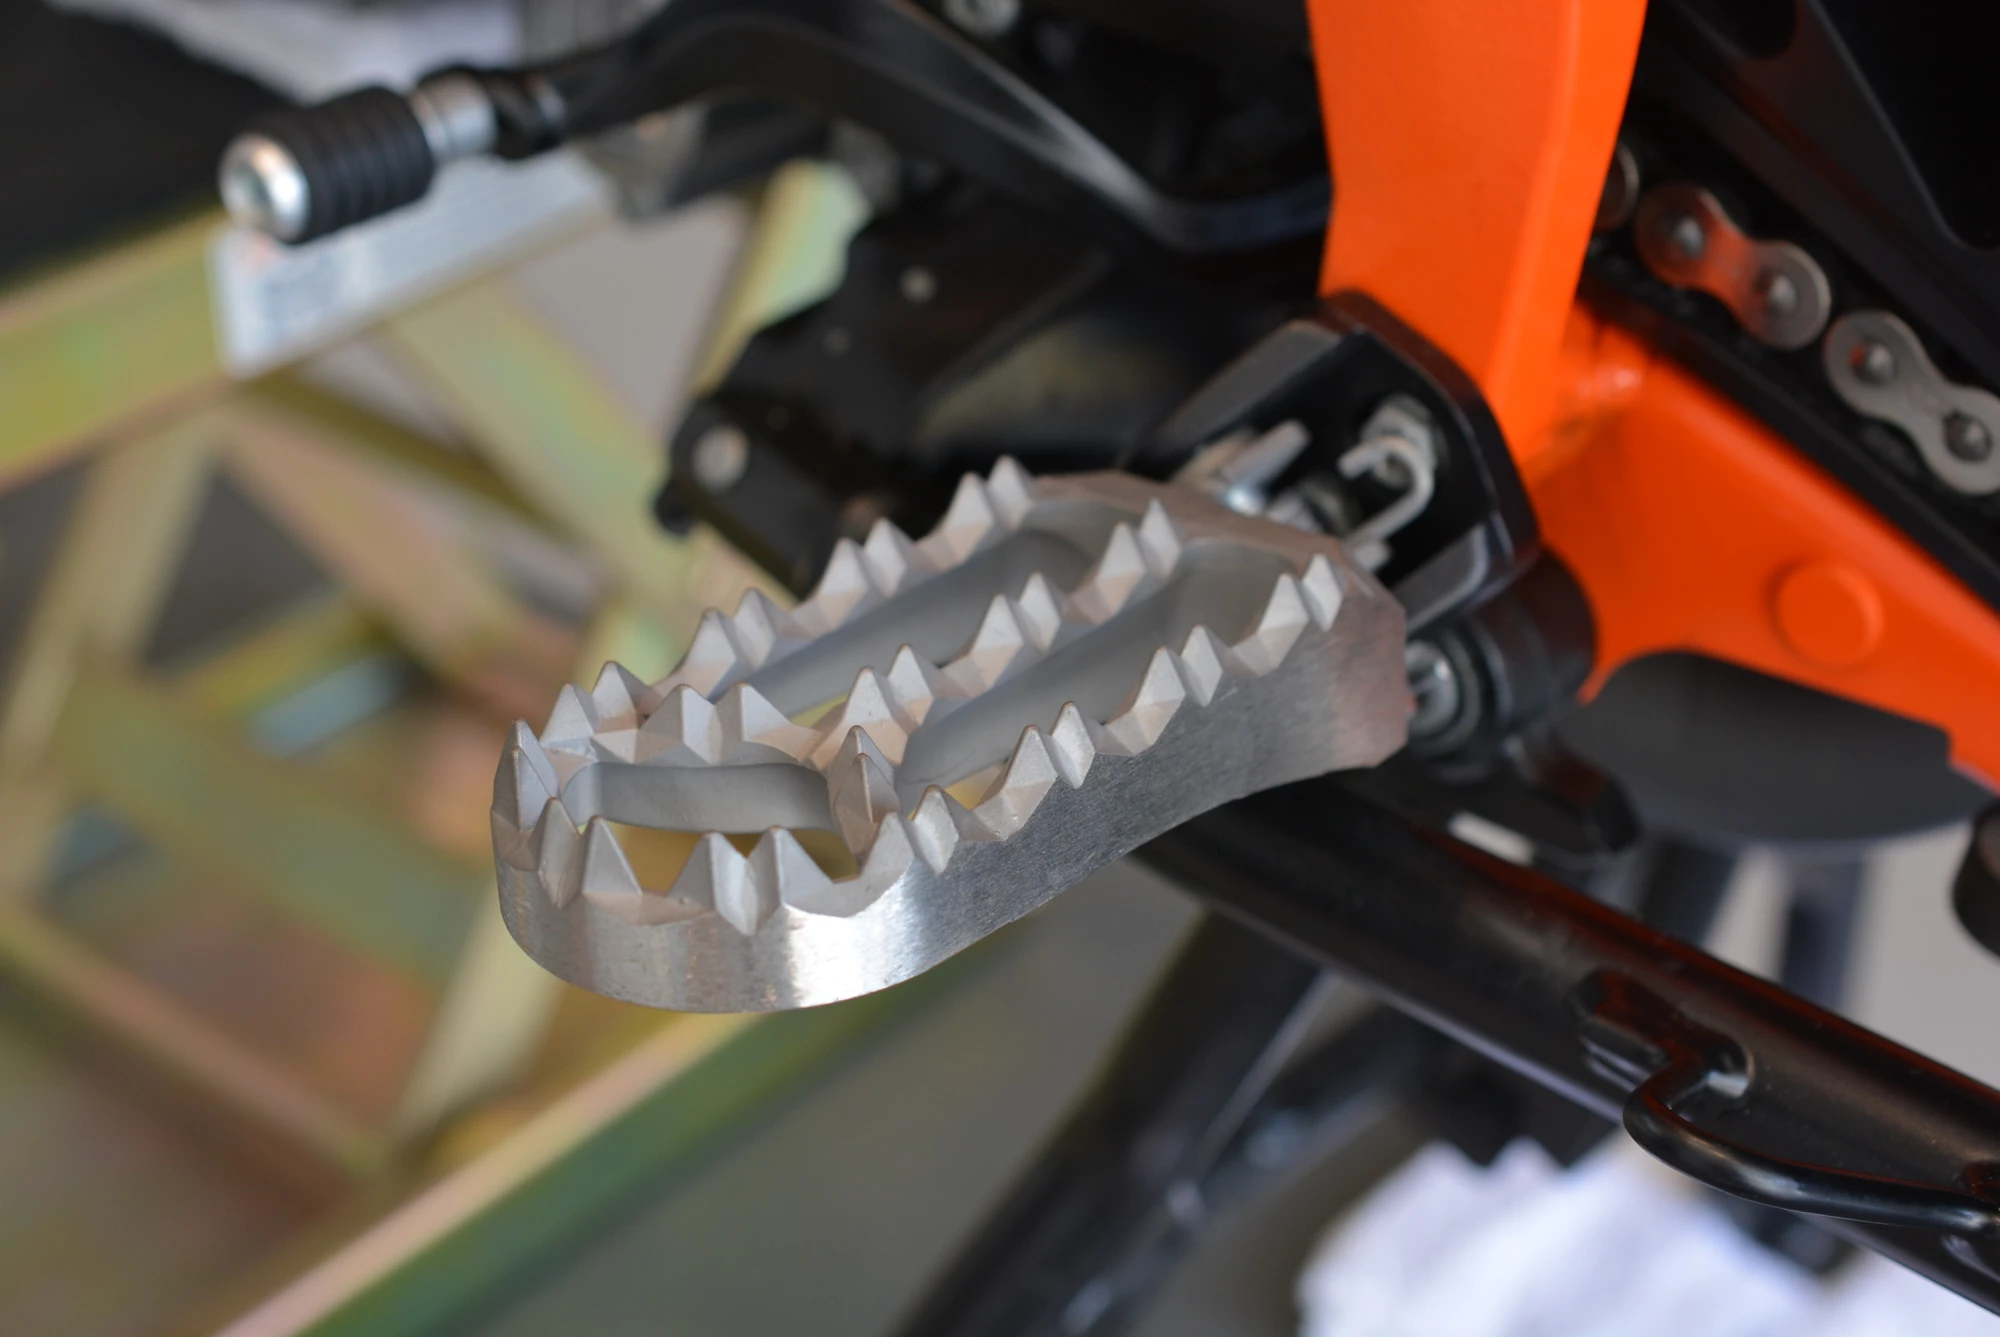
Another 'instantly replaced' item on every new bike are the foot-pegs. We replaced the tiny and uncomfortable stock foot-pegs with these IMS stainless platforms. They are guaranteed for life against breakage and are like Velcro for your boots. In our opinion, some of the most durable, confidence inspiring and comfortable foot-pegs available.
Before all of this began we had the arduous task of breaking in the motor. Usually 600 - 800 miles and then you perform your first oil change and check over.
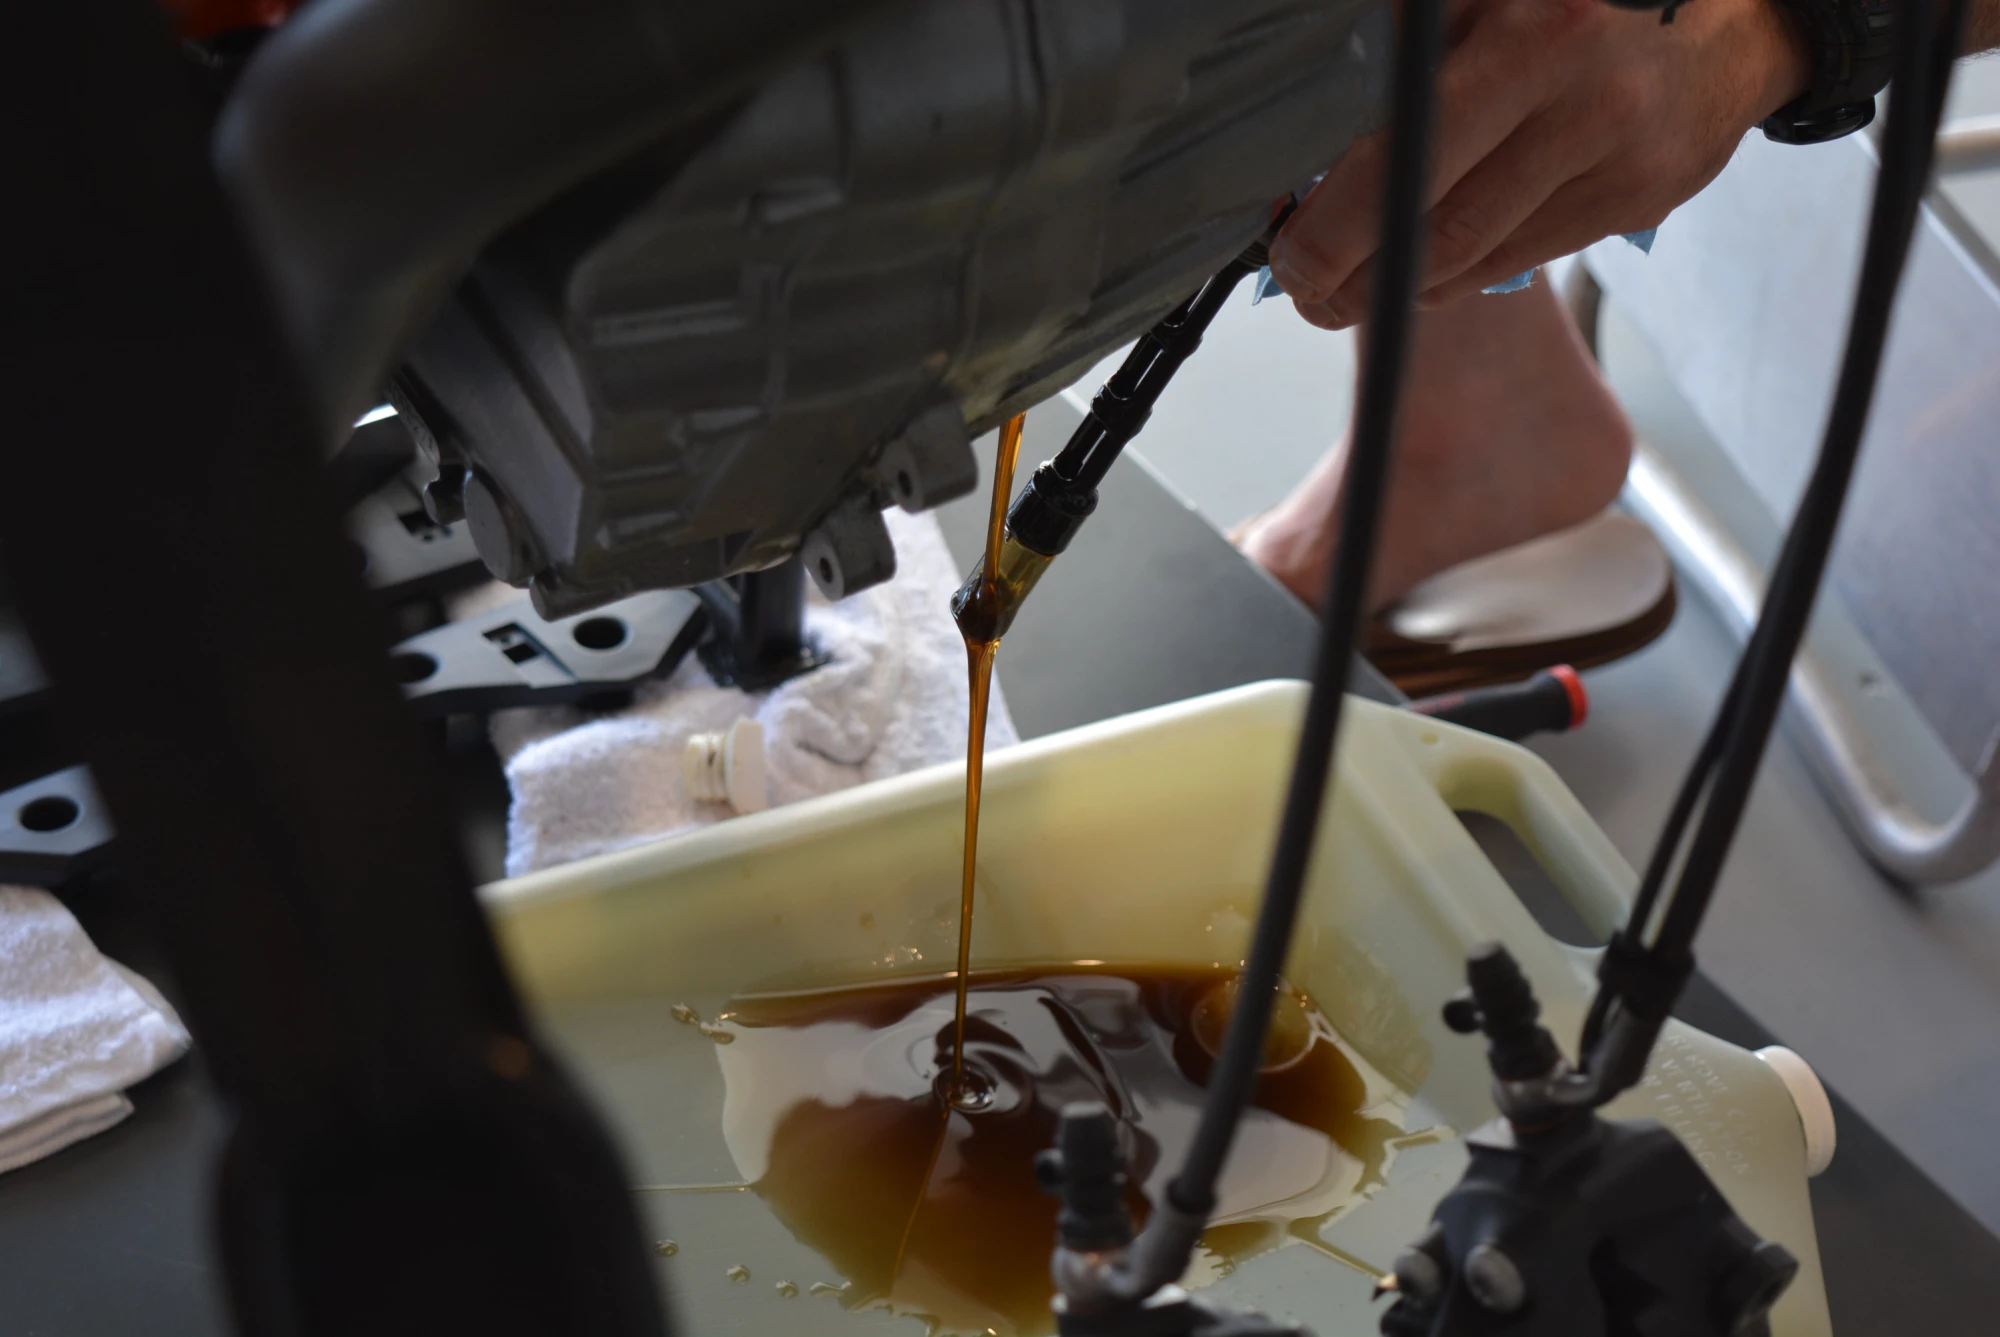
The screens had the usual about of crud on them that is expected from a newly assembled engine, but otherwise looked pretty good.

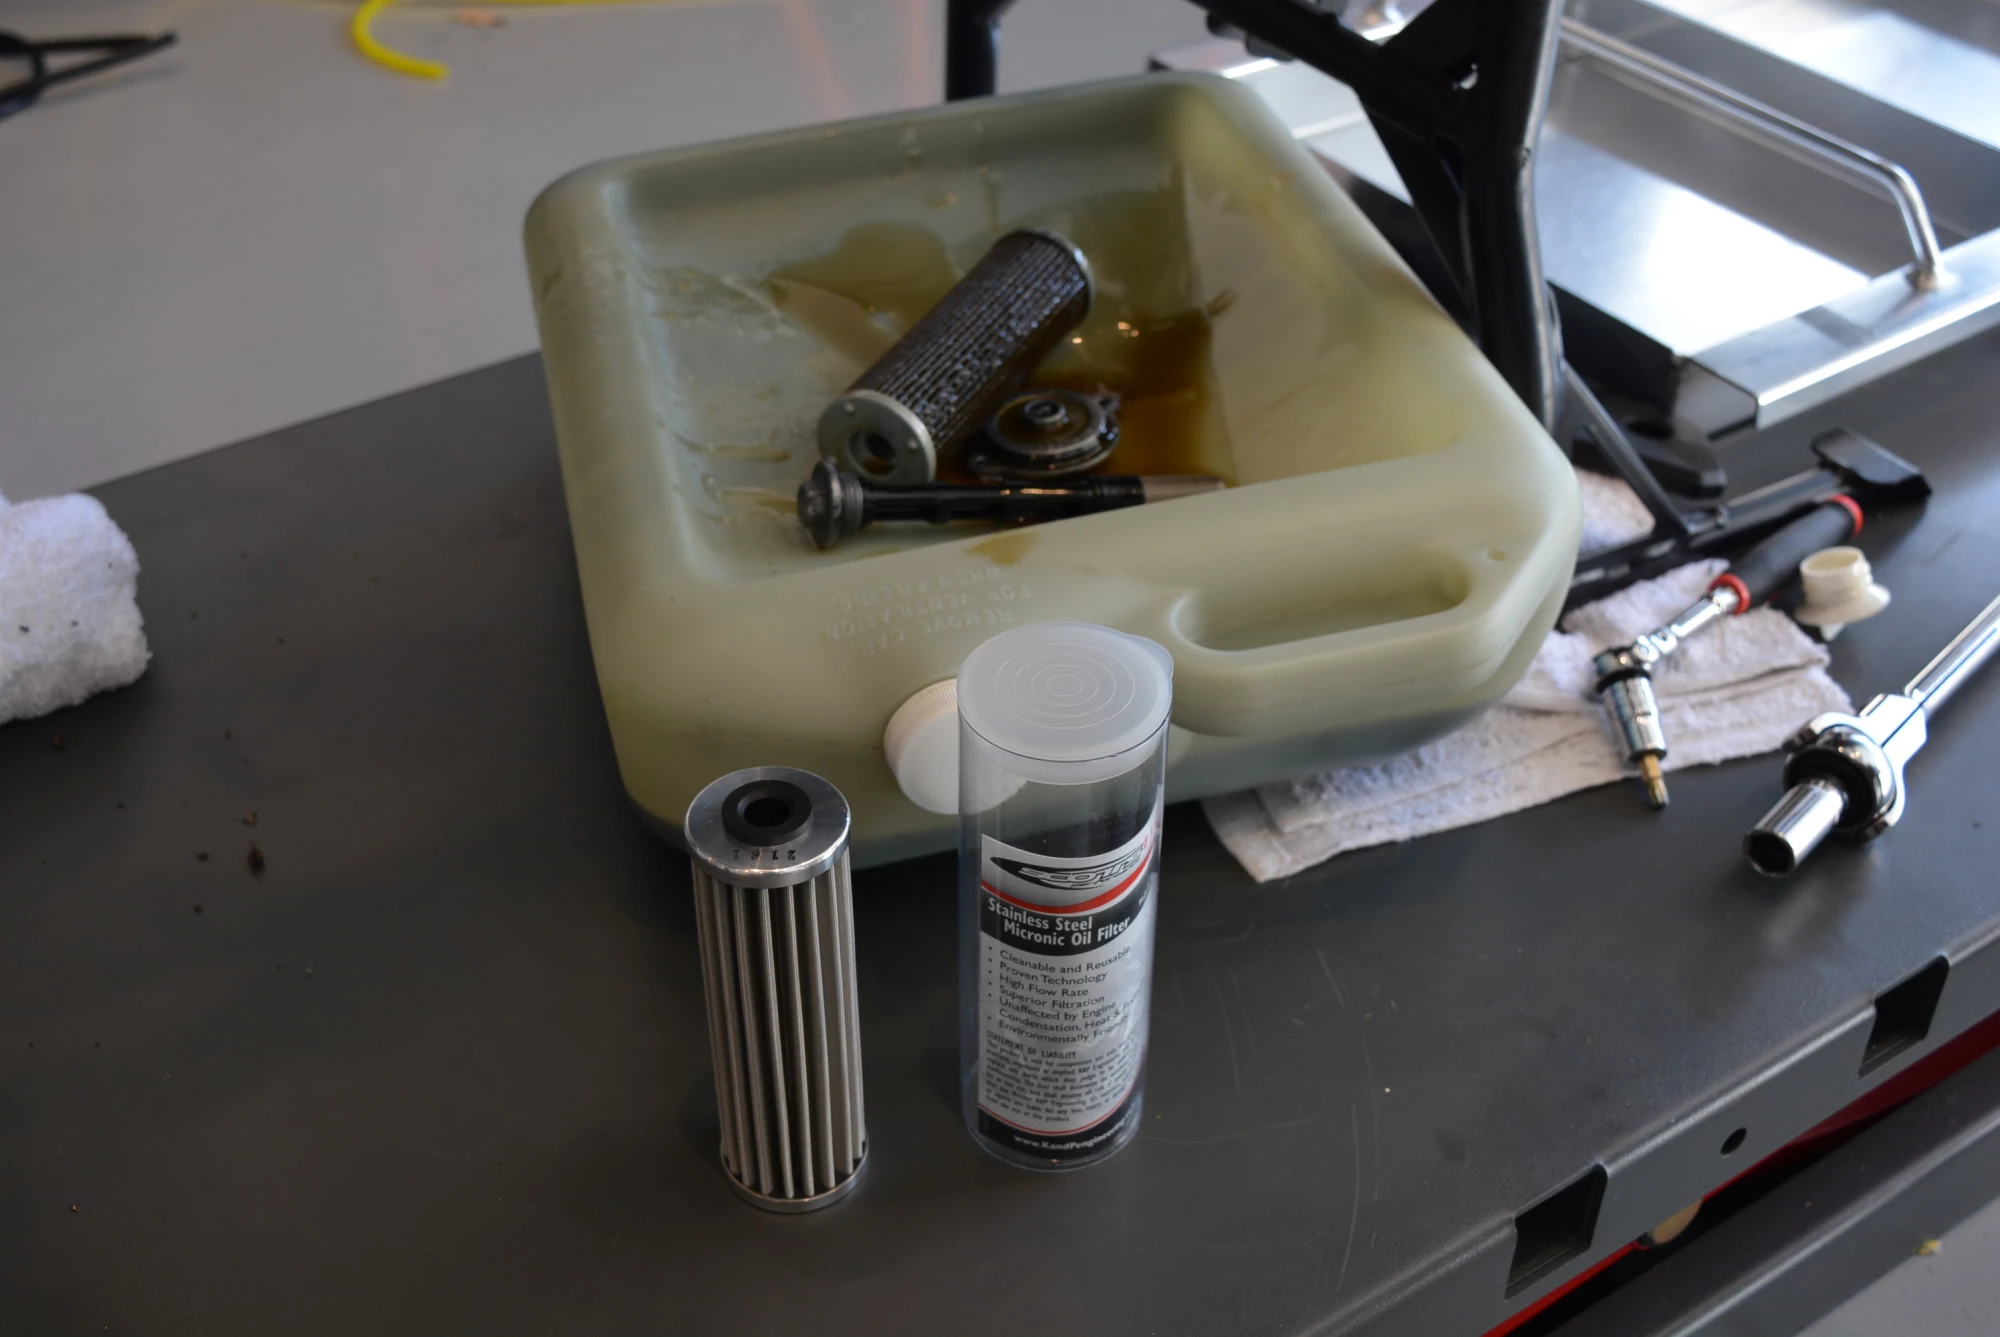
Once this is done we always replace the oil filter with a SCOTTS reusable filter. Stories of filters collapsing have popped up here and there on the interwebs and for the Adventure or Super Duke models, this is just a nice piece of quality insurance and a good piece of mind when on a long trip. They are fully serviceable and with a quick washing with a solvent based cleaner they are good as new and filter better than paper without inhibiting flow.
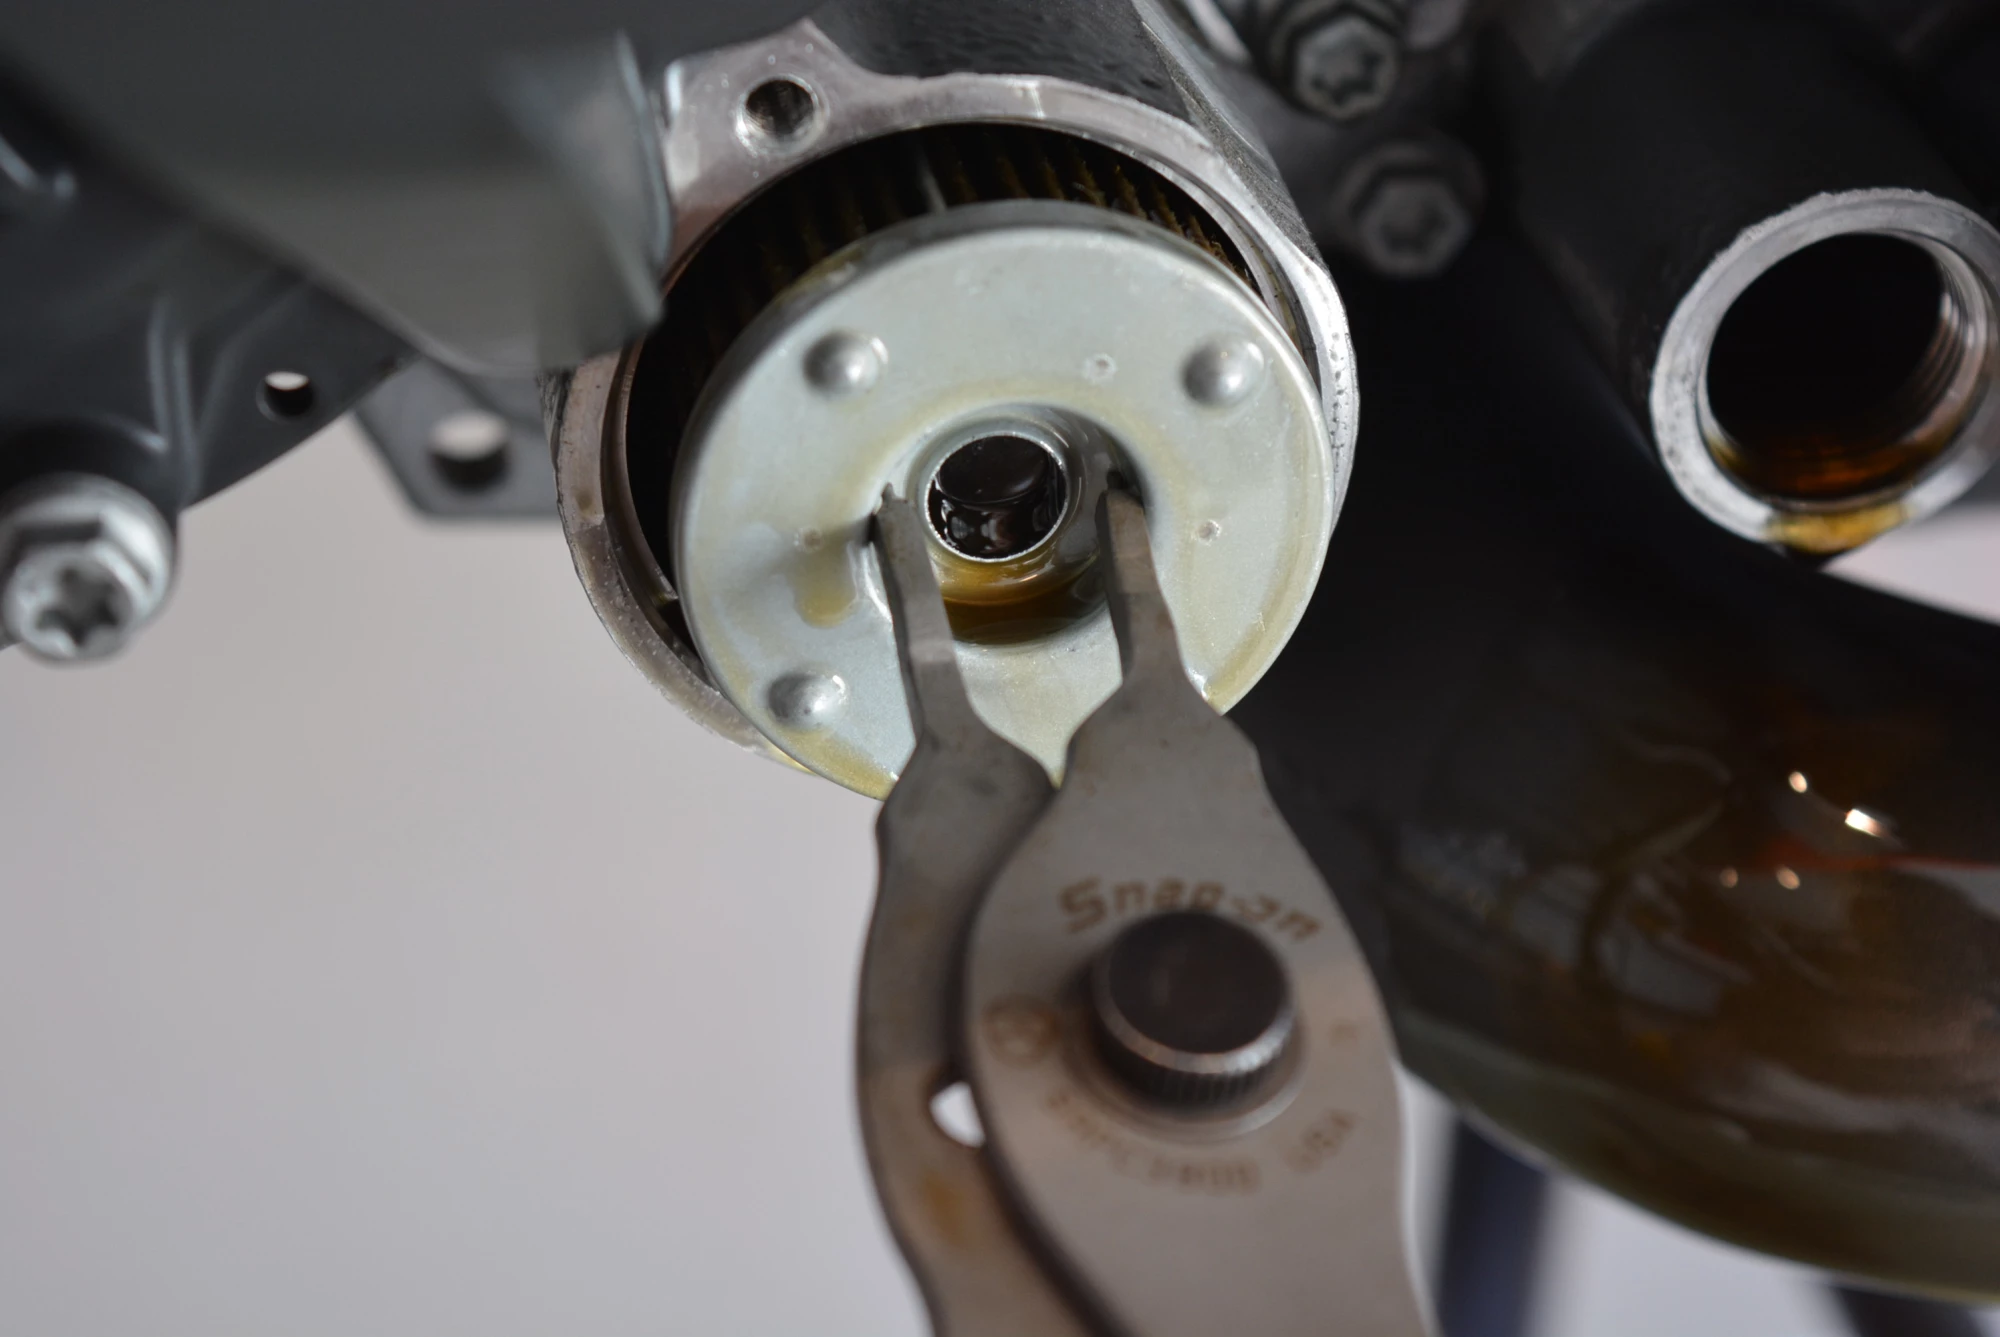
Helpful hint, when remove the stock oil filters, use a pair of snap ring pliers to expand in the recess of the filter and pull it right out.
While we were getting oily, we decided it was a good time to install the Rekluse Auto Clutch. We absolutely love these things and while there are differing reasons why one would install an auto clutch, for this machine our goal was to create something that could easily handle difficult terrain without the worry of a stall, combined with the convenient byproduct of being able to stop at a stoplight and not worry about having to find neutral every time. It's the little things...
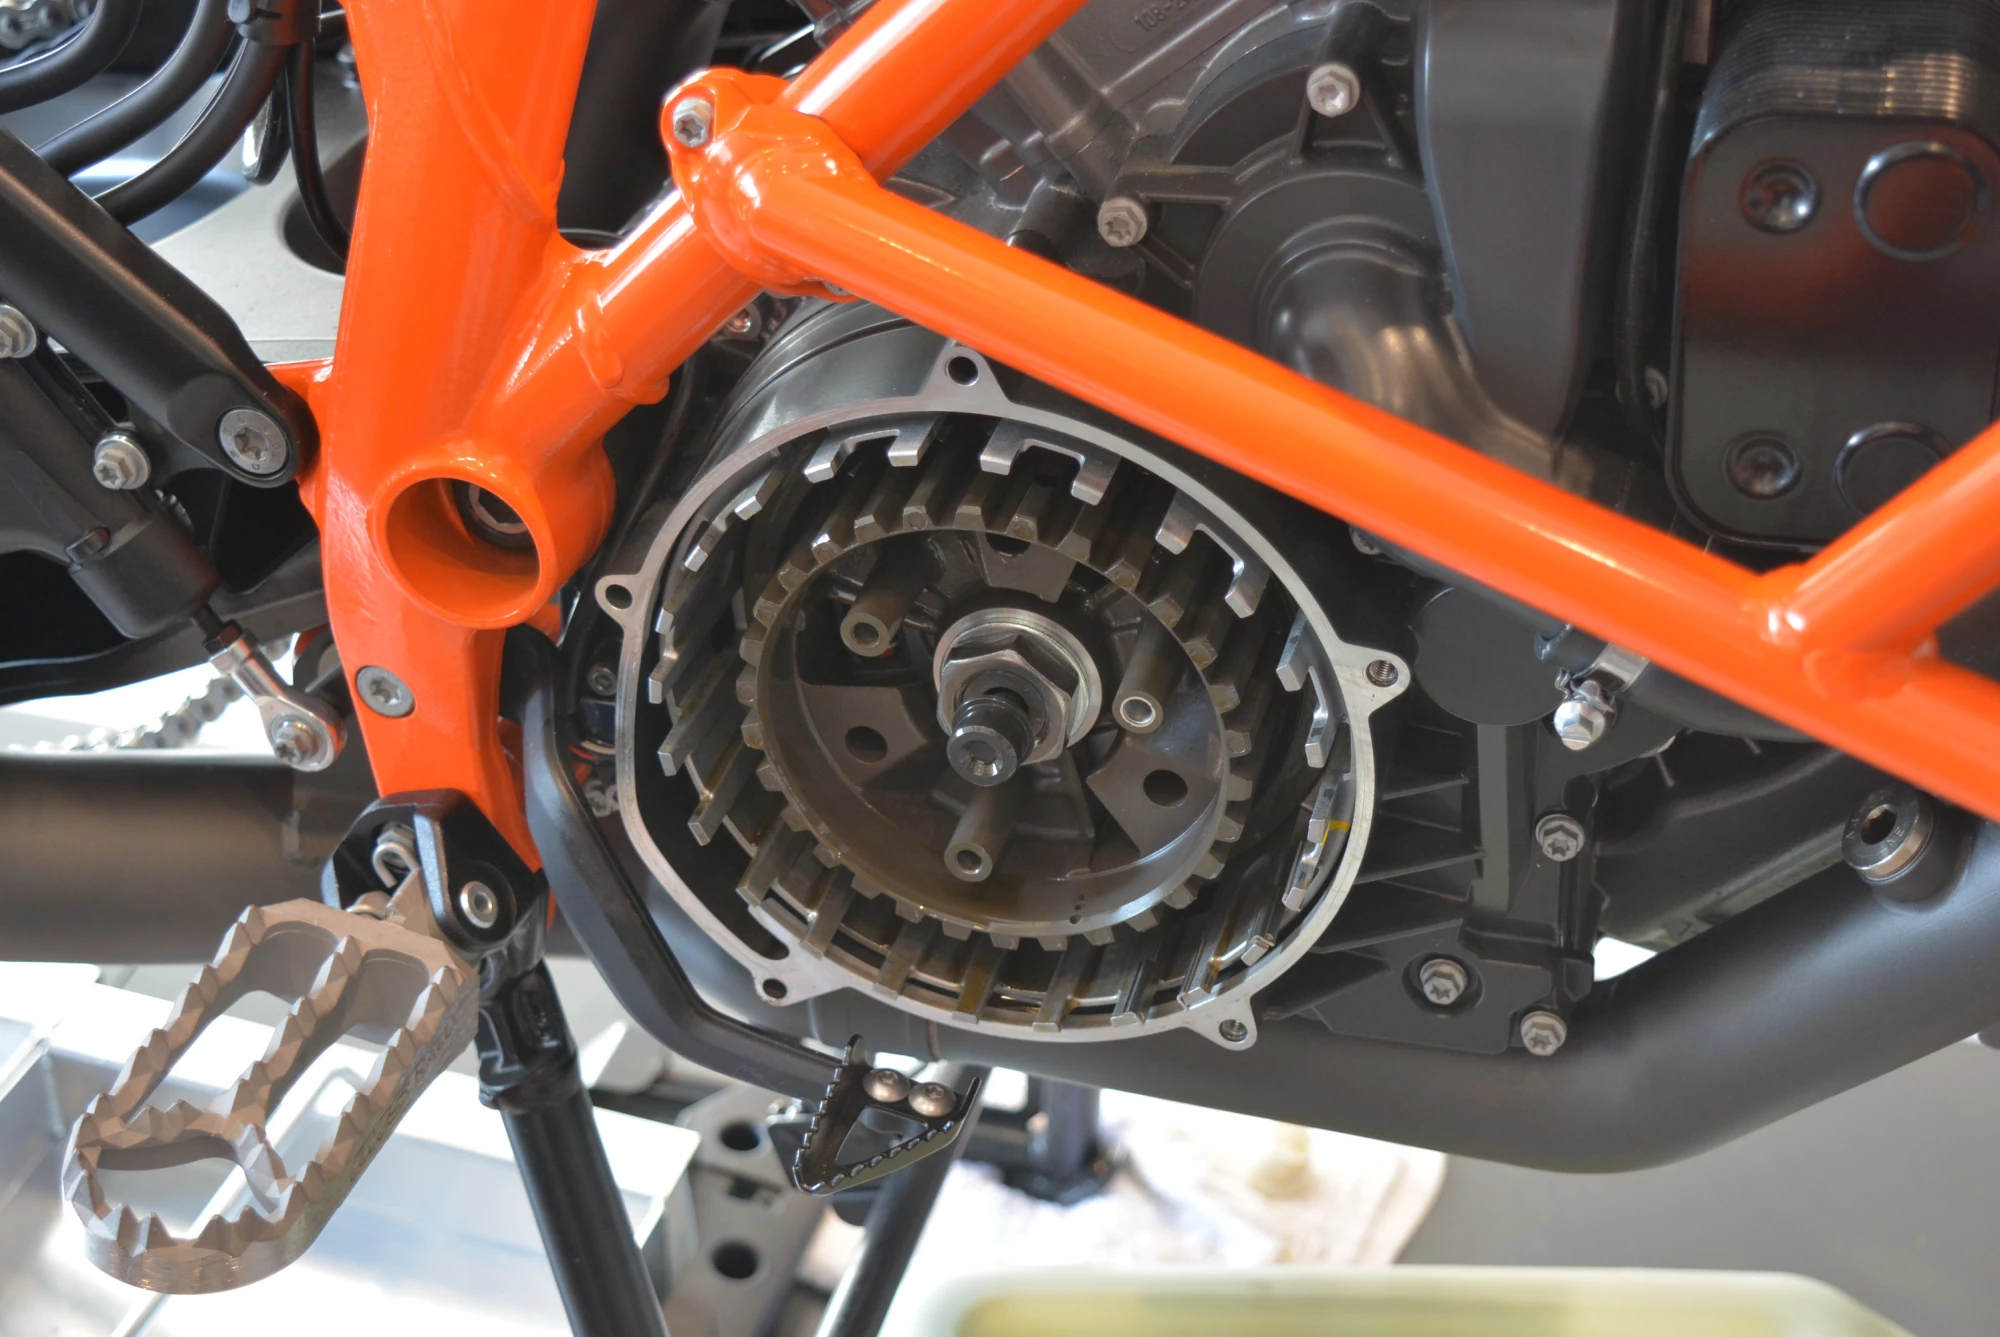
We have honestly done so many of these that the setup is second nature to us by now. They all come with variable rate springs to 'tune' the engagement but honestly the way they come is just fine for most riders. I will say that I do prefer to install the heavier engagement springs to provide a smoother engagement. What this means is that it takes a slightly higher RPM to engage the clutch pack which translates into a slip that is much more like how I personally use the clutch lever to move the bike.
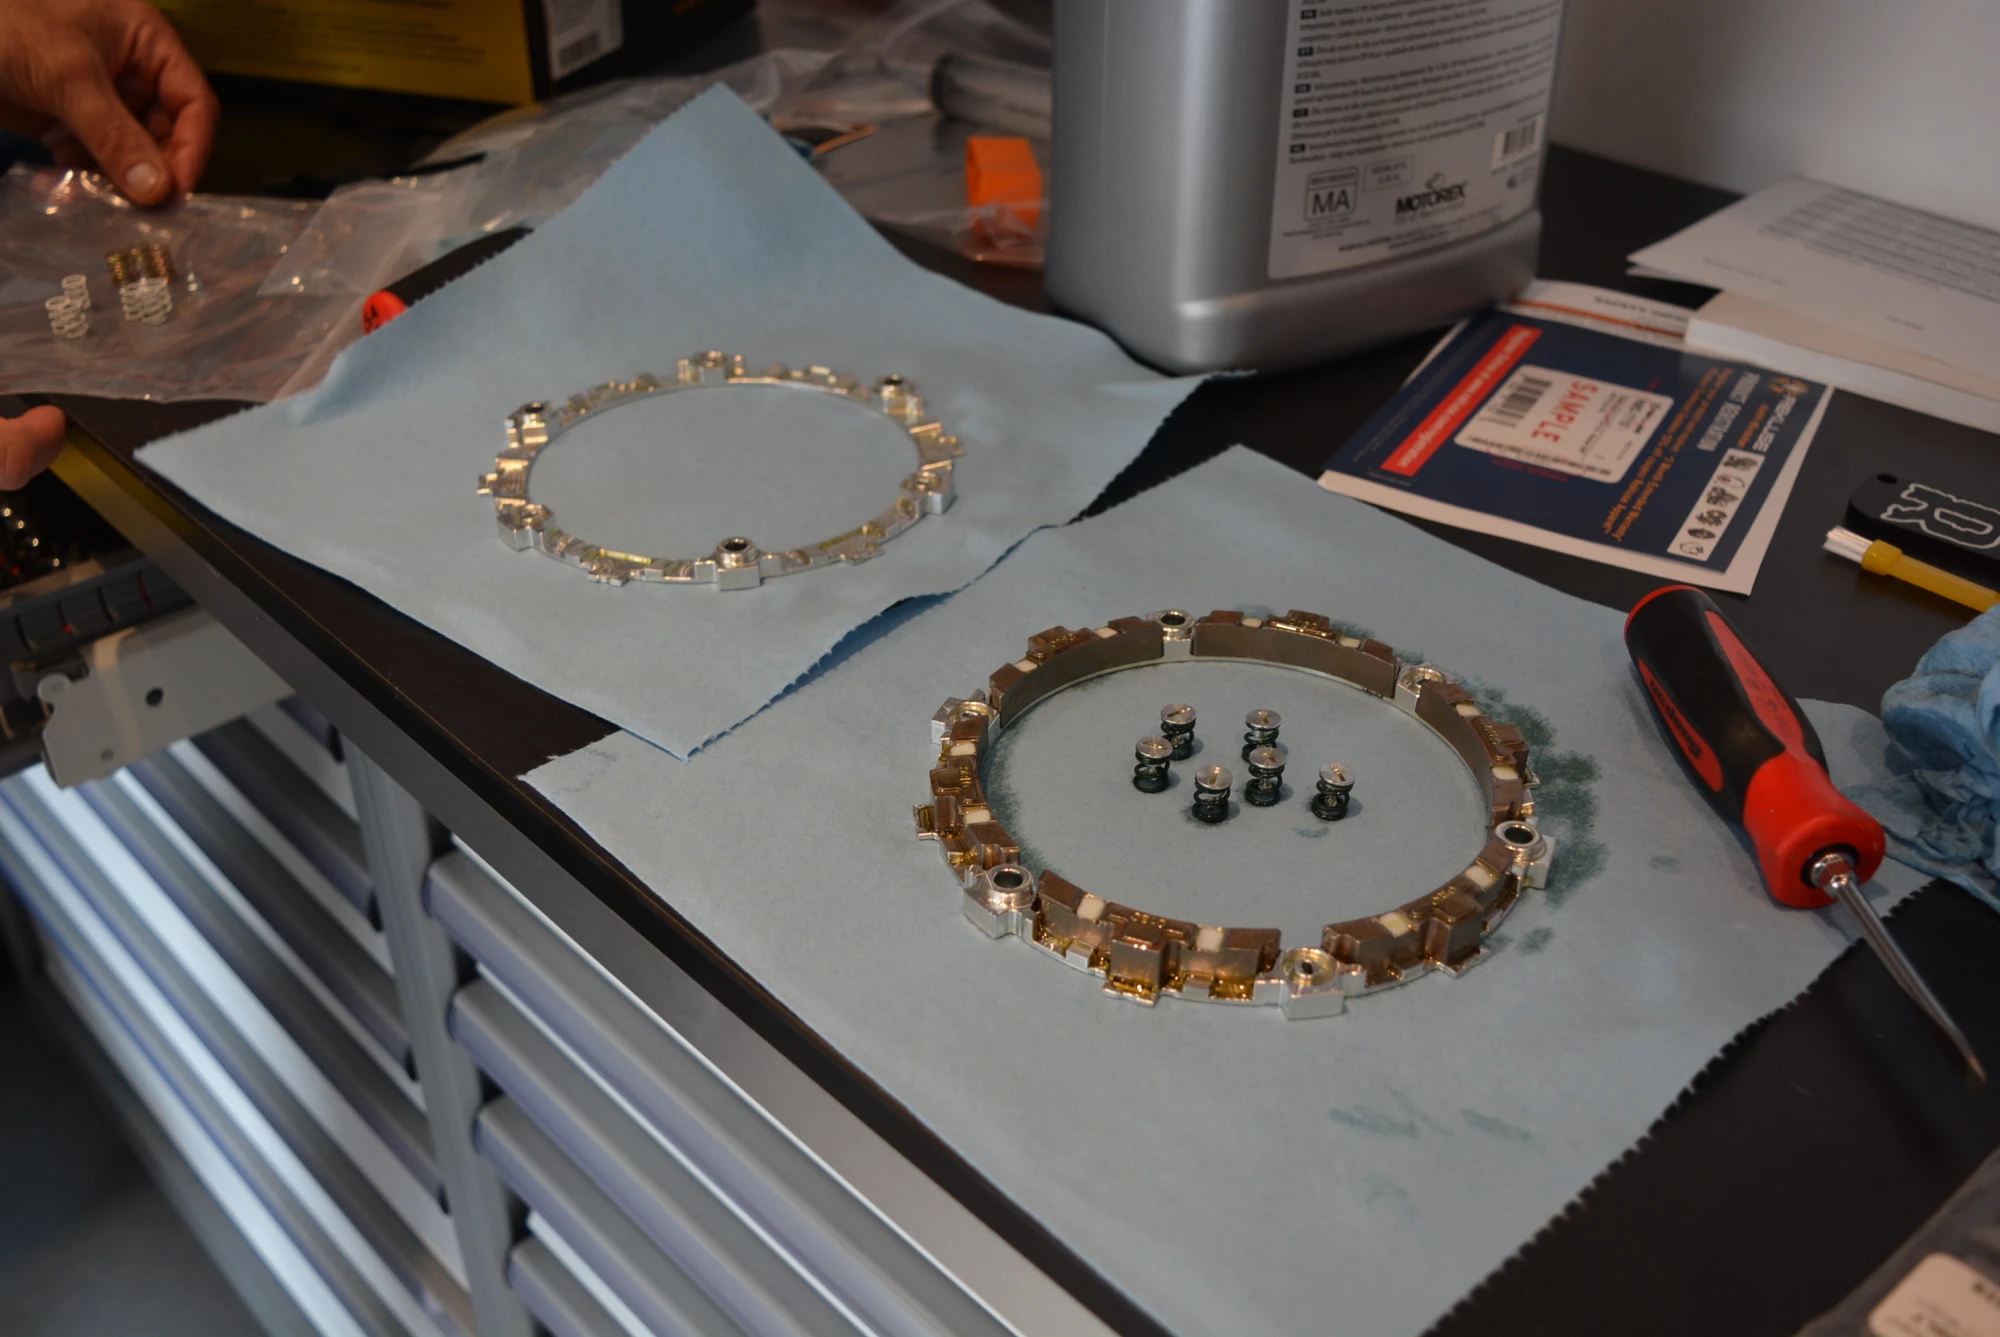
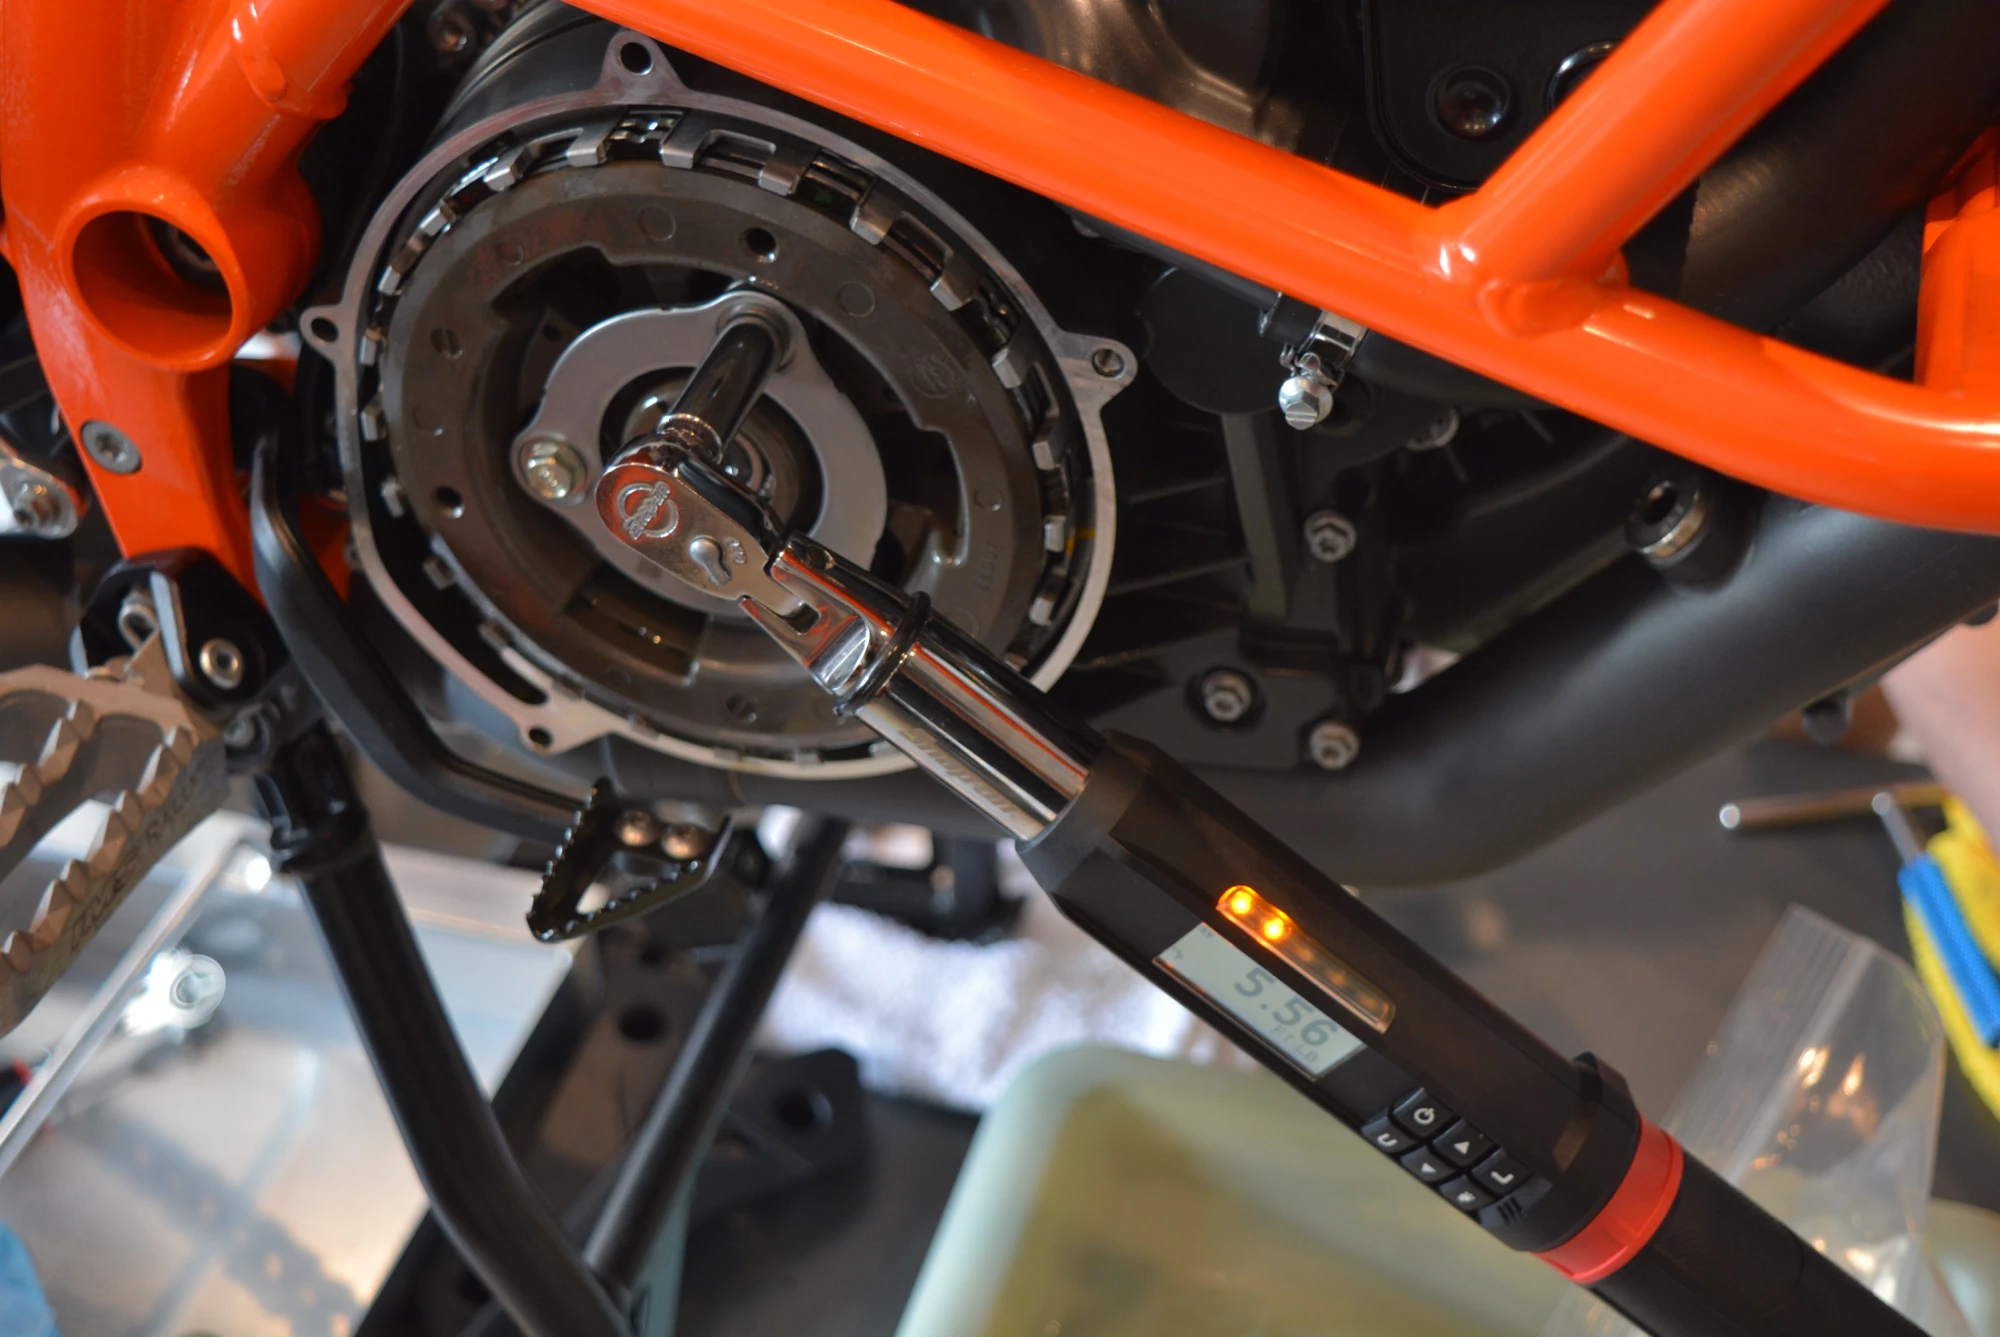
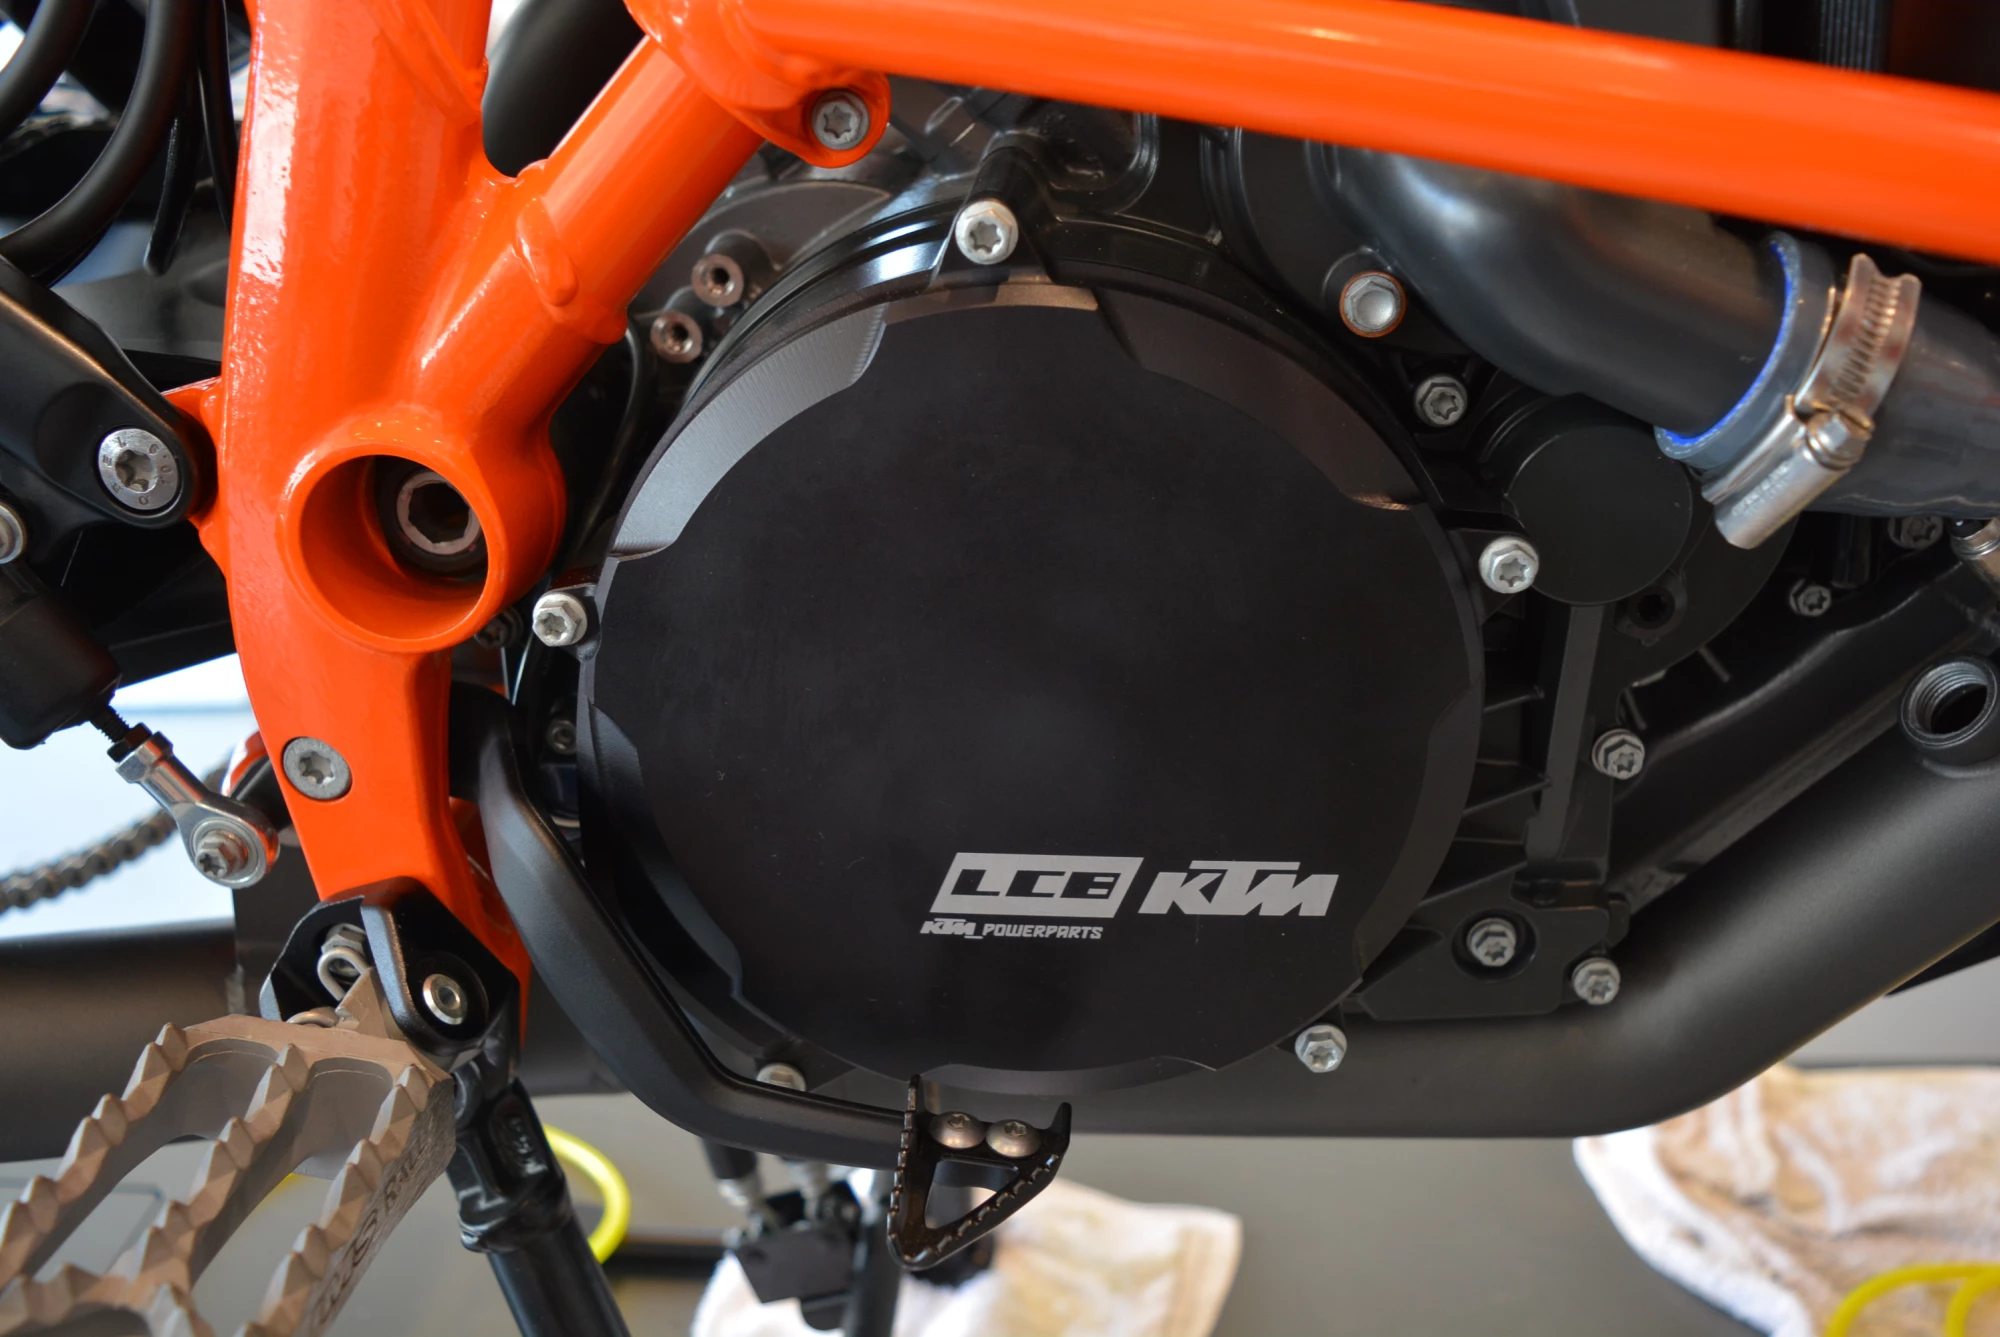
Once the clutch was done (about 2-3 hours) we installed the KTM Powerparts clutch cover. This is marketed more towards the Super Duke crowd, but just love the billet finish and strength when used on the Adventure models.
ROTTWEILER PERFORMANCE IS ONE OF THE ONLY LARGE QUANTITY STOCKING SUPPLIERS OF SAMCO HOSES FOR BIG KTM MODELS. WE STRIVE TO KEEP A HEALTHY AMOUNT ON HAND SO THAT WE CAN SHIP QUICKLY WITHOUT THE TYPICAL 6 WEEKS WAIT TIMES.
SAMCO radiator hoses are a must on all of our builds and highly recommended for any KTM. I only had to have a stock radiator hose burst on me once to realize this lesson (true story) and now replace every stock line with these high quality silicone hoses. For this build we went with Gun Metal Grey, but we also stock orange, black, white and 'Solar Camo' for those looking for a really interesting look to their bike.
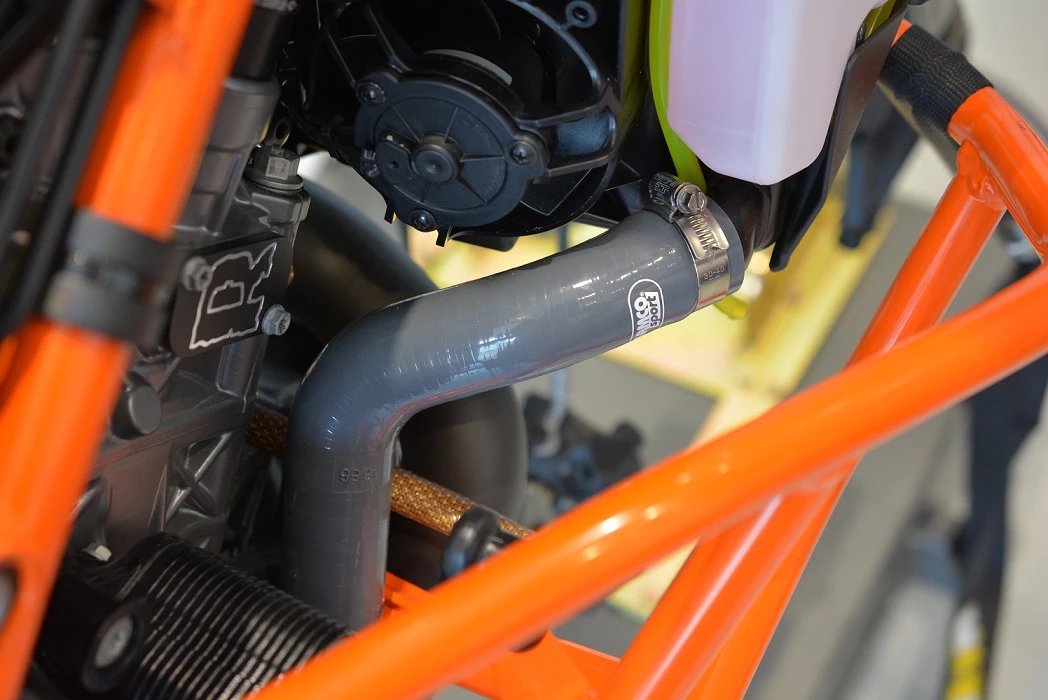
There are two versions for the LC8 1050 through 1290 line (Super Duke and Adventures are the same kits). The OEM SAMCO version uses the stock 'Y' plastic connector and the necessary hose clamps, and the 'Y' piece kit completely does away with the stock plastic part altogether. That particular kit is more expensive than the OEM kit, but does away with 3 of the hose clamps and is far more reliable for obvious reasons.
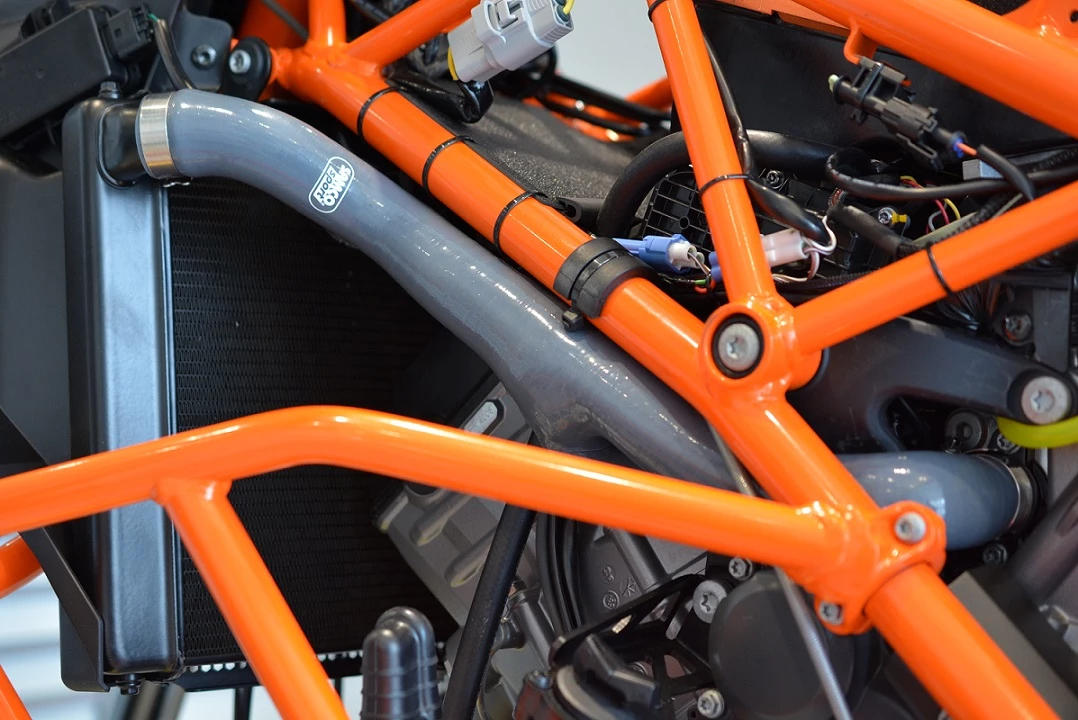
BELOW YOU CAN SEE THAT WE CHOSE THE 'Y' PIECE KIT FOR SIMPLICITY AND CLEAN INSTALLATION.
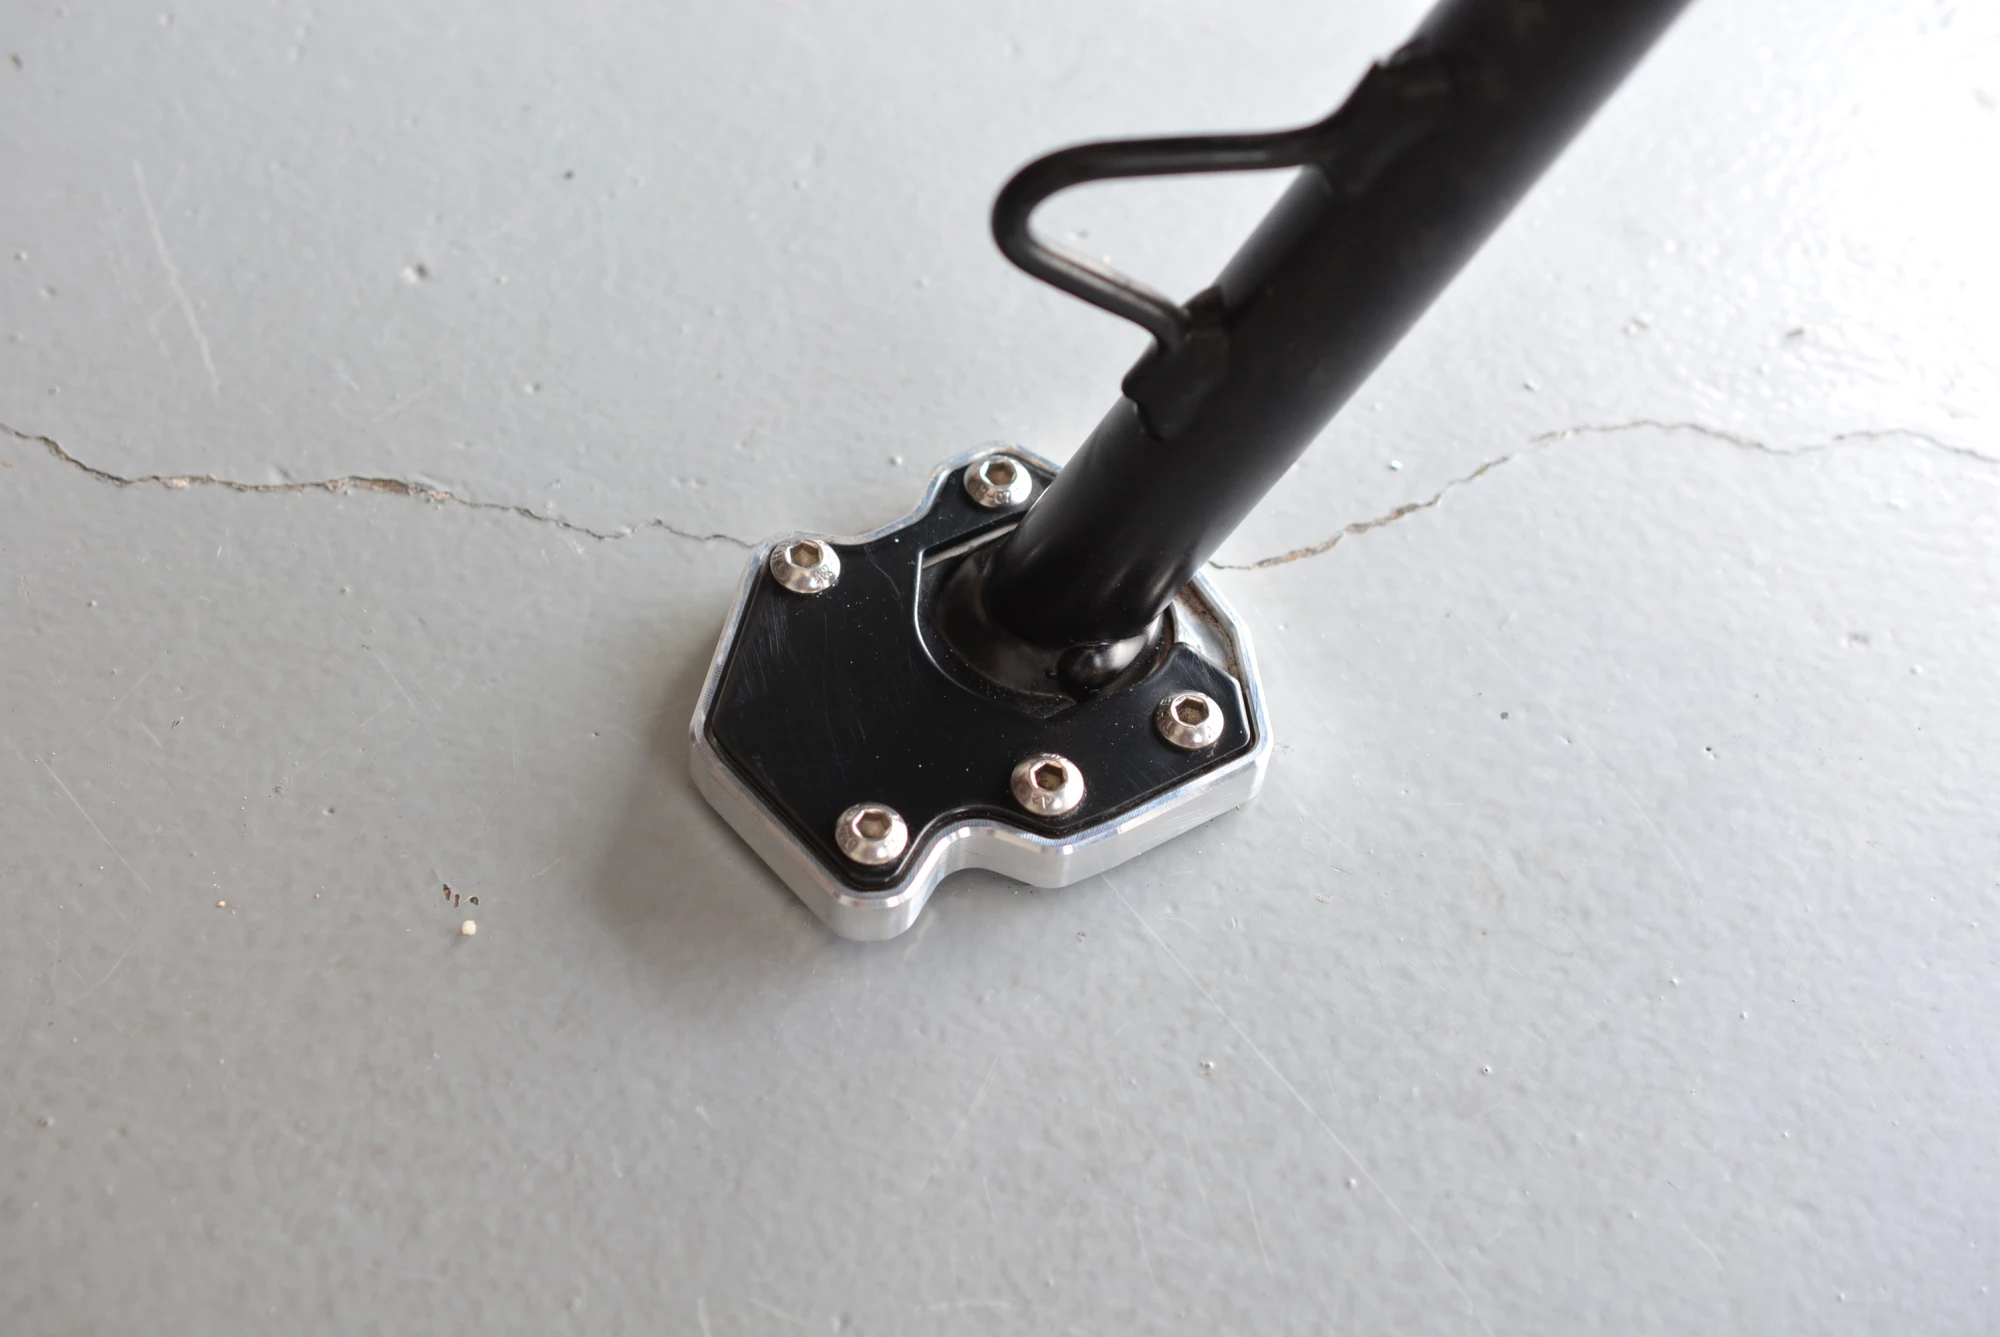
Vanasche Motorsports make a bevy of very nice billet items for the 690 Enduro crowd, but is branching out into the larger bikes as this is written. An almost 'must do' on this bike is a side stand foot to keep your heavy bike from sinking into the sand when the kickstand is down.
Most travelers have discovered that their cell phone is one of the most powerful and versatile navigation tools there is. Hondo Garage makes this incredibly well engineered billet aluminum device called 'The Perfect Squeeze' that will put a death grip on just about any cell phone. I personally would have no issue hitting the gnarliest of G-outs and trusting that this little baby will not let go! It has 4 rubber posts with a taper to them that virtually locks on to the phone so well, and without unnecessary pressure, that once snug your phone is going nowhere.
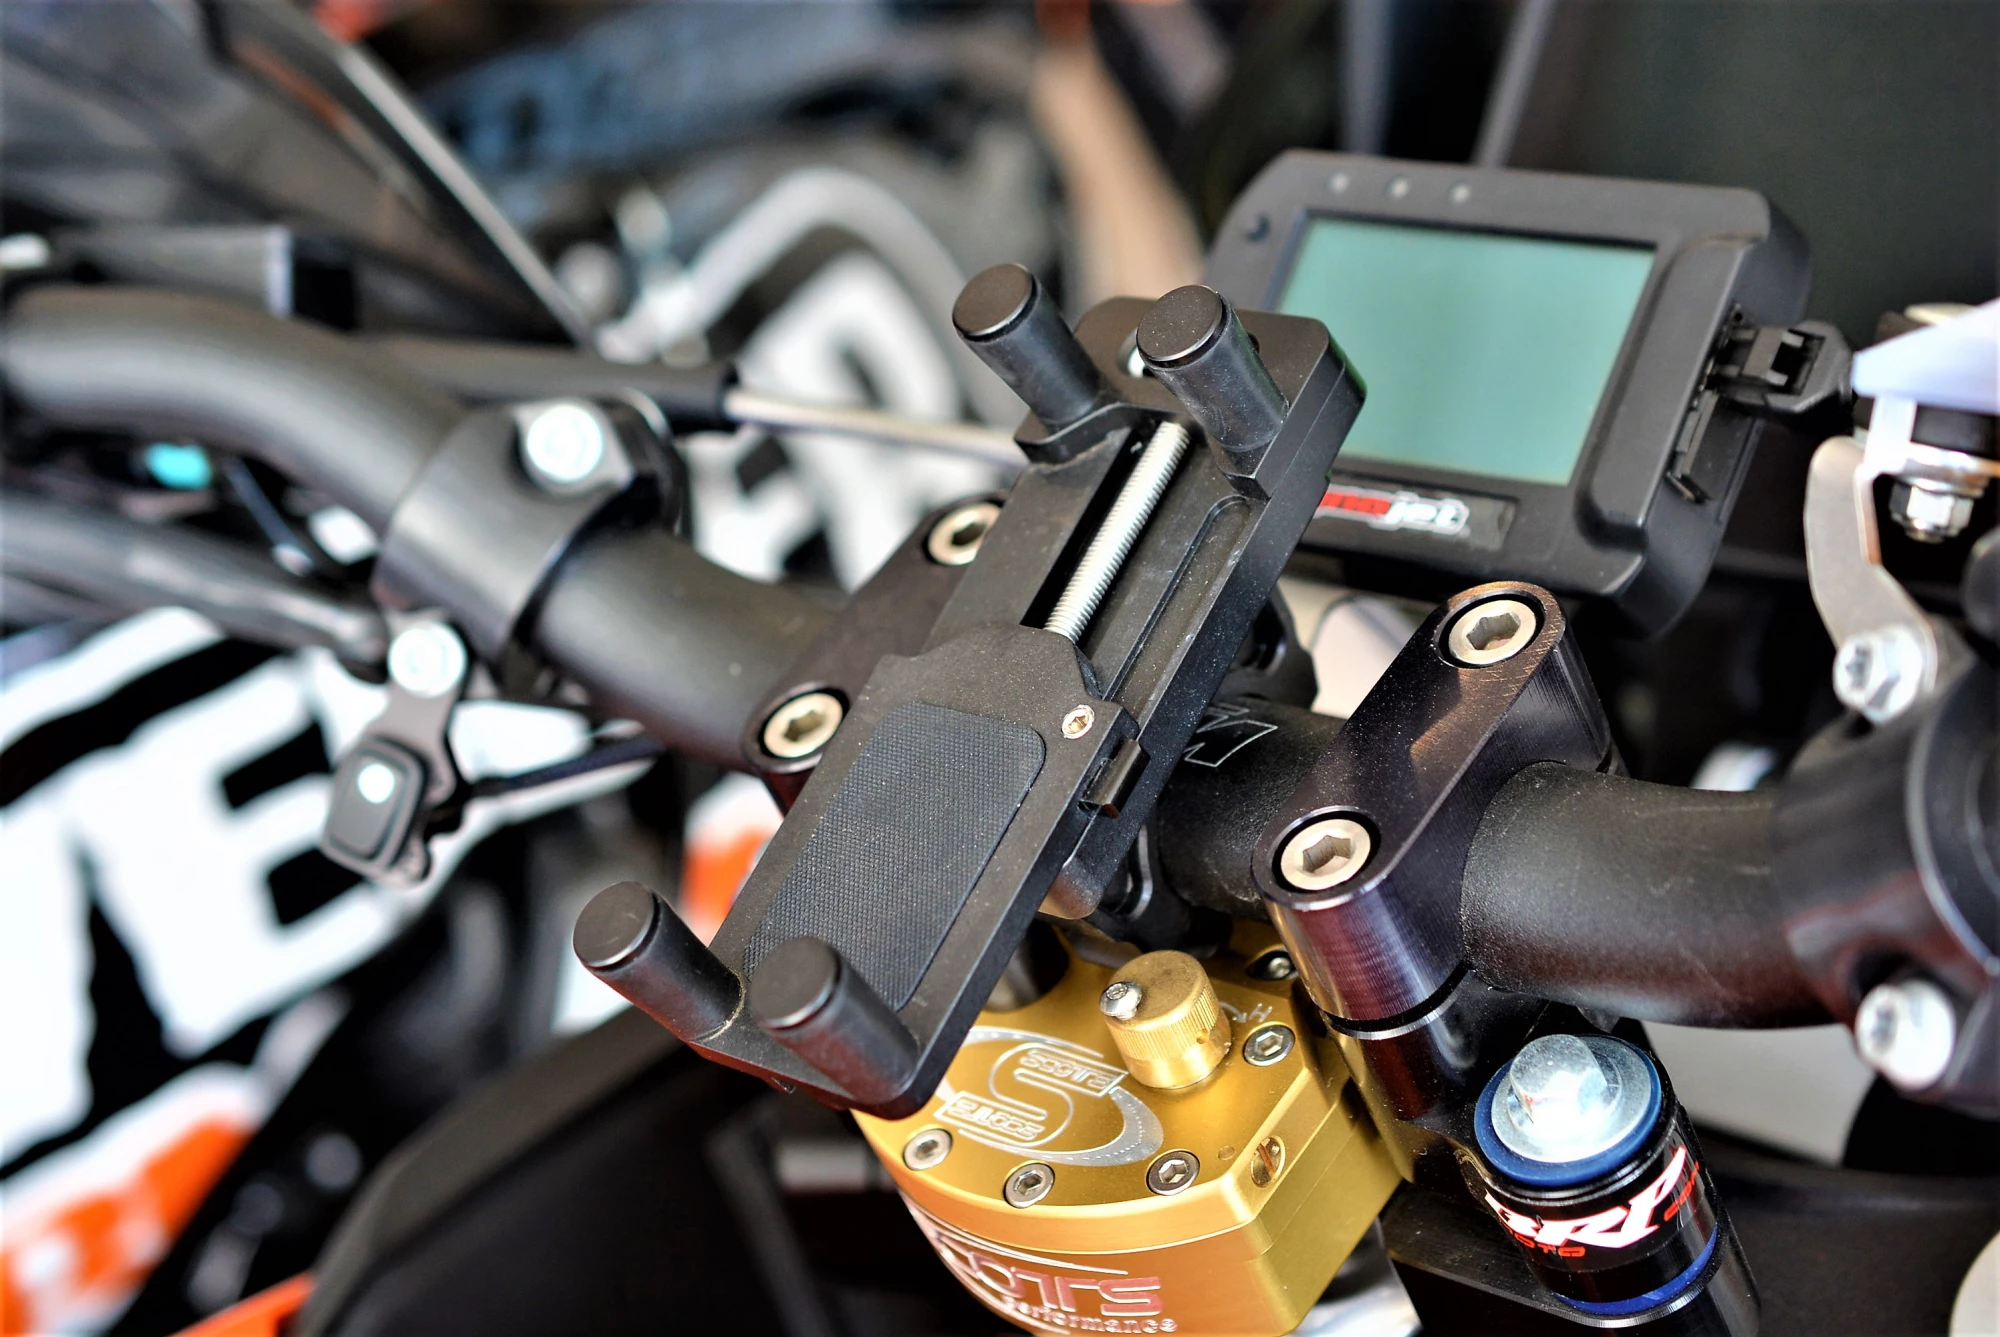
Unobstructed views of your maps is a great tool for the road.
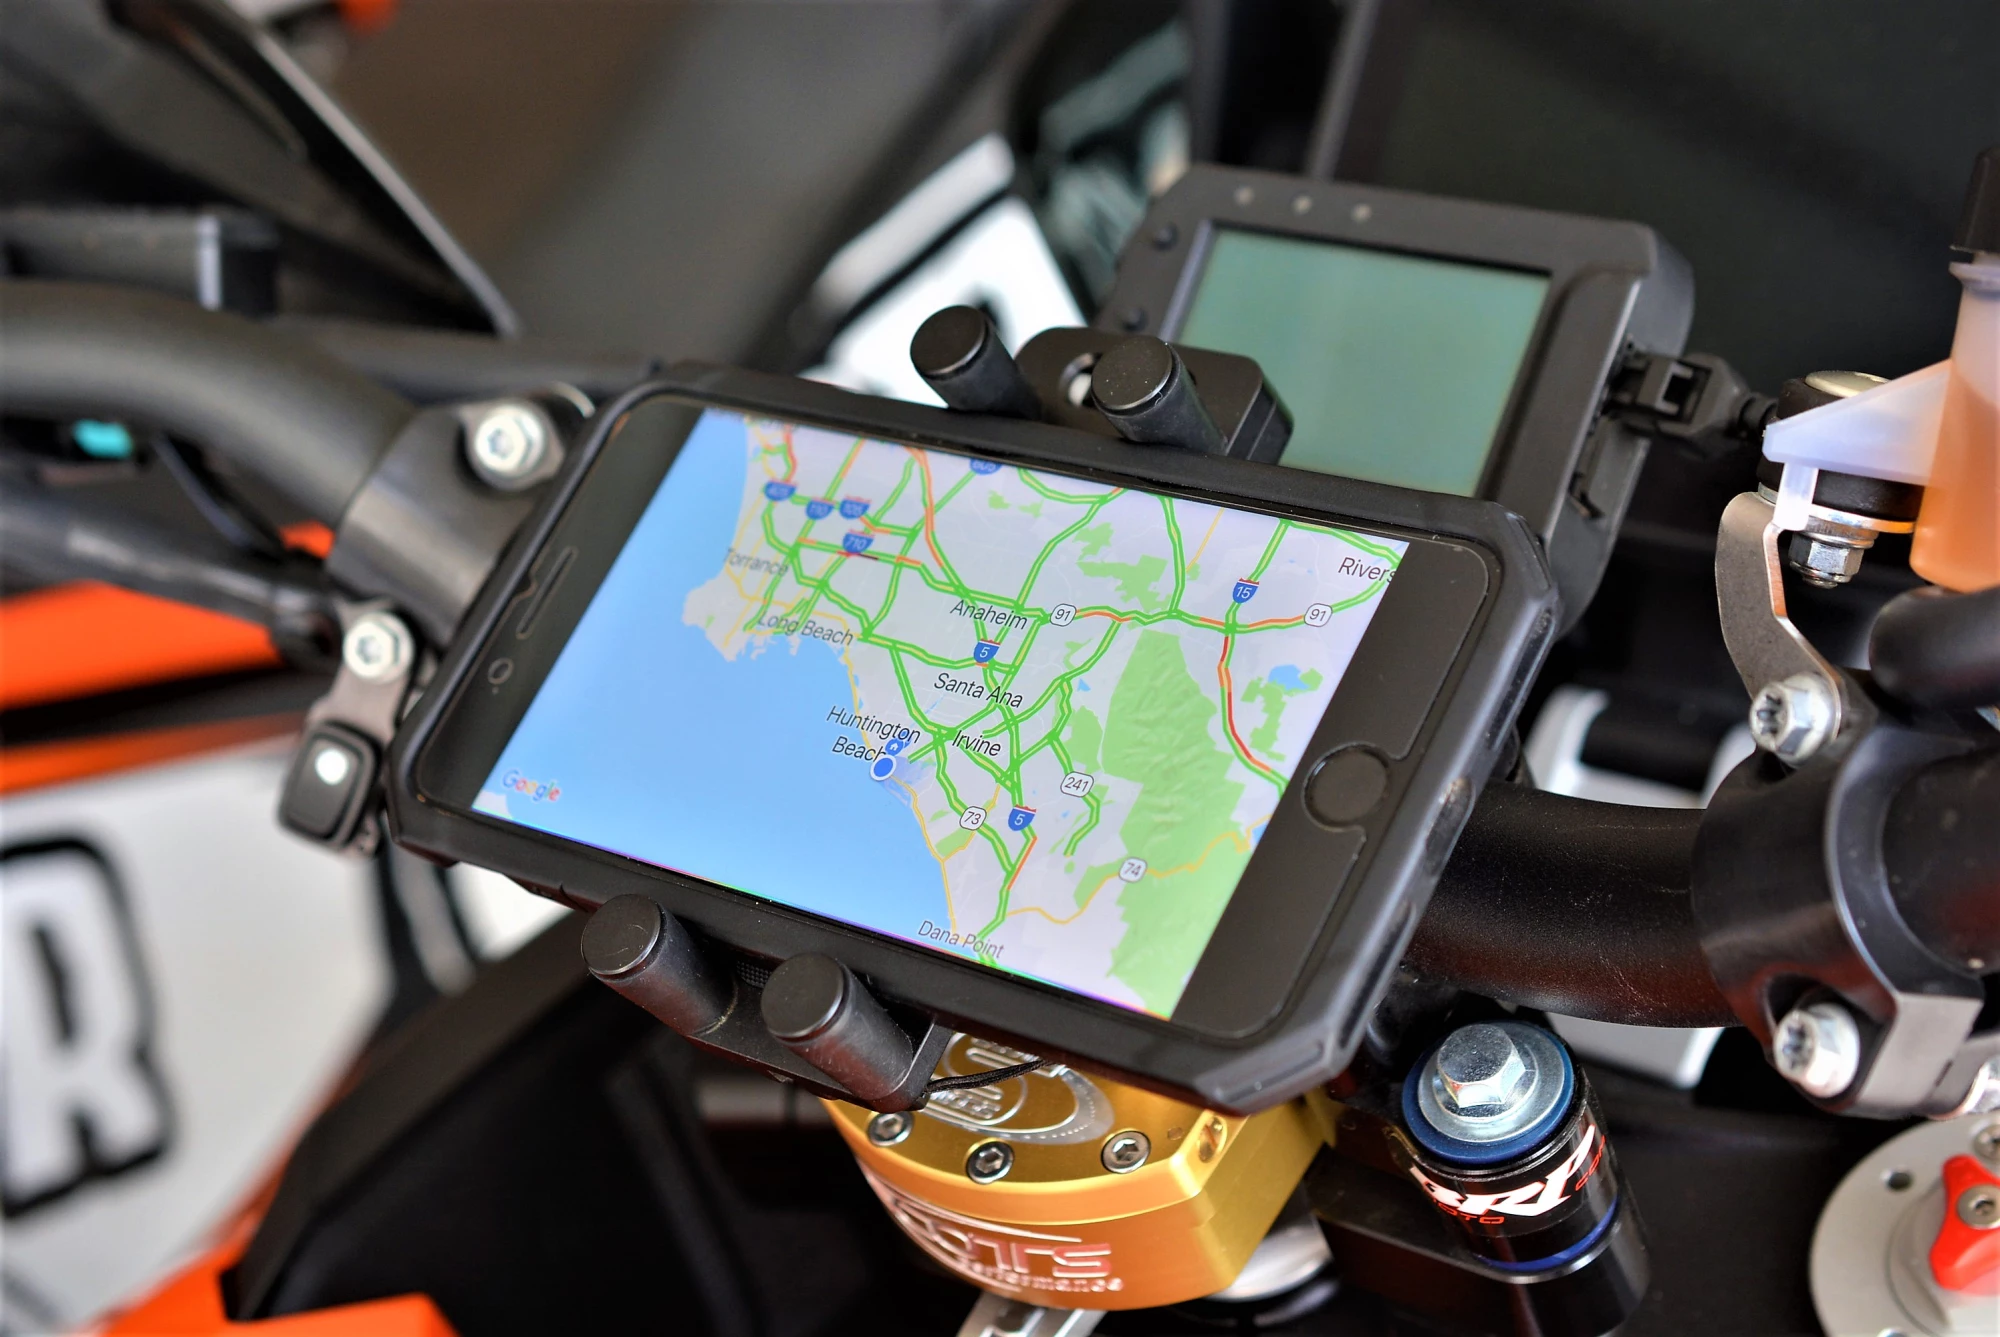
We like lots and lots (and lots) of information.
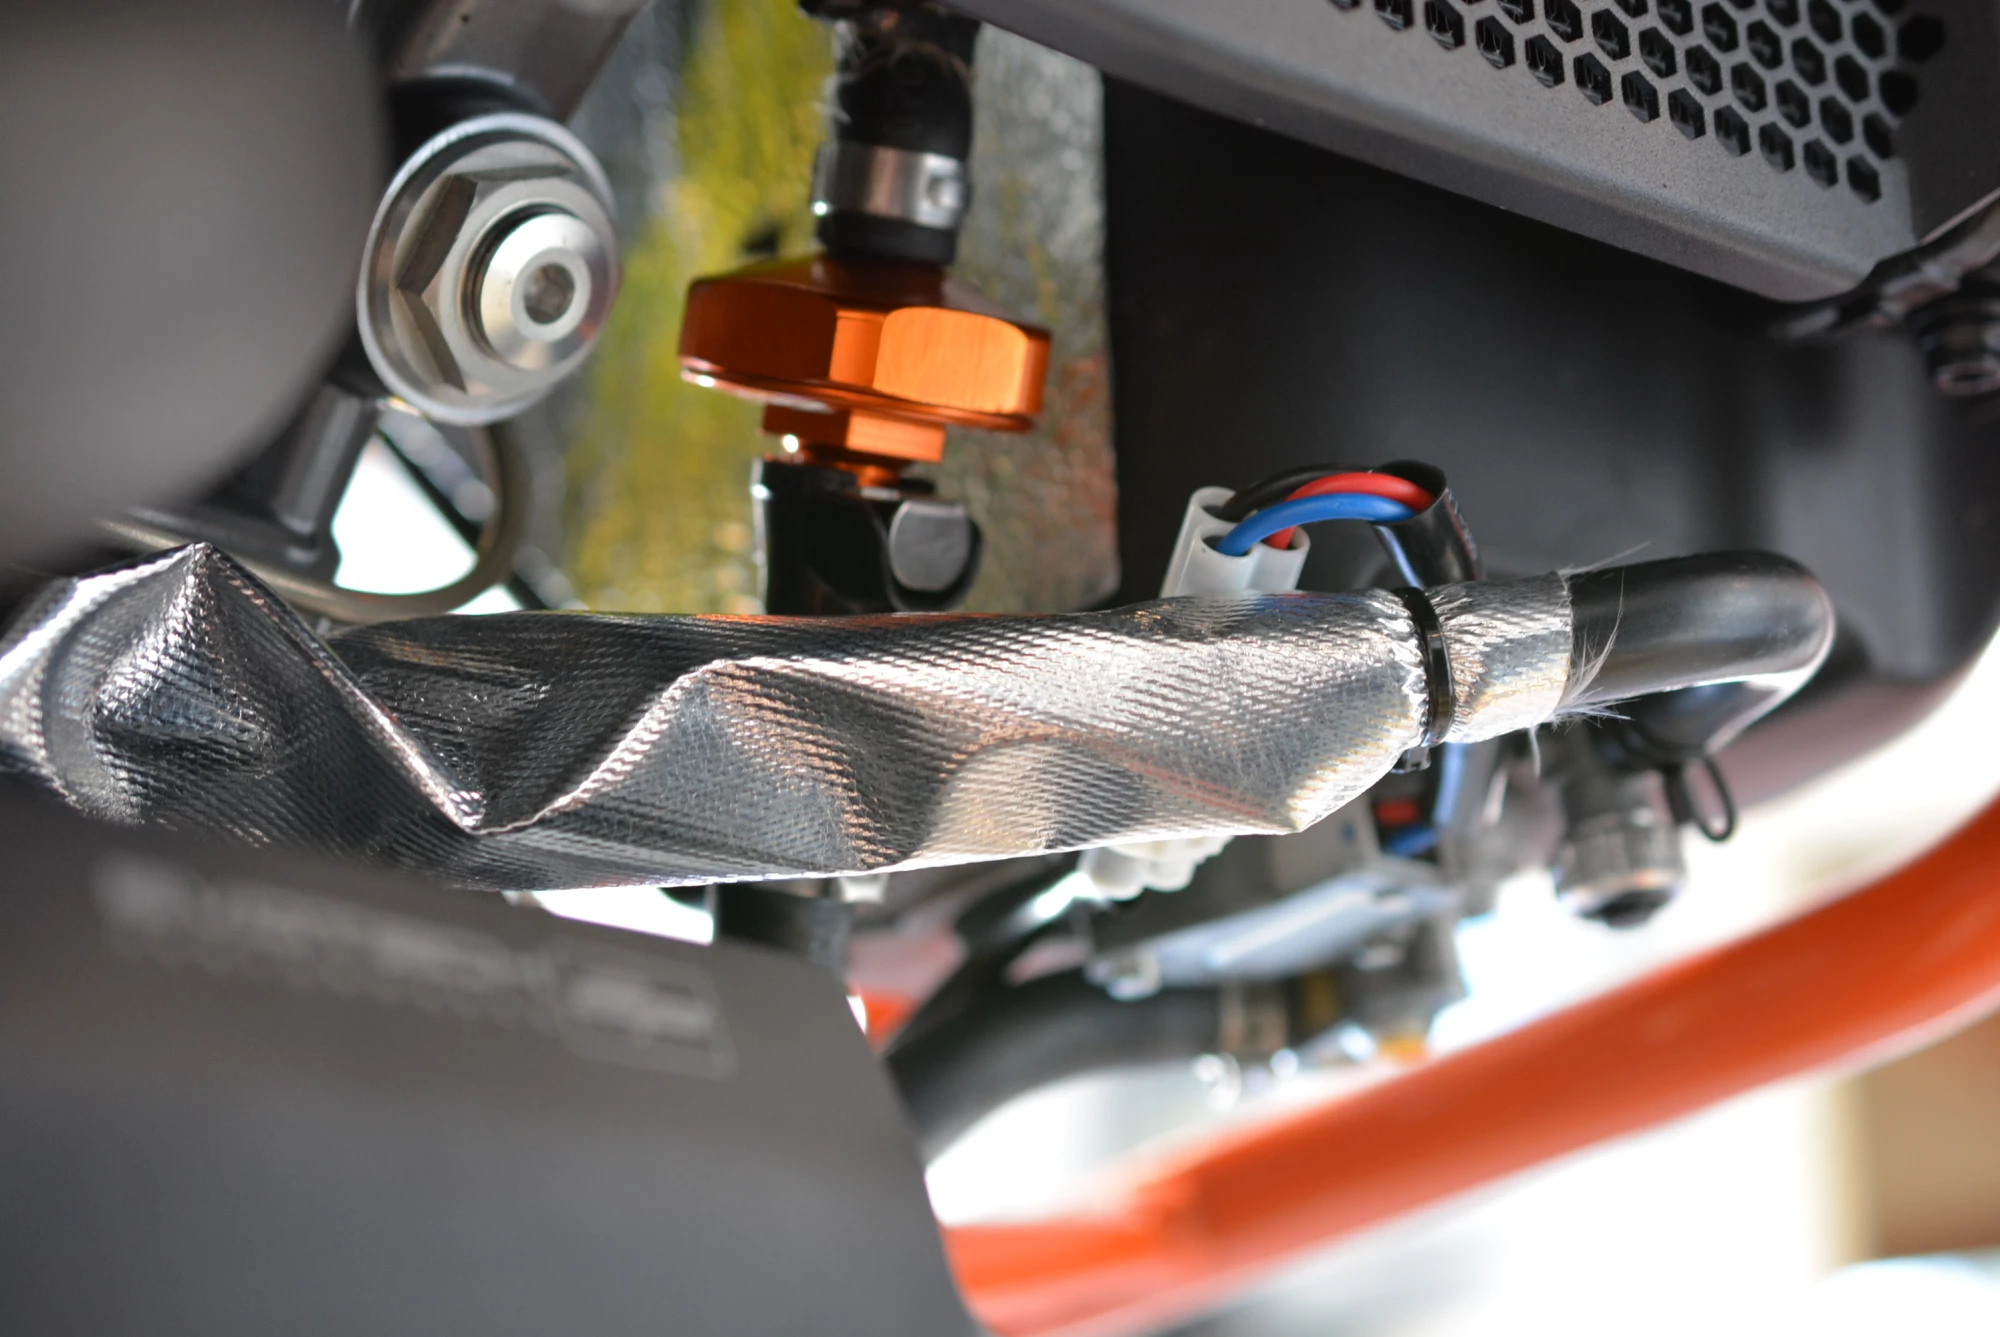
We like insurance. Any insurance that allows our trips to continue as planned is priceless, and in this instance, the underwriter is a Zip Ty racing fuel filter. In addition to the factory cone filter, these also incorporate a large area 10 micron screen that would take an avalanche to clog. They take the place of the male side of the fuel connections for a very clean install that only takes a few minutes.
We had Decal Works print us some high quality stickers for the machine but the cut lines were a bit tricky to nail within the design of the sticker itself so we opted to handle that part ourselves. We used the backing paper to line up the position of the logo and traced the cut line between the plastics with a pencil. Then we replaced the backing to the sticker and simply cut right along with the witness mark.

Once the sticker was applied the end result was a professional looking logo that we were really pleased with as a final graphic. Not bad for keeping it simple!

There is something uniquely satisfying about a build of this nature. To know that you have customized your bike to the demands of your riding style and to create something that has accomplished everything you set out to do is a feeling that is hard to put into words. The closest I can come to explaining it was when I was a crew chief and co-driver in a class 1 off road car. The entire cockpit was purposeful and precise, all laid out in such a way that you felt that you could go to war in this vehicle and no one could touch you. When you got in, you felt like you were becoming one with the machine and it was a bionic extension of yourself, capable of conquering anything. This bike made me feel very much the same.
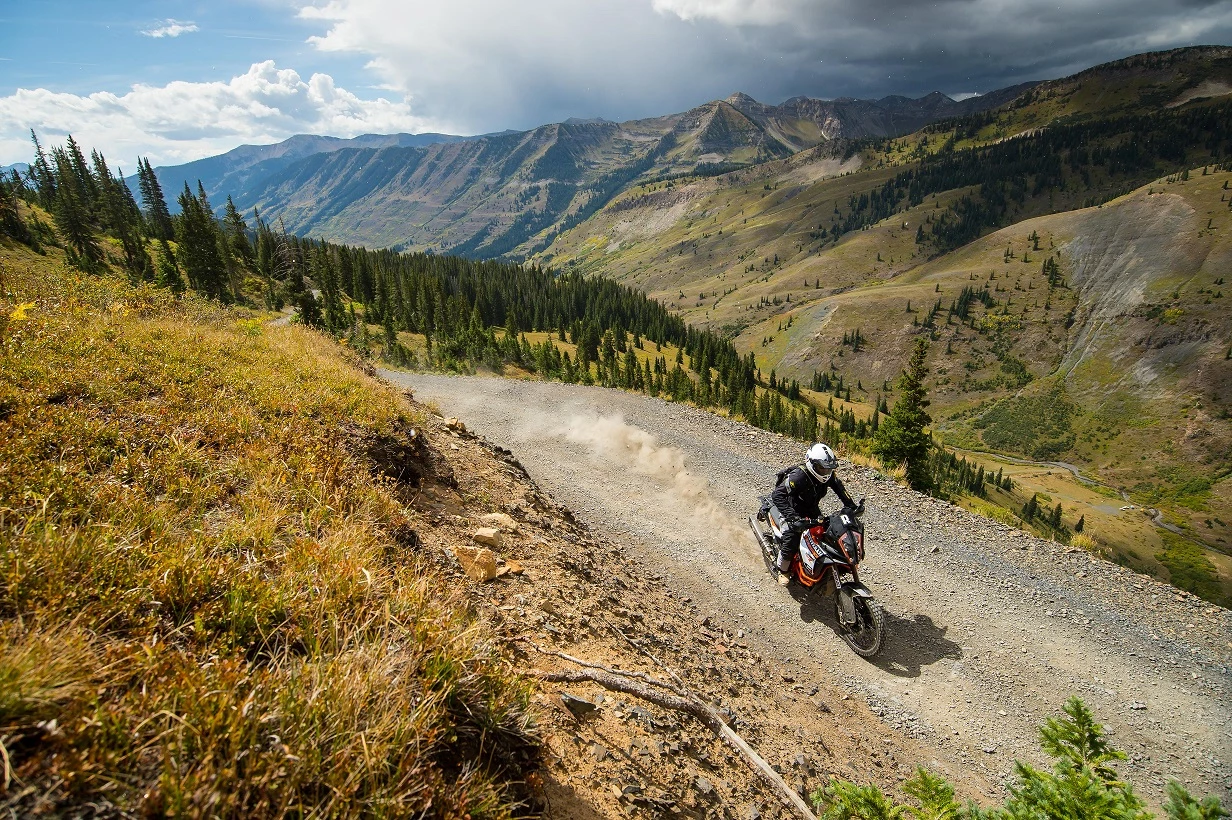
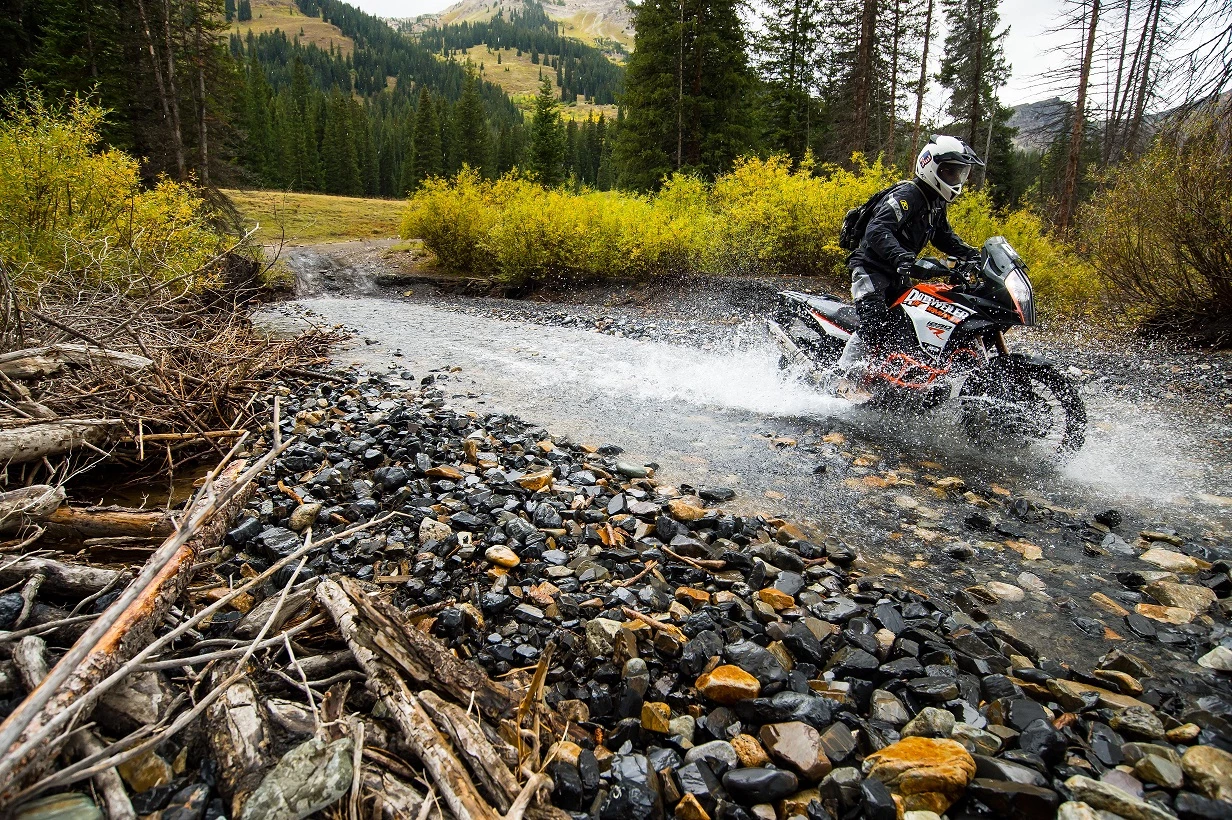
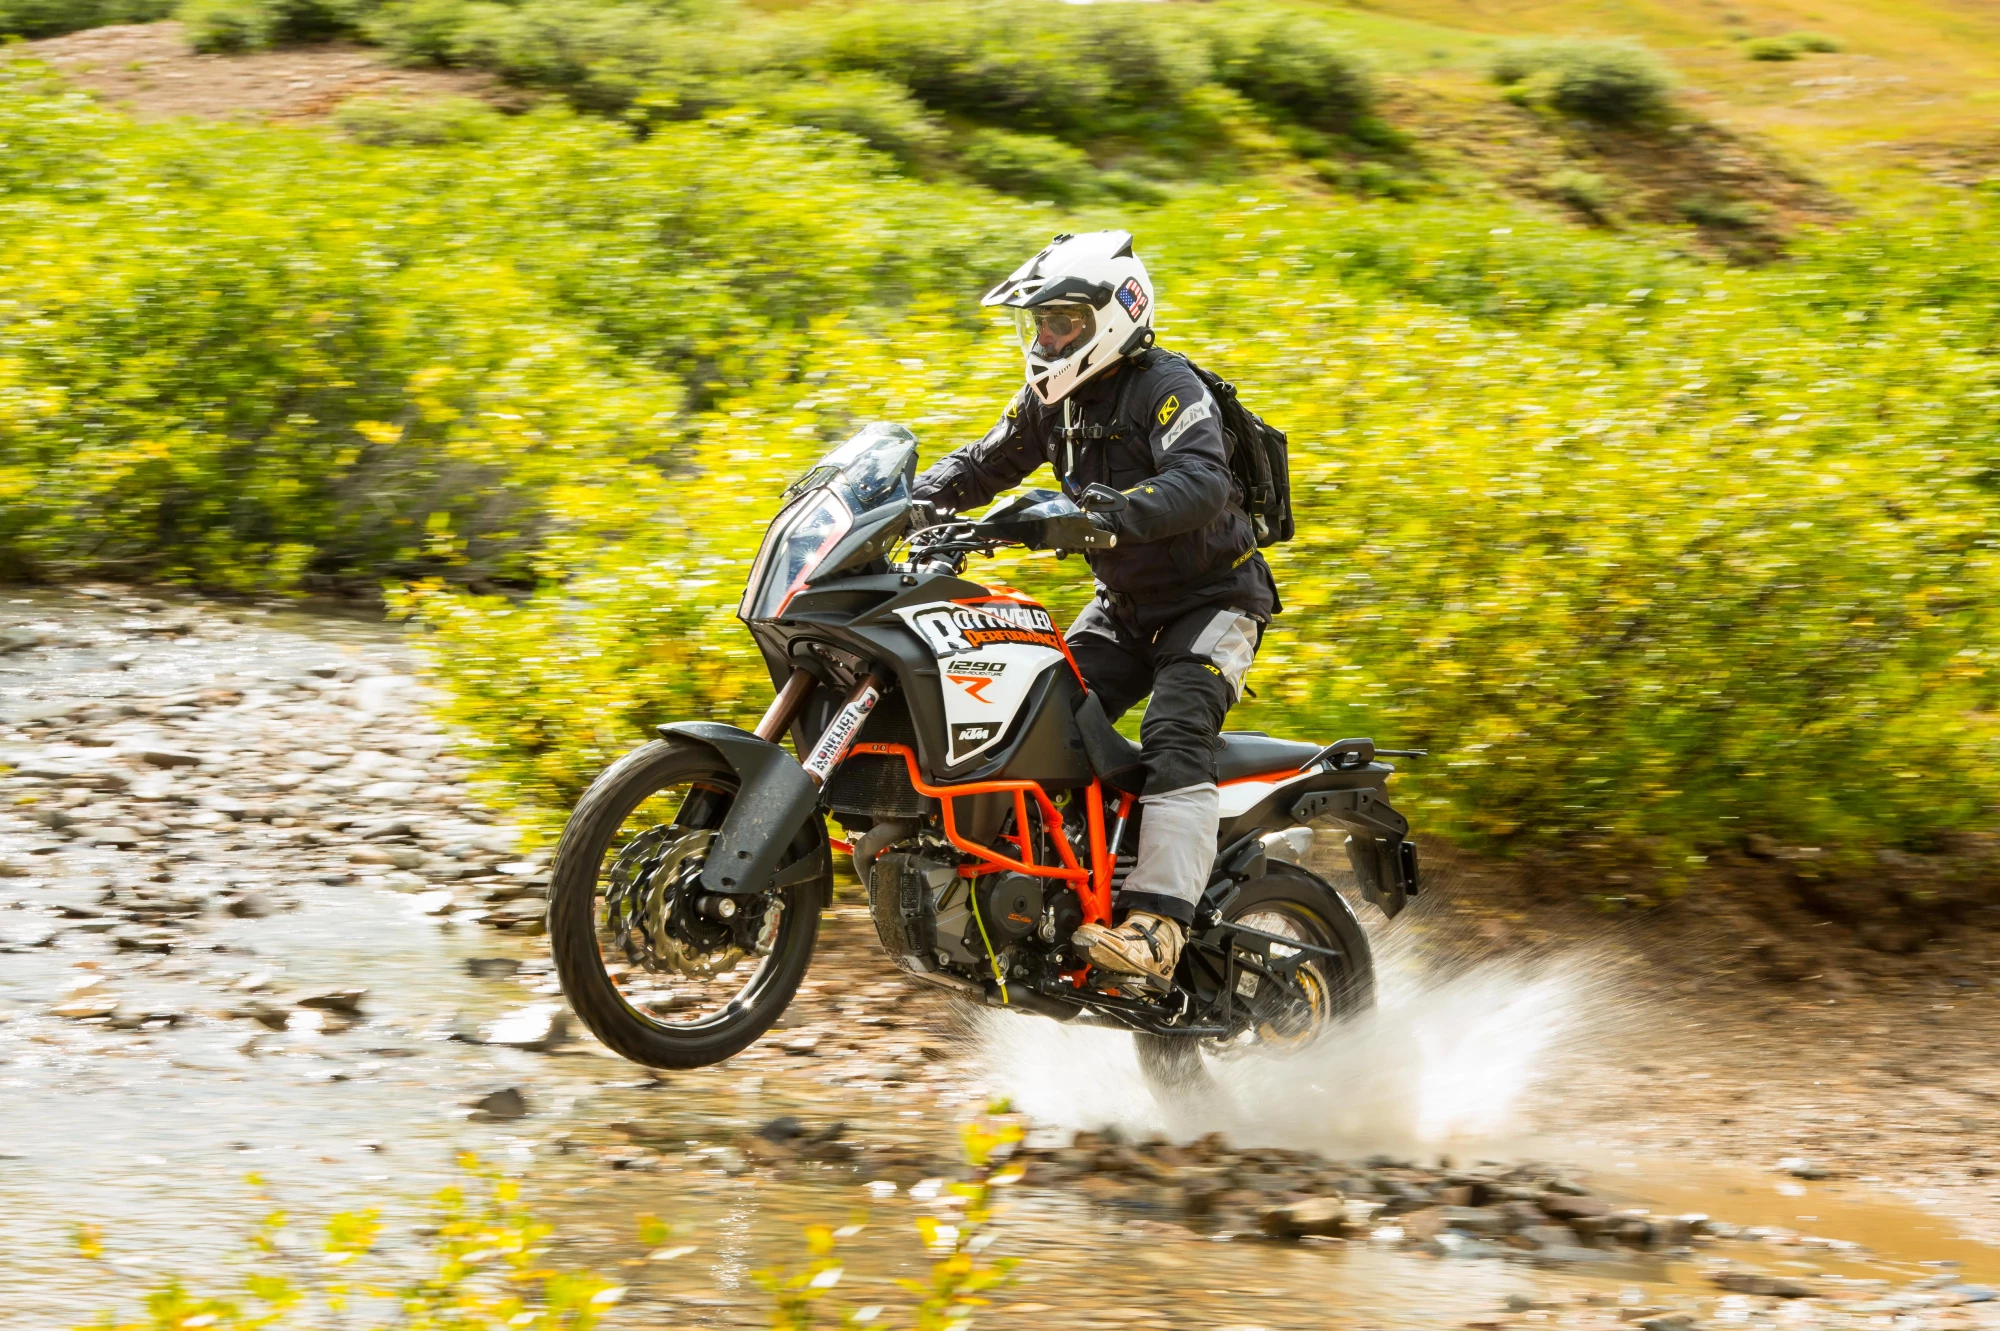
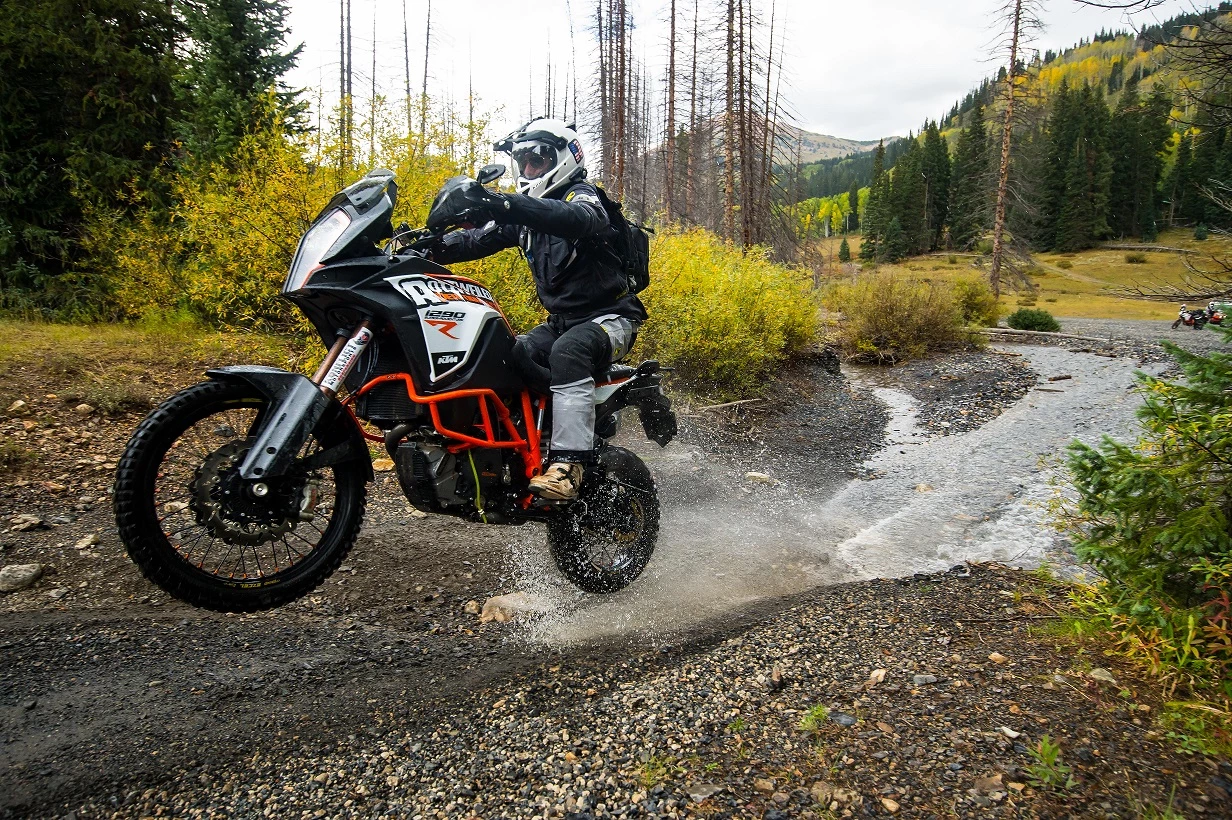
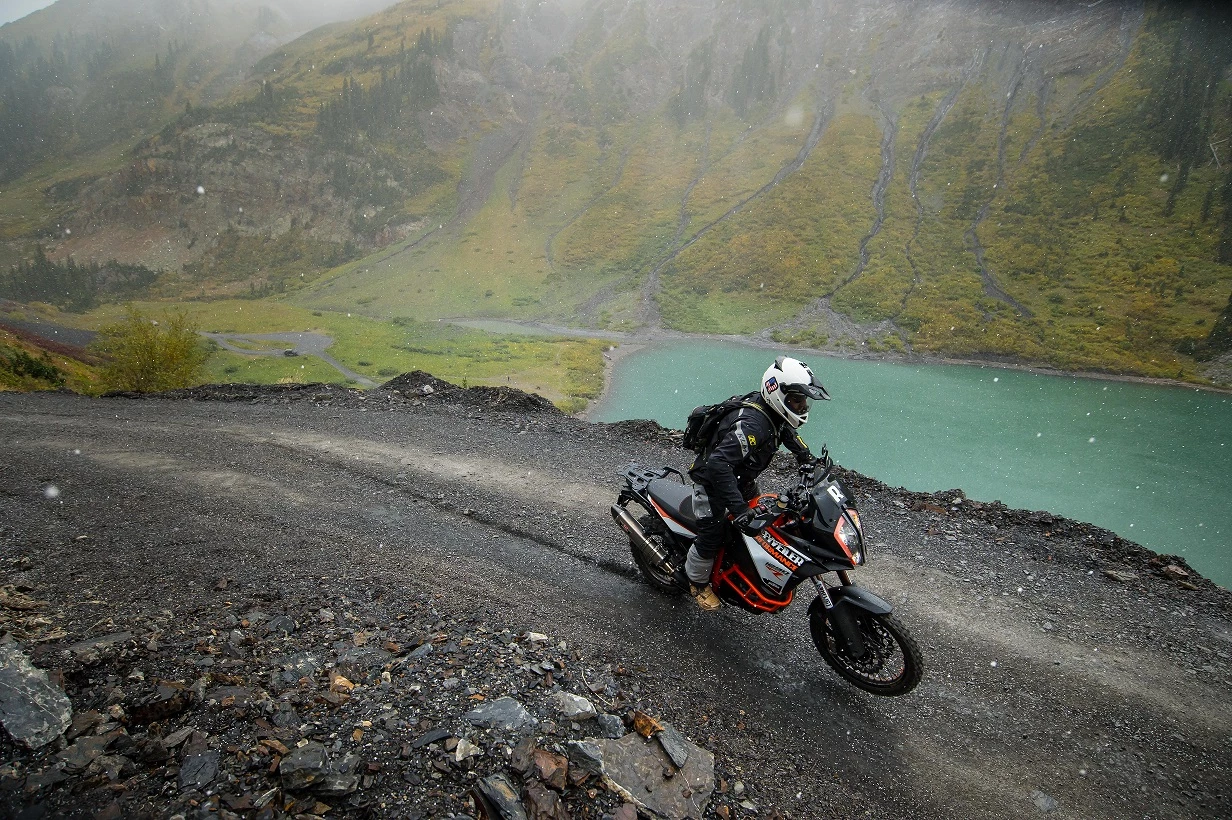
We were admittedly a little nervous to even ride the thing is was so perfect. But in contrast, we weren't about to just stick this thing in our living room, no matter how much my wife would have liked that. One of our first outings on this bike was the 2017 KTM Rider Rally and after a couple of days on display at our booth, it was time to get her dirty. Simon Cudby of UPSHIFT Online and Cudby Photo invited us out for a photo session and a video rundown of the major parts of this build.
We decided to travel along a road called 'Gothic Loop' that was nearby and boasted of some beautiful scenery. While at first (I must admit) I tended to tip toe through some of the wetter areas in an attempt to keep the bike clean for the photos, more and more I would crack the throttle and test the limits of the machine. The power was incredibly strong and immediate, but not in an uncontrollable or violent way. A very powerful but linear pull was the result of the Stage 6 intake system and the bike just felt more ridable, but on steroids. I couldn't help but to crack it open around corners just to step it out as far as it could go. What a rush as it pulled through the gears with butter smooth suspension. I even managed a couple of 4th gear roll on wheelies to 12 o-clock at about 70 miles per hour. Yeah, this bike is a good time.
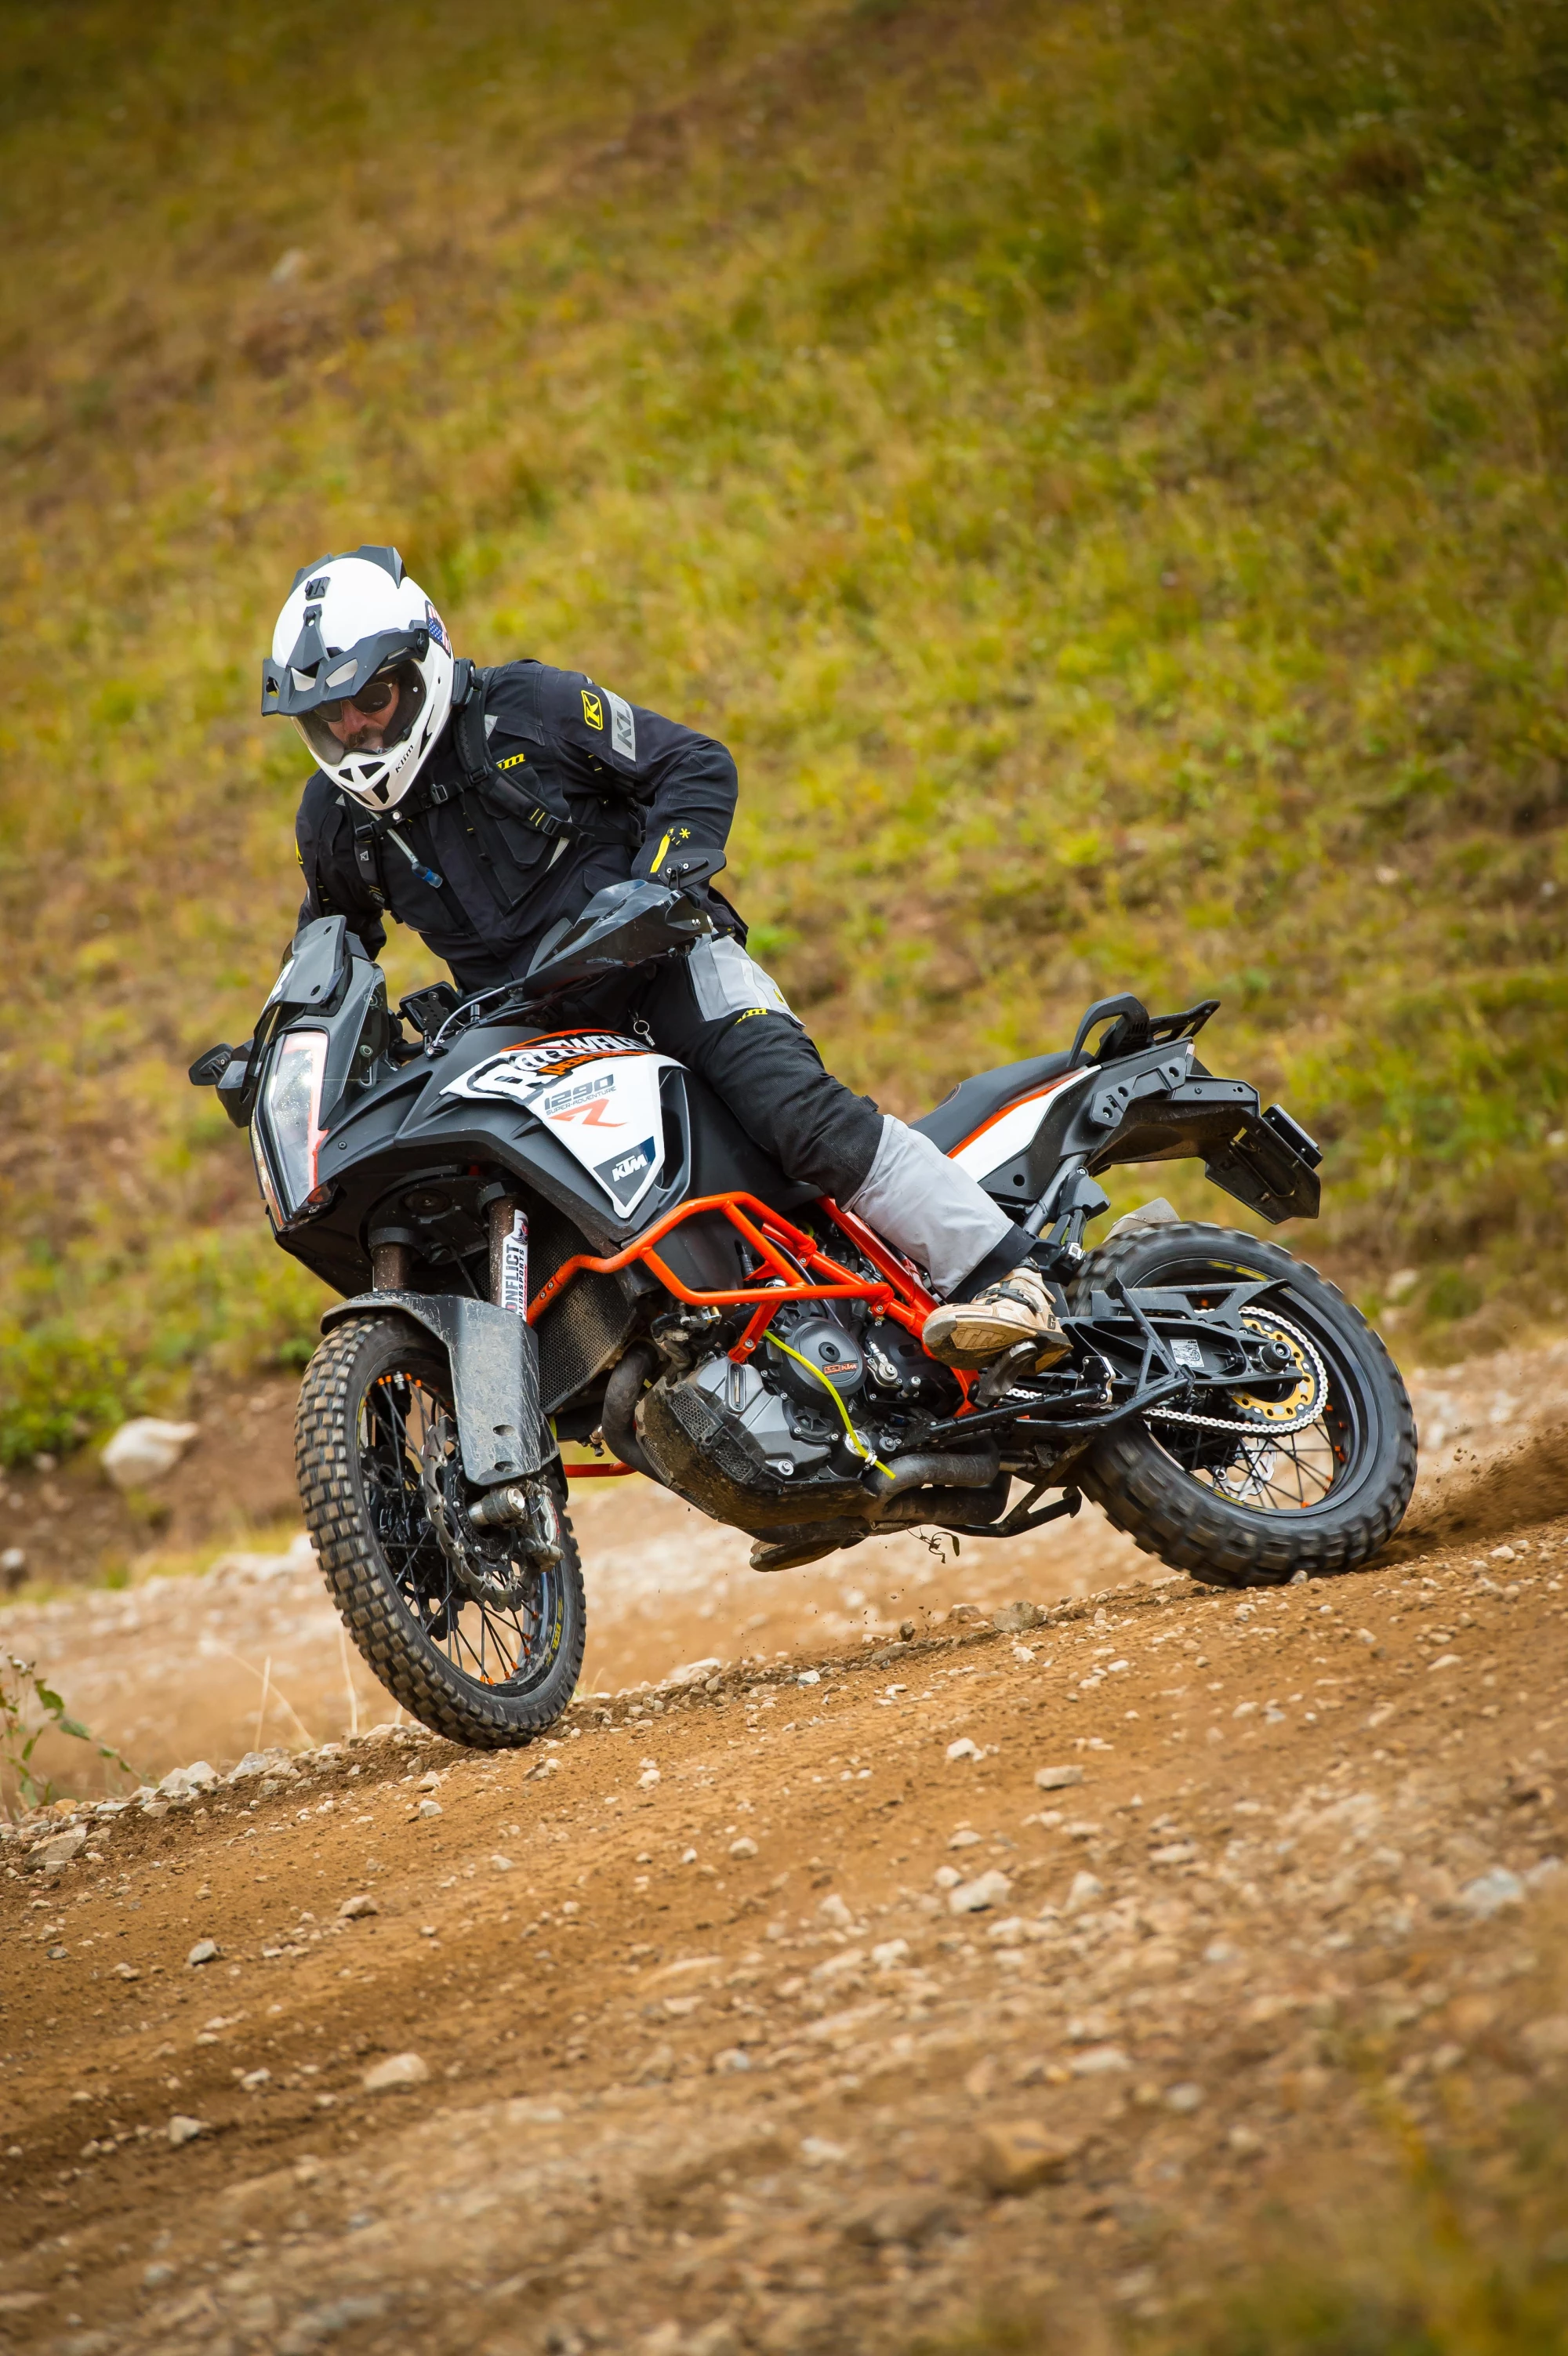
Check out our interview session with UPSHIFT Online Magazine in Crested Butte, CO at the 2017 KTM Rider Rally.


